It has been a glorious weekend here in east Texas. For the first time in months our temperature dipped below 70F yesterday, and then Sunday morning, the thermometer registered 59F. I adore days like these where a chill hangs in the air.
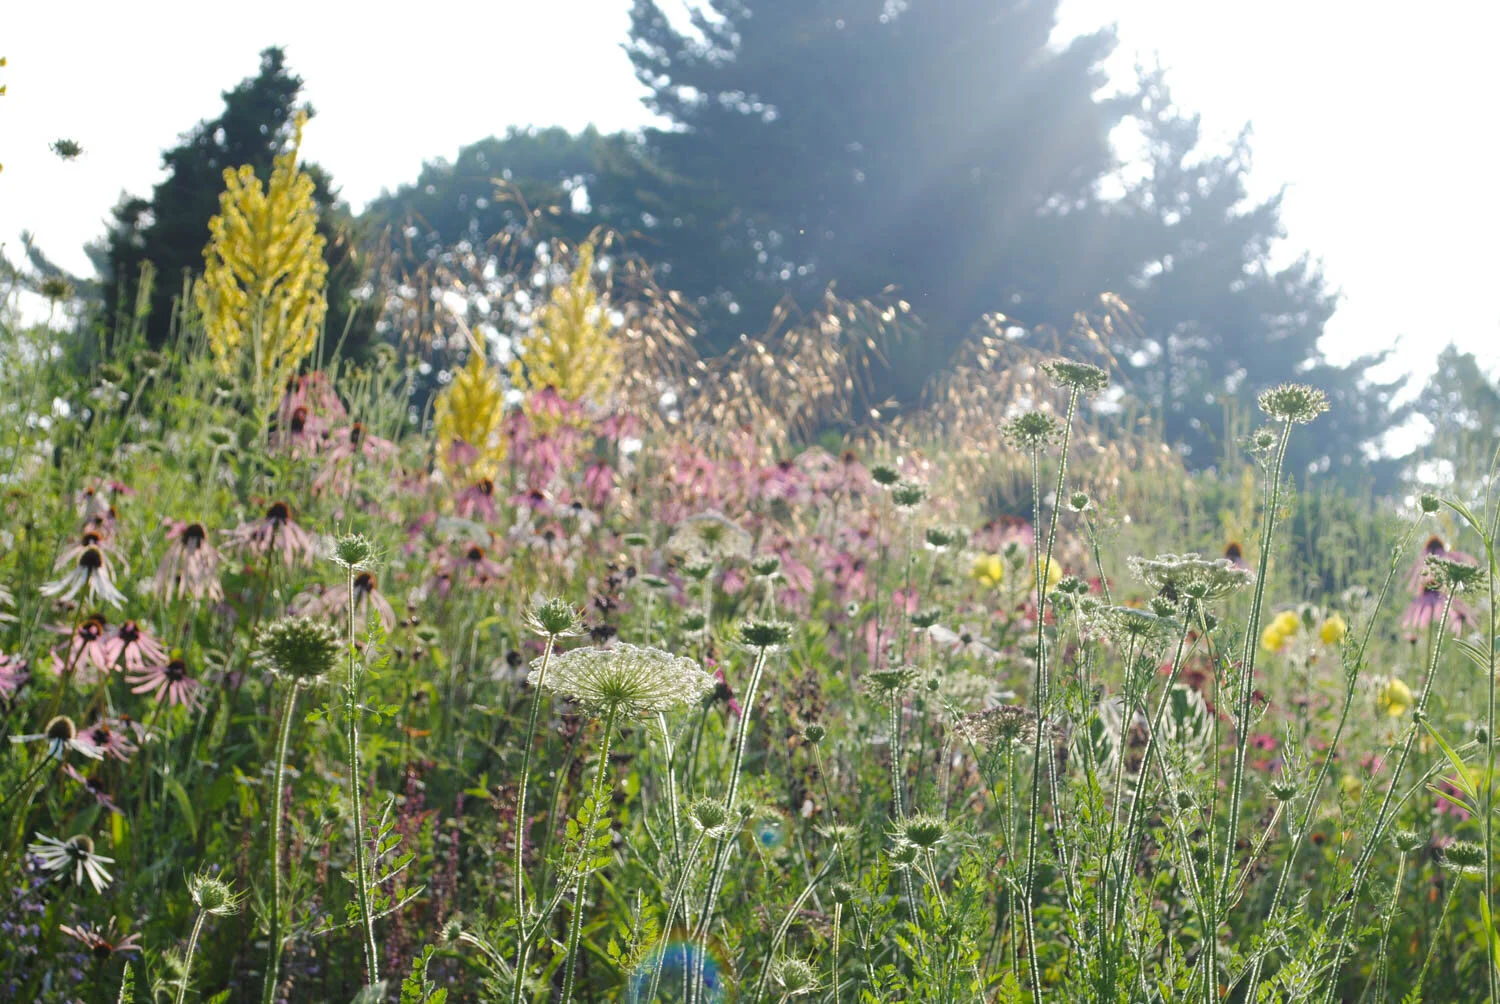
The return of fall and the arrival of cooler temperatures and rain revitalizes the garden. After months of watching plants struggle, it is so nice to see them perking up and many fall performers beginning their show. One species that is becoming a favorite of mine for autumn is rayless sunflower.
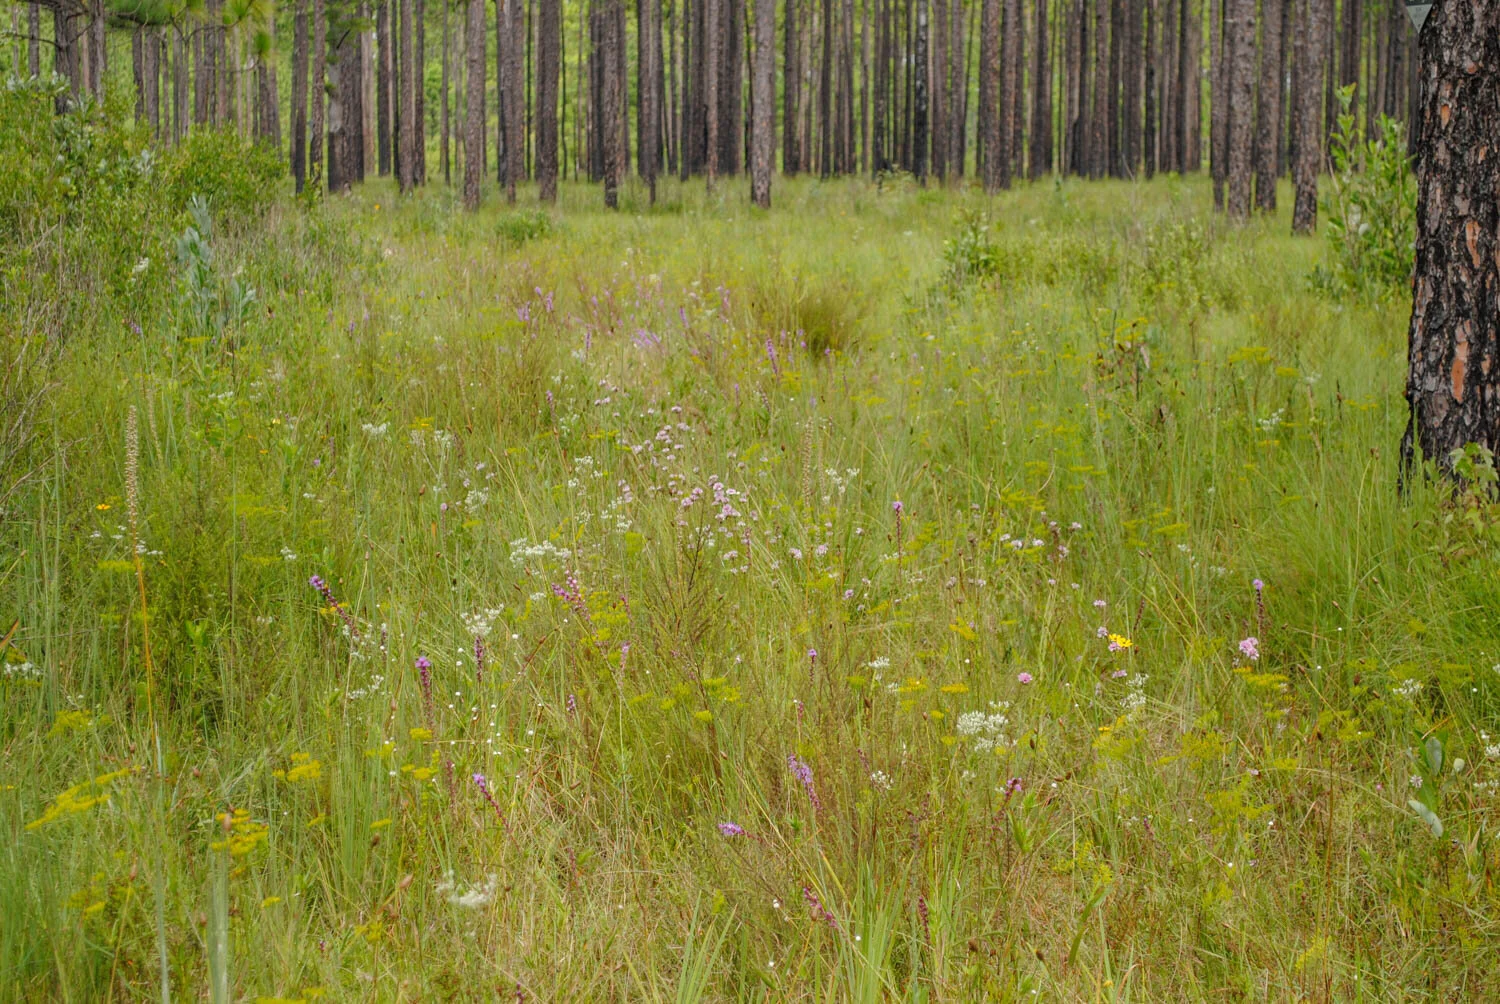
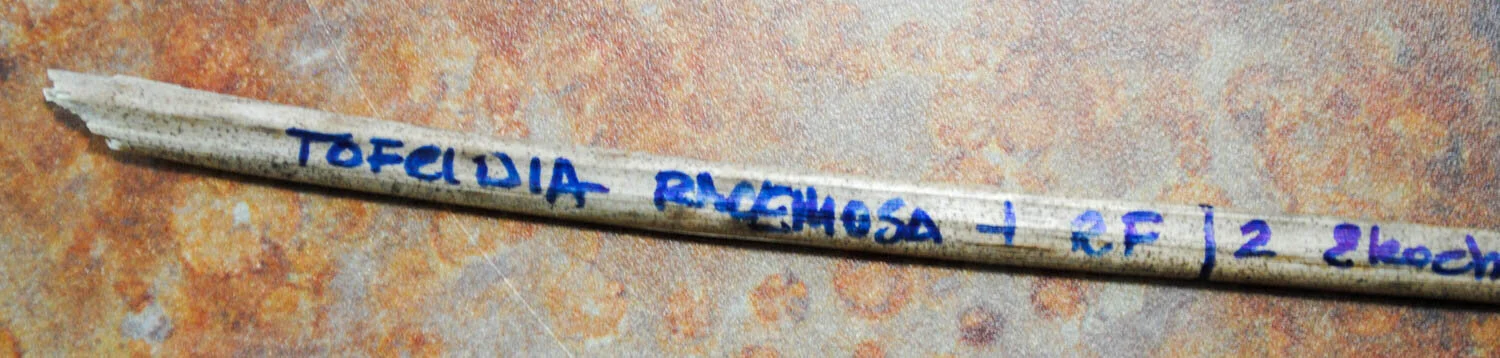
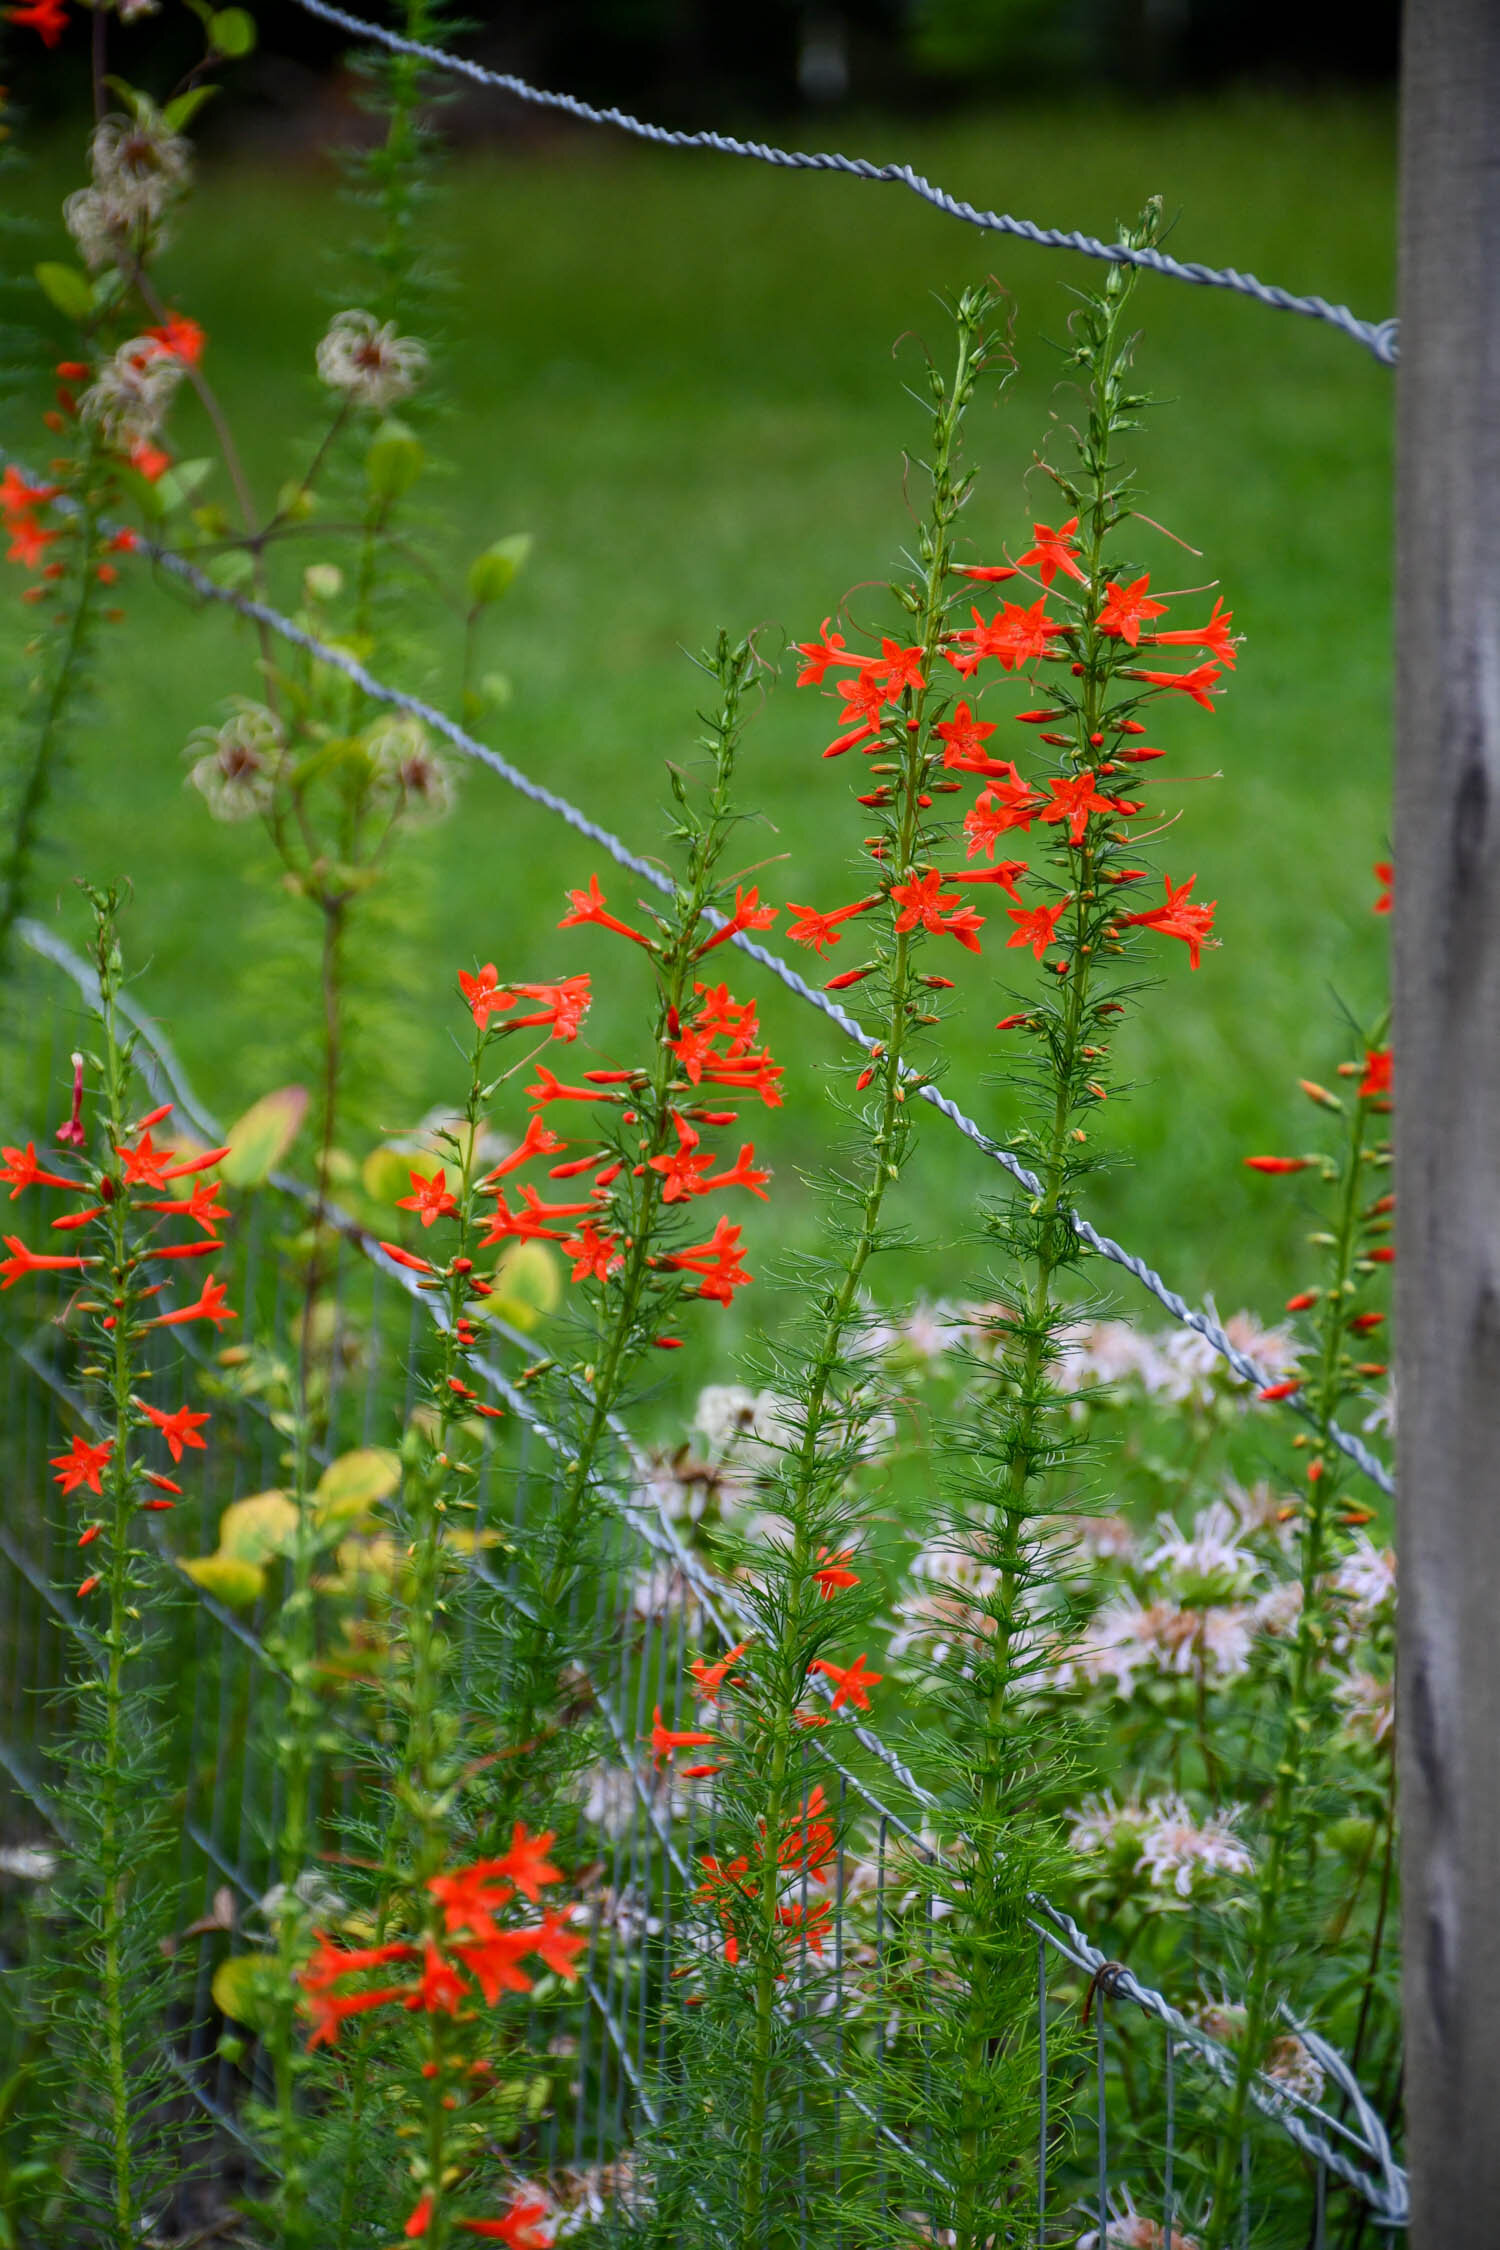
I first saw it on Instagram a few years ago when Andrea England posted a picture of it in a shortgrass prairie in her suburban meadow. At first, I thought I was seeing just spent flowers and seedheads. However, after some sleuthing I realized that this photo was the rayless sunflower in bloom with its black licorice colored disks held on acid green stems. With a brief review of flower morphology, you can see where rayless sunflower gets its name. Many Asteraceae family members have a head inflorescence with two types of flowers, rays that comprised the outer row of colorful “petals” and the inner disks that form the bulk of the flower. The reason the flowers have their orb-like appearance is because they are largely absent of any rays.

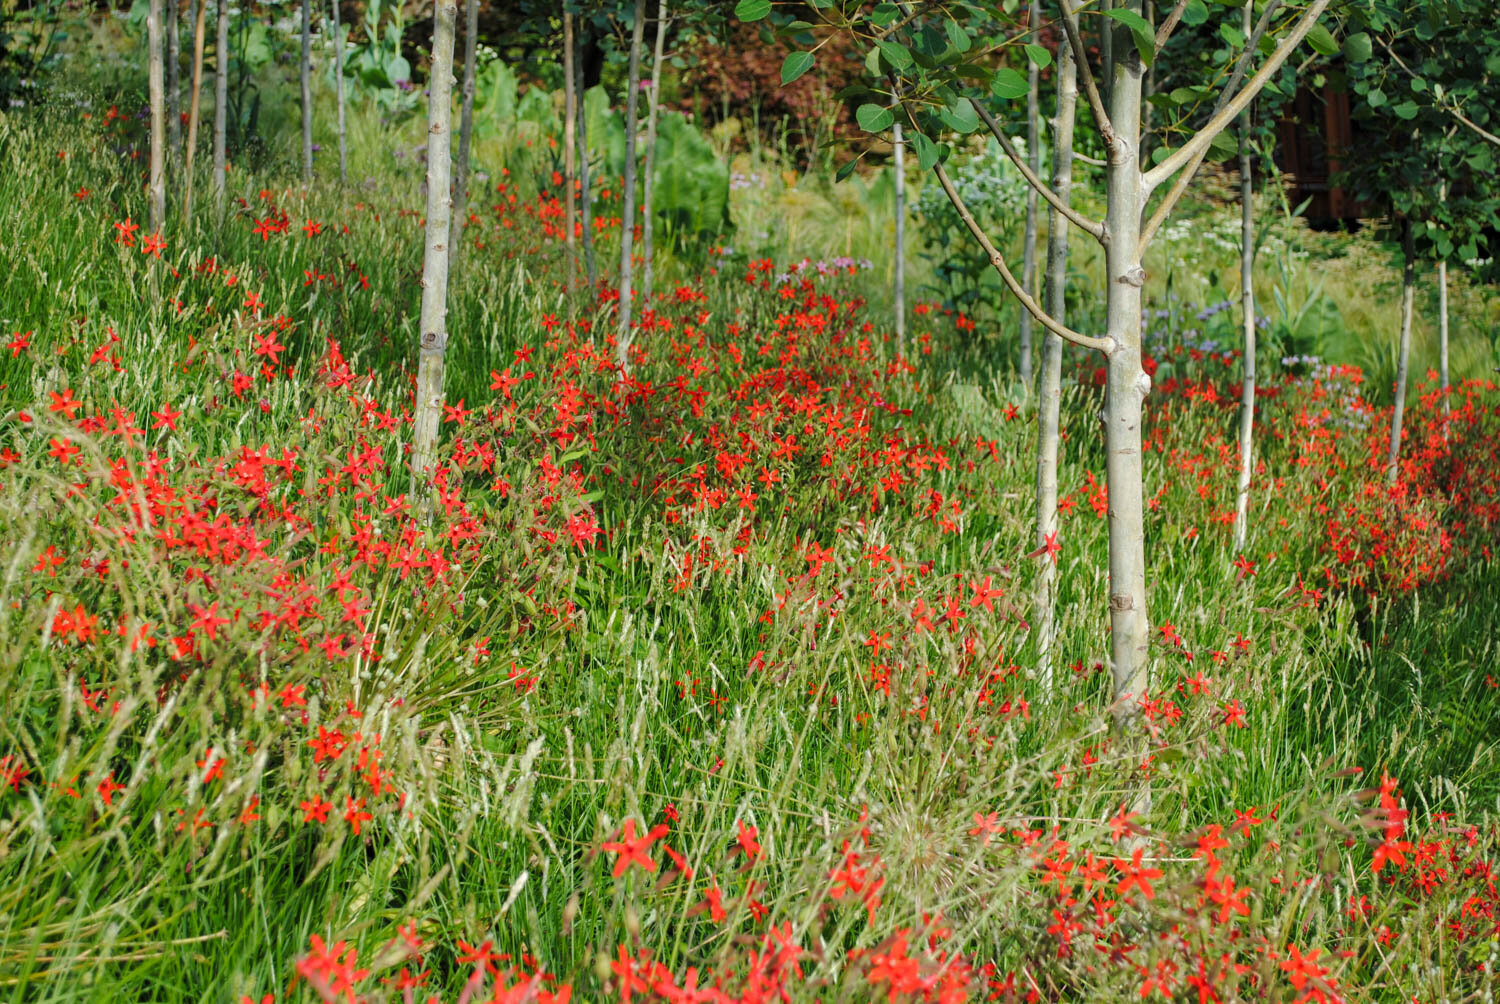
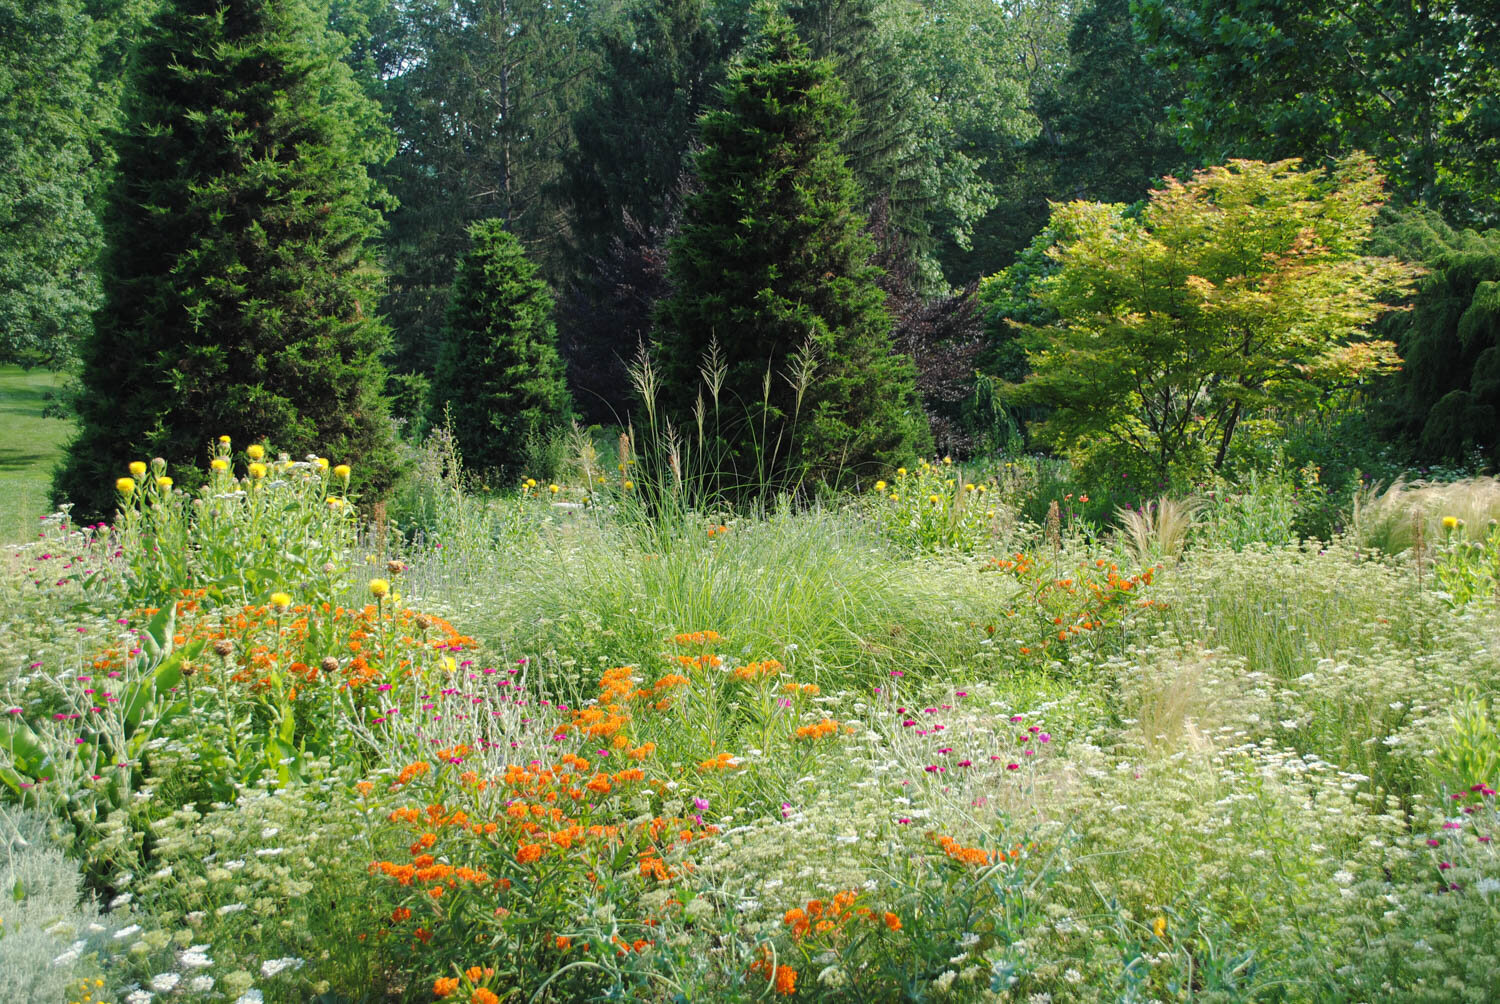
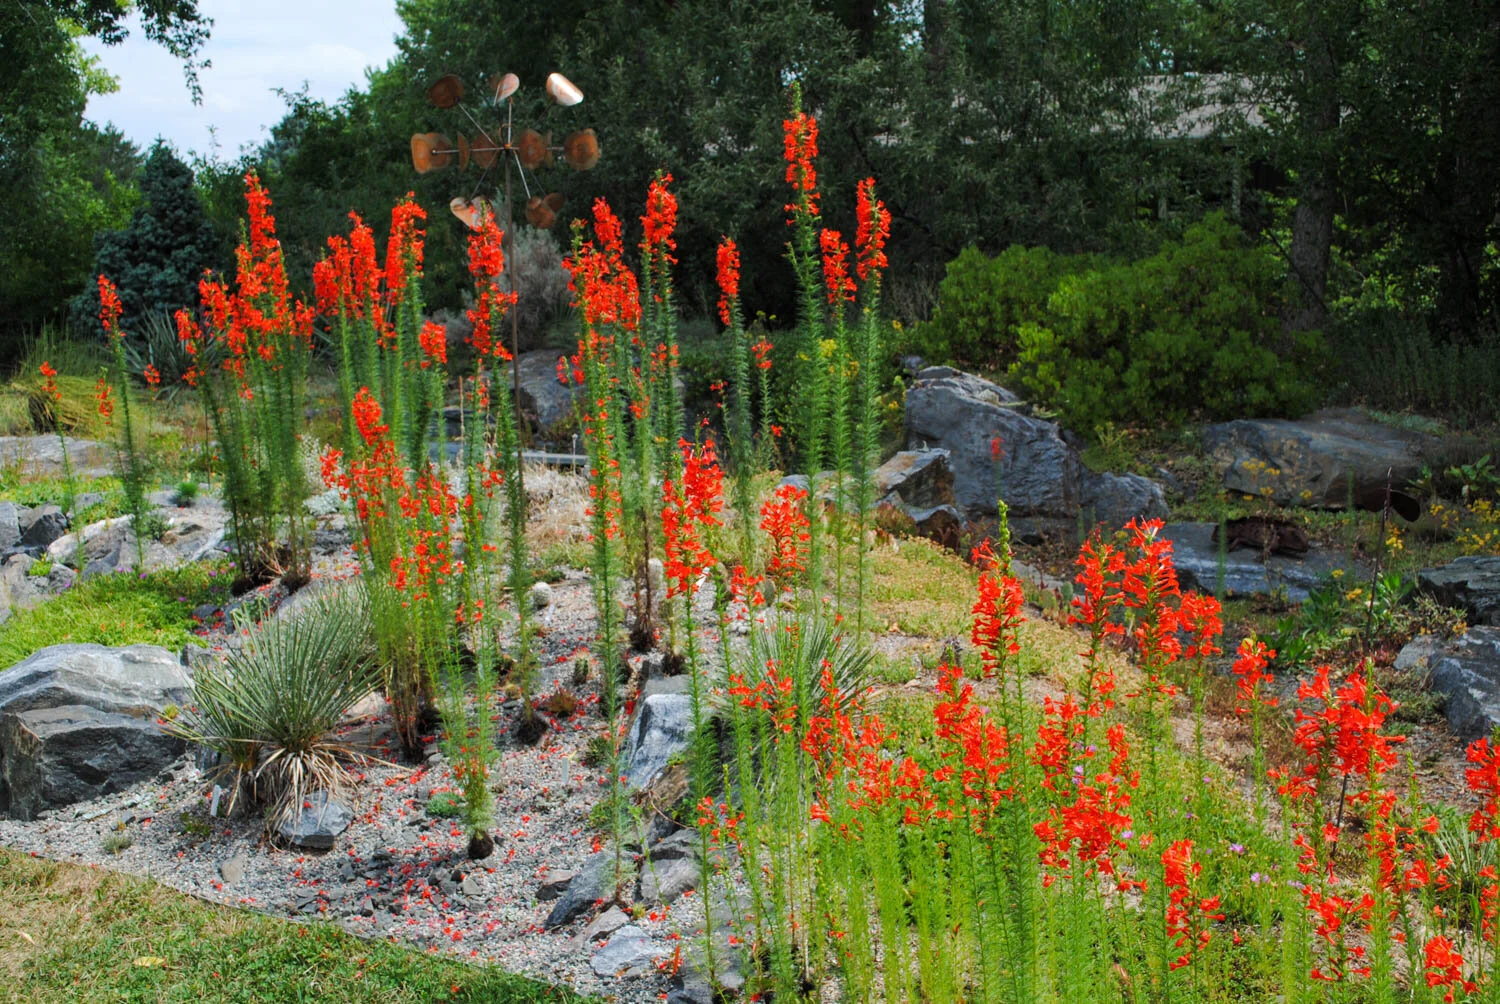
The flowers of Helianthus radula emerge in autumn and are a wonderful companion to the ghostly colored Liatris elegans.
What a novelty in the plant world! I was intrigued. I contacted her offering to trade some seed, and soon I had an envelope ready to sow. Seeds germinated quickly, and I transplanted them into a sandy spot since they are native to the gulf coast. They have the most interesting foliage. For much of the growing season their orbicular leaves hugged the ground until the crowns began to elongate later in the summer. And, then out of nowhere these antennae-looking flowers pierced through the fray of grasses and forbs in my garden and attracted pollinators. I was delighted. And, the seedheads stood through wind and rain with very few bending over. Even into the winter, the seedheads were persistent until the spring mowing, although I will add a few were decimated by the birds as these frugivores foraged.
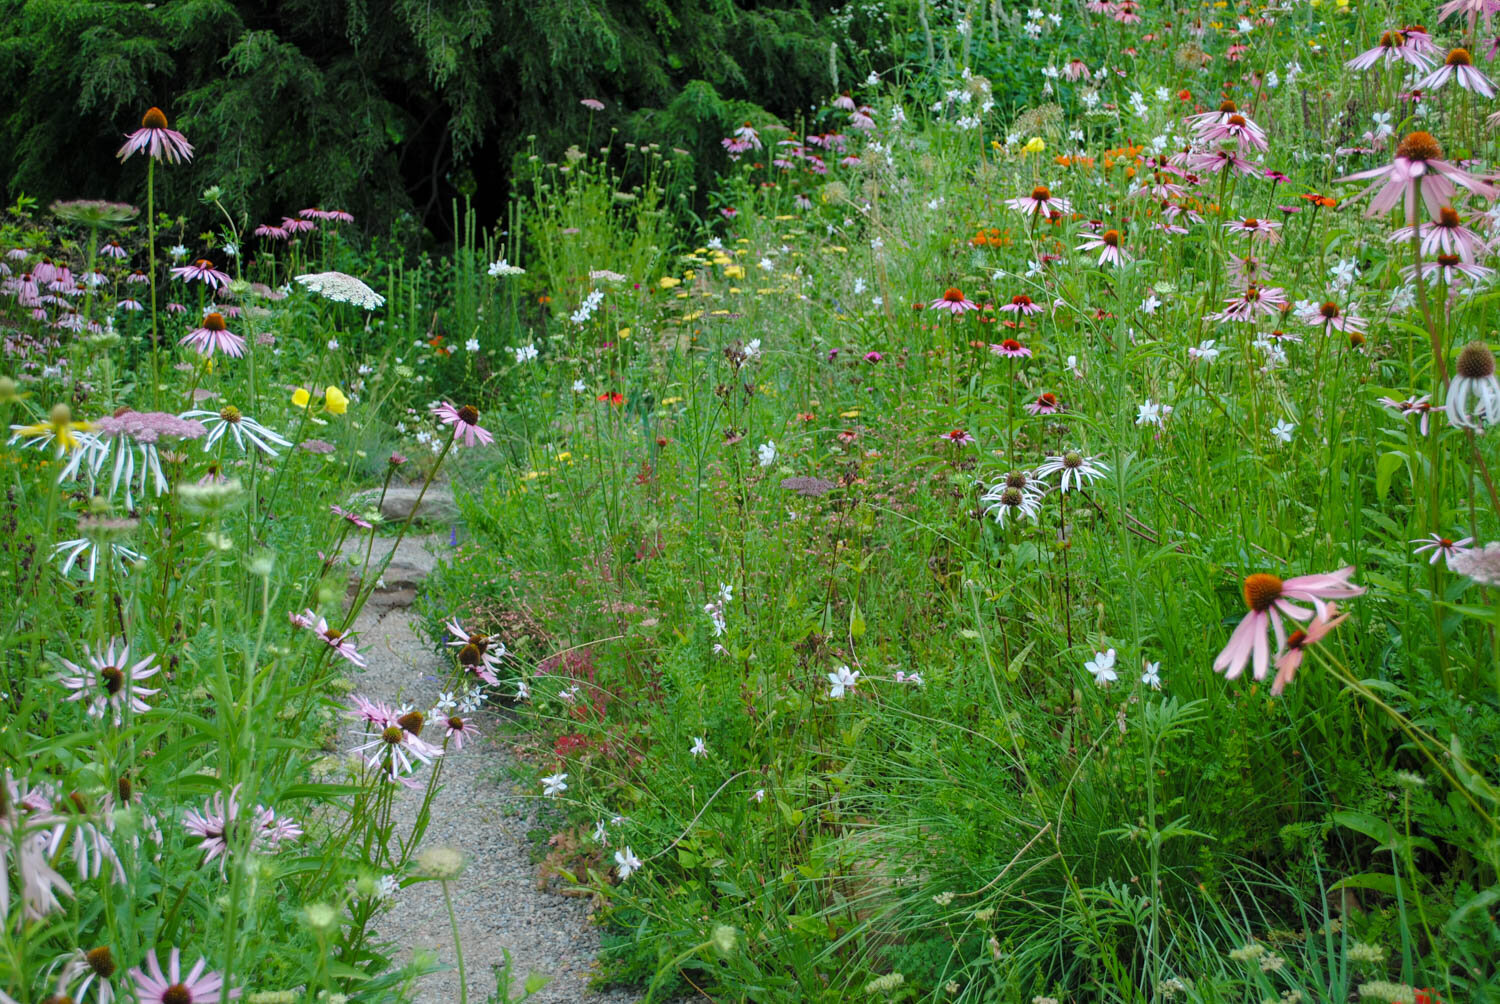
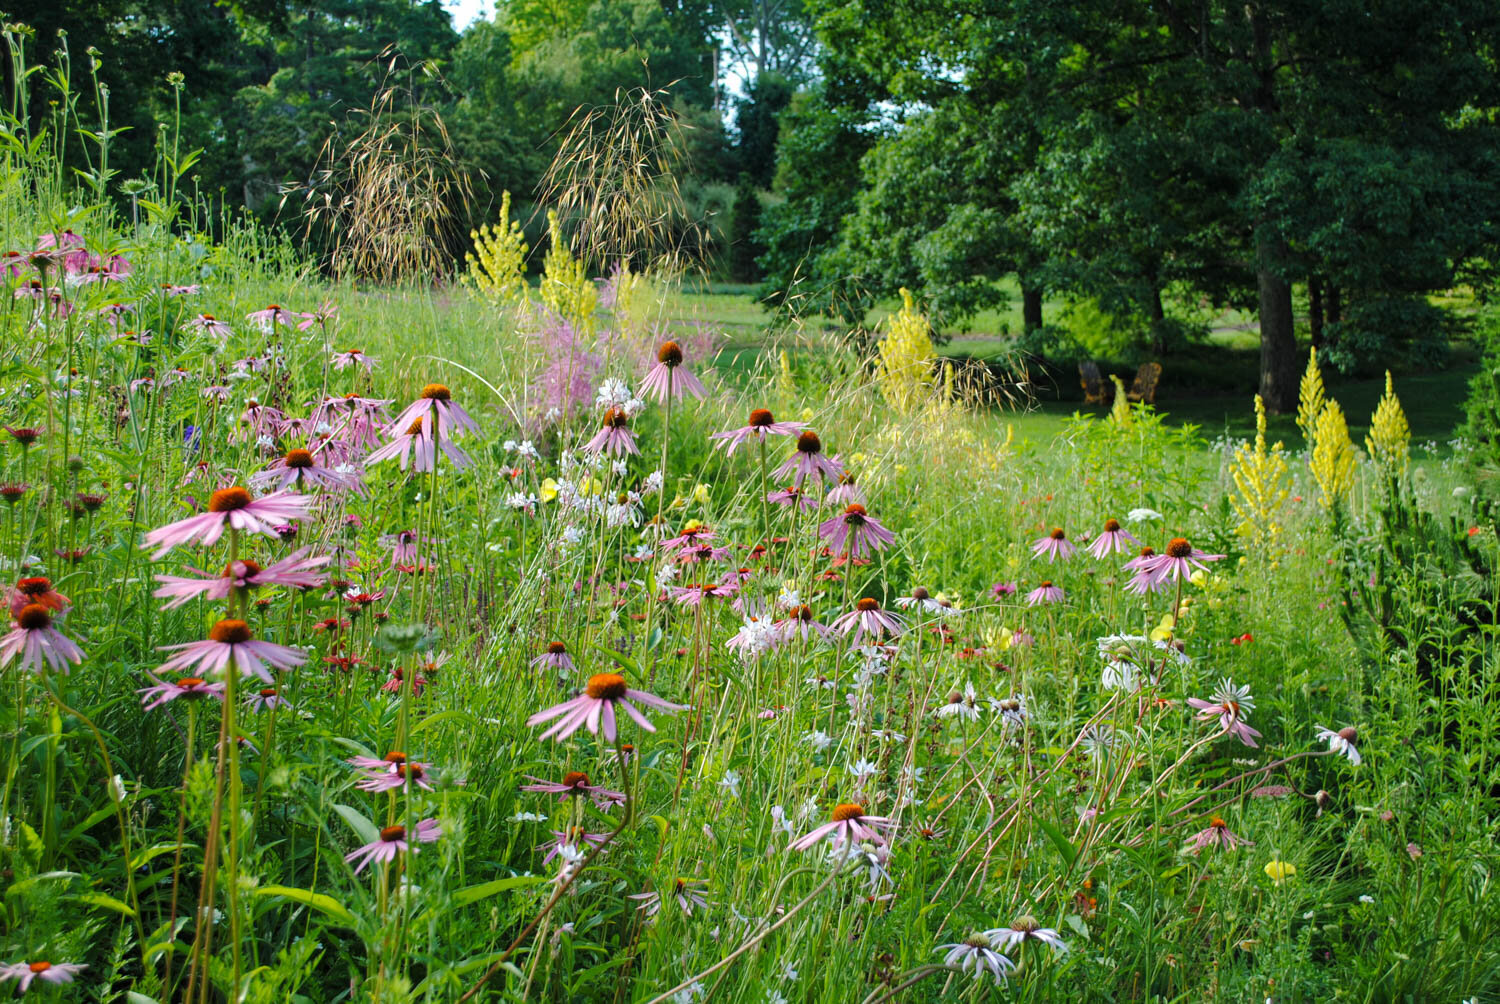
This year is the second that it has been growing in my garden, and there are even more flowers. I haven’t discerned yet if this plant is a reseeding annual or perennial, but either way it is delightful. I should know in the next few years. They are planted in a bed near our driveway, and I’ve noticed the shadows the circular flowers cast on the blacktop when the sun is at an angle in the sky. I really like to pair it with white flowers or those that have hints of white, and the strong texture pops with the more fine textured grasses.
One last note. Jenks Farmer argued that this plant needs a better name. I agree since rayless seems to hint that there is something lacking to this plant. Perhaps button sunflower or lollypop sunflower, something, really anything to better convey how wonderful this plant is.

A closeup of Helianthus radula flowers