I'm hosting The Plant Palette Builder Thursday night (July 23) at 6 pm central. We'll discuss how you turn a plant list into a plant palette, how to use constraints as a funnel, strategies for thinking through your options as a repeatable process, and a few simple recipes to give you some inspiration.
The class is discounted 20% through July 23, or join the Botanic Bootcamp membership and save even more!
We've all seen a plant list. They've come as handouts at garden lectures, sections in books, online resources, and even the results of our own creations by walking through garden centers or botanic gardens. I can't even count the number of plant lists I've created over the years for presentations on trees, shrubs, perennials, annuals, pollinator plants, natives, and more.
I've always asked myself when I make a plant list, "How can I make this helpful for the people using it?" Usually the approach I've taken is that instead of doing plants in alphabetical order, I tell some story. I'll show plants based on their seasonality or their use in a particular layer in a planting.
But still I think there remains the question how do you use the information? It's like walking into a grocery store and seeing thousands of ingredients on the shelves. You don't need all of them to make a salad or a soup. You hone in and focus on what the dish calls for. That's part of what we have to think about here: what is the story you're trying to tell with this landscape? What's the overarching dish you're creating and why—for enjoyment, for purpose, for function?
Also, one of the assumptions I've made in building lists this way is that gardeners aren't starting from scratch. They already have an existing planting or an existing group of species they're working with, and they're looking for more options and inspiration.
But what happens if you are starting a new planting? What if you've been asked by a client to design a new landscape in another state and you're still new at this? Or what if you buy a new house that's basically bare lawn? What is the approach then?
A list is a fine place to start. It is not a finished plan. You're going to have to work on creating a curated list of species that are adaptable to your site, are cohesive together, and fit the preferences you have for your area.
This may seem like a daunting challenge. But with a few simple steps, you can learn how to hone a plant list down into a plant palette.
Each step you take toward a palette is a useful constraint. Site is one. How plants naturally arrange themselves into layers is another. How you intend to use the plants whether it be their function or their purpose is a third. And finally, we bring in our preferences for aesthetics and everything else we want out of the space.
Before we can build a useful plant palette, we need options to narrow from. Plant lists are everywhere. But for naturalistic and native plantings, they're a little more specialized. Each of the resources below has some detail on how effectively these plants can be used.
A few of my favorite plant lists, for inspiration:
Tree Species Selection for Green Infrastructure by Drs. Andrew Hirons and Henrik Sjöman
Soft Landings by Heather Holm and Neighborhood Greening
The Landscape Plug Manual by North Creek Nursery
Planting for Pollinators by Prairie Nursery
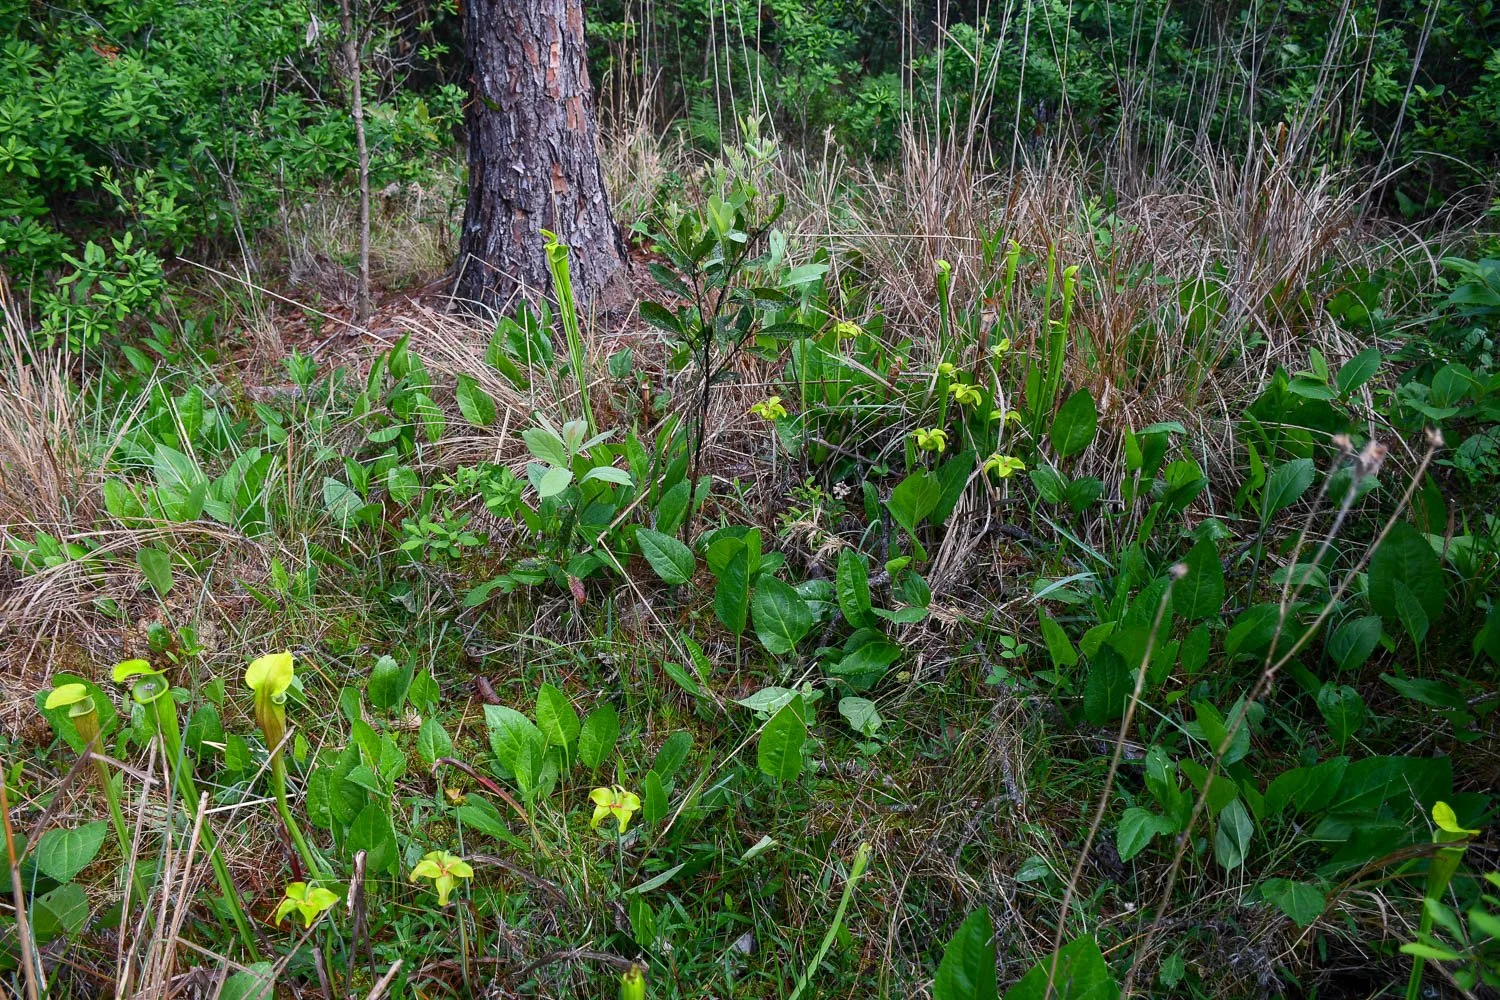
Also, my advice is as you start working with plants, develop your own list, too. Even as a homeowner, track your own data. Note what survived in the sunny spot but died in the shade. Too often we reduce plants down to "part sun, well-drained soil," and as we see in their actual habitats, things are so much more complex than that.