Silver bells, silver bells, it’s Christmas time in the city.
I doubt that Dean Martin was singing about a plant in the Styraxaceae, but I catch myself humming the song’s chorus when I’m near my silverbells outside. We’ve been decorating for the holidays, and the two Halesia diptera var. magniflora (large-flowered silverbell) near our house are finally big enough to hold a few of our Christmas lighted balls (header image).
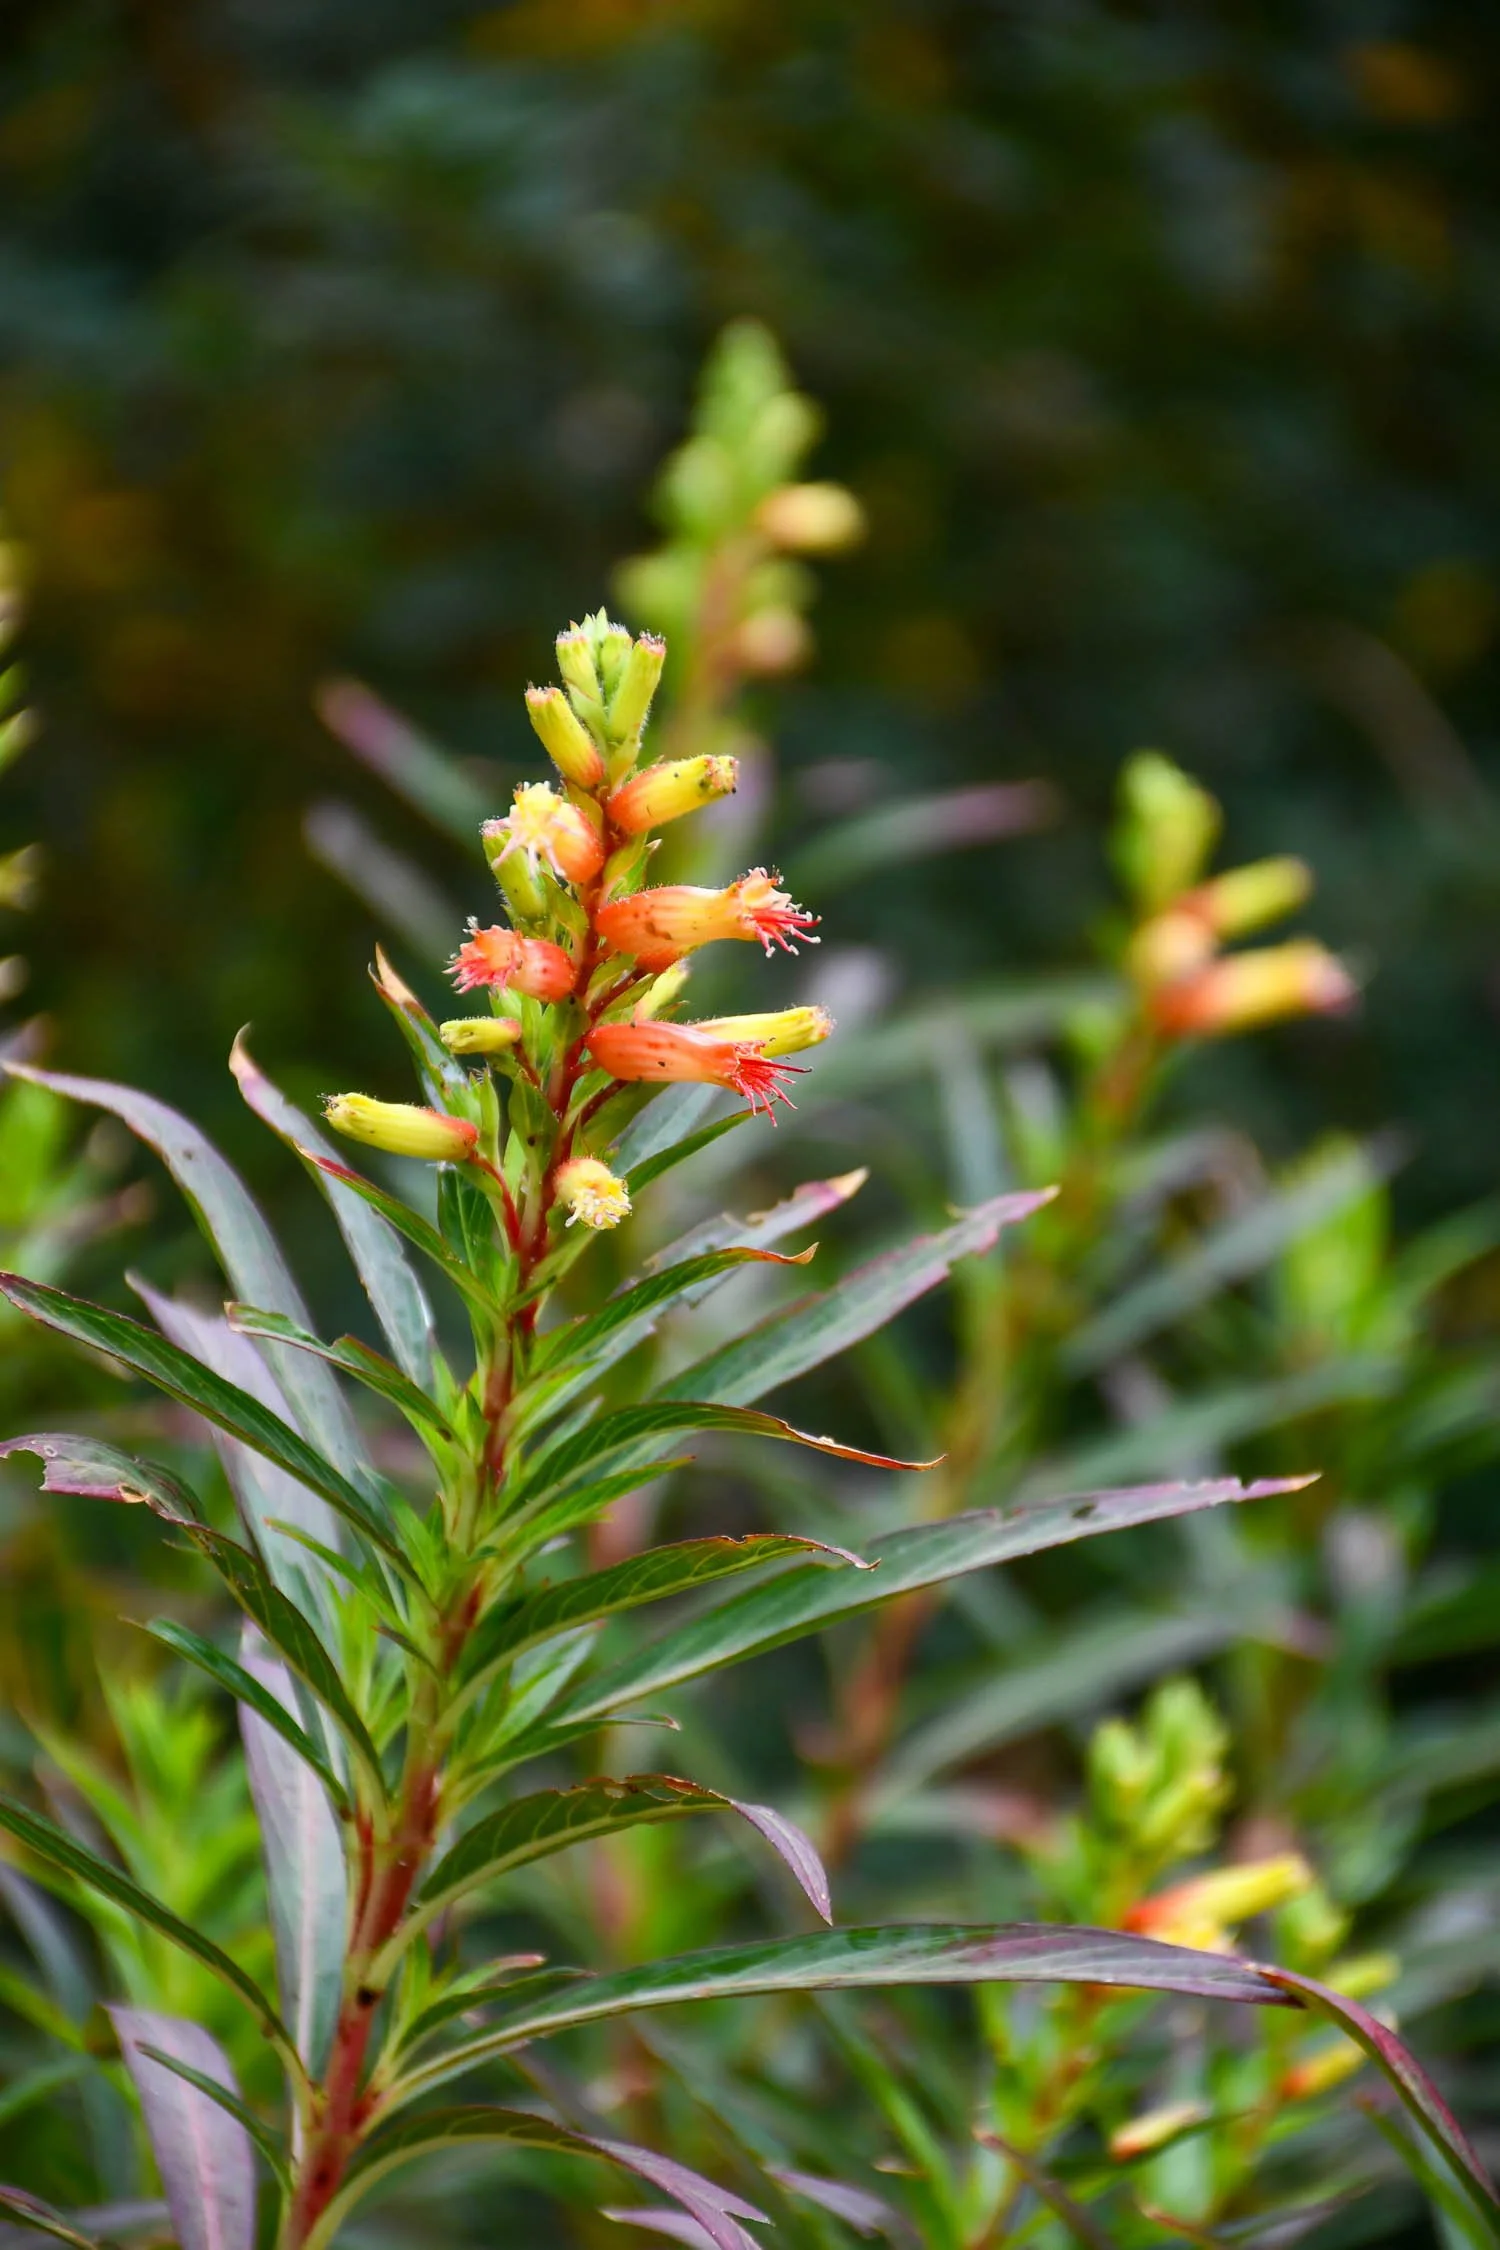
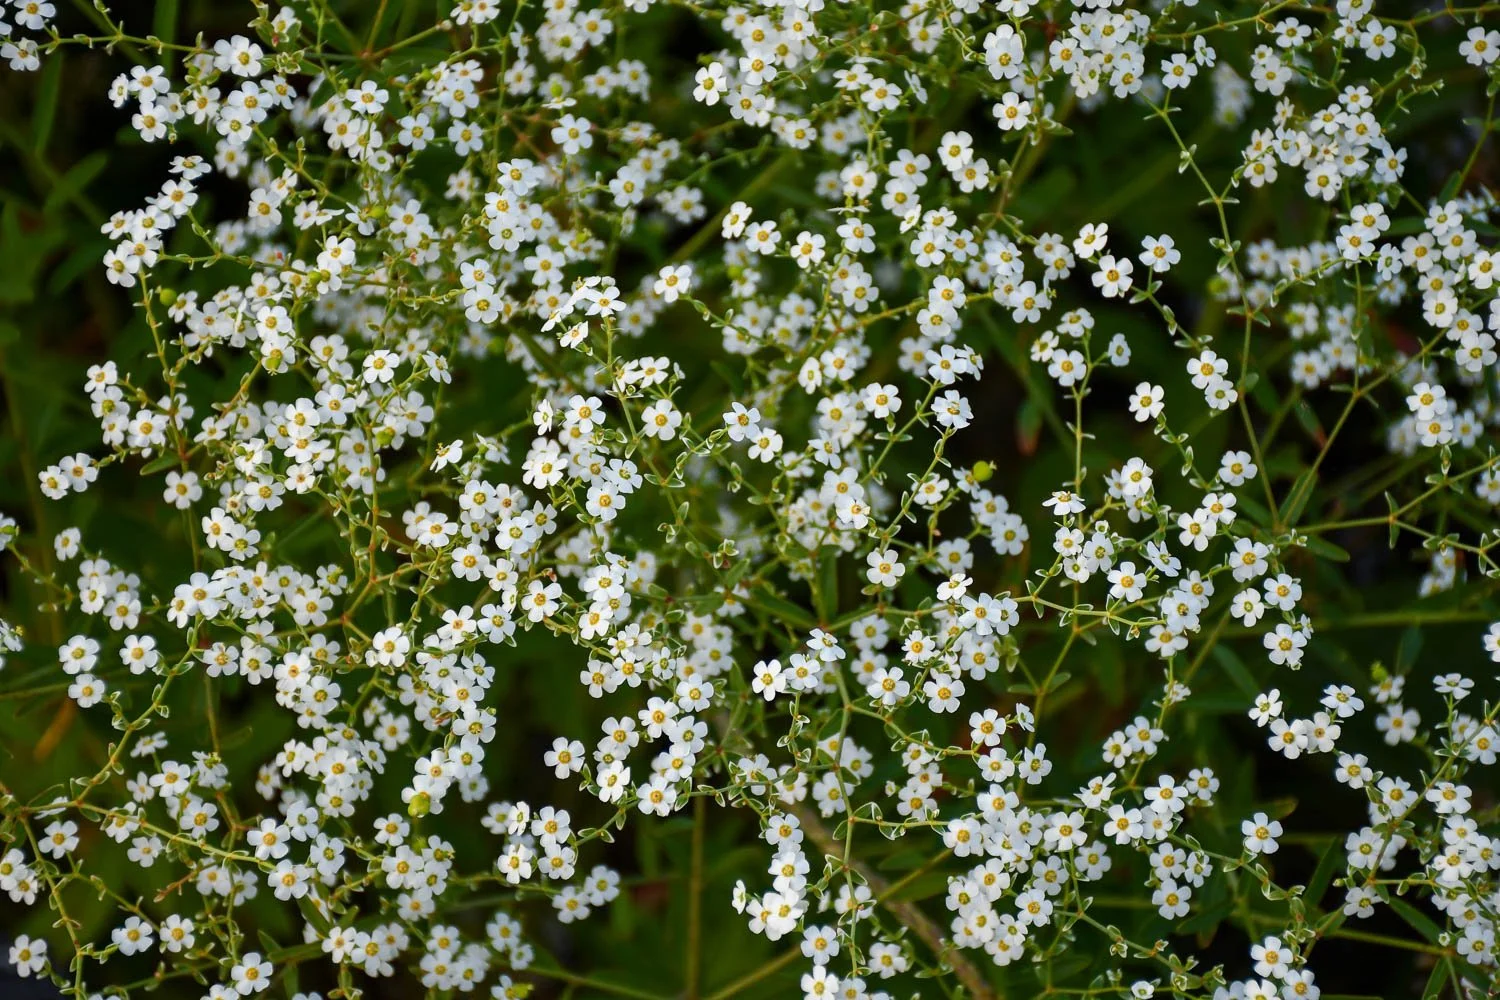
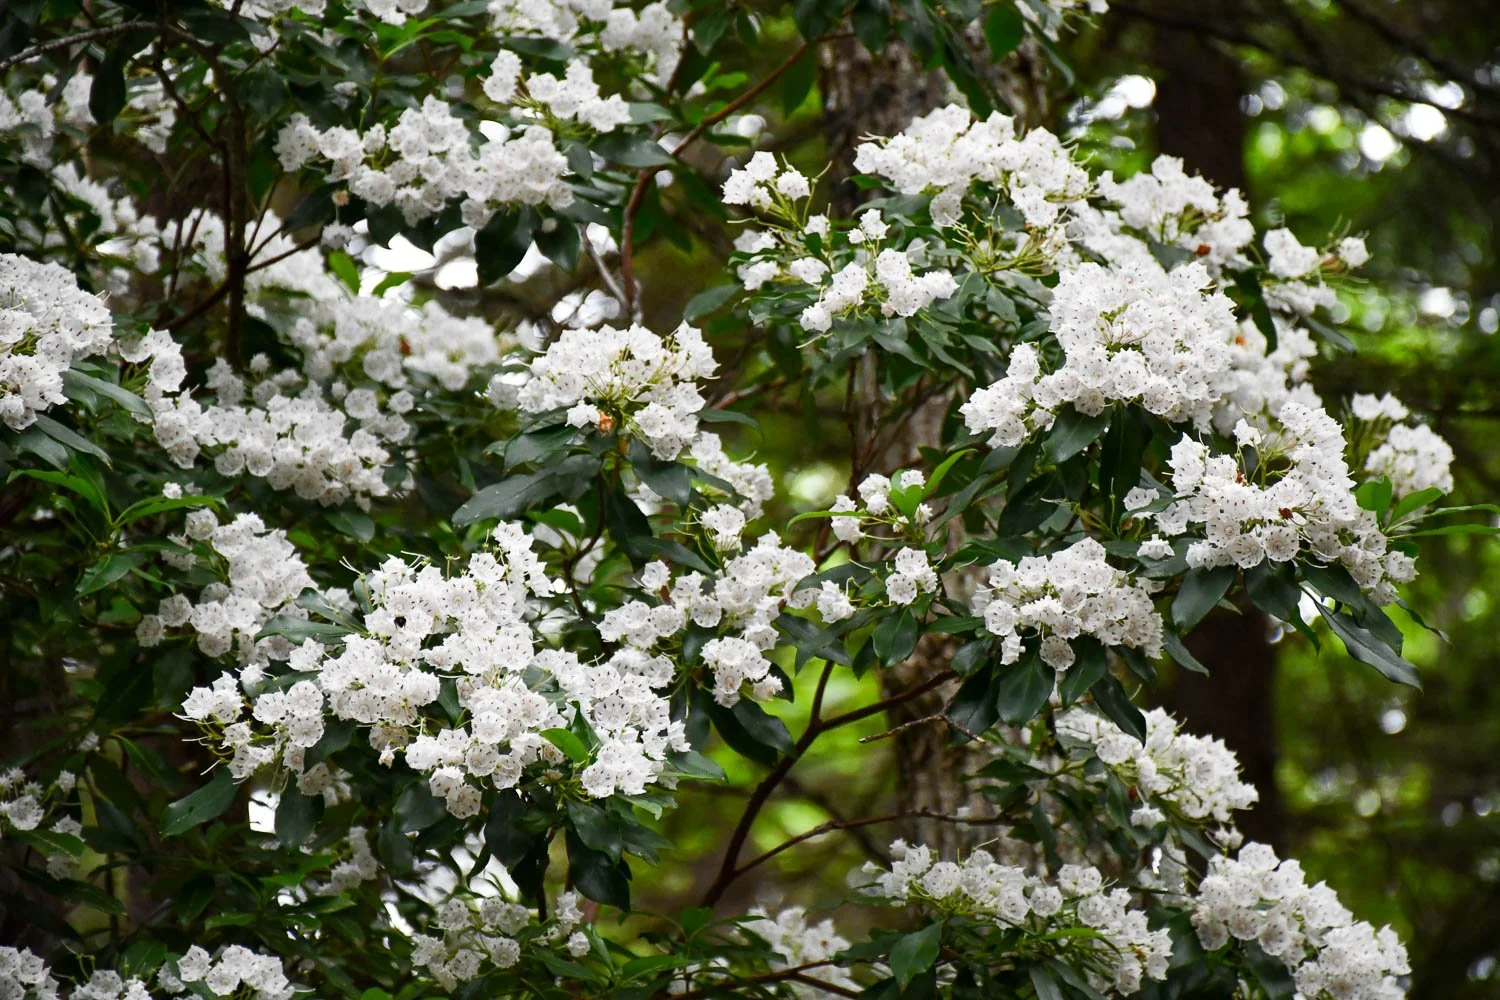
Large-flowered silverbell has become one of my favorite native trees for their four-season interest. In late March through early April they are covered with white, four-petaled flowers that appear as silver bells. After they flower, they are then cloaked with large leaves that form a dense canopy.
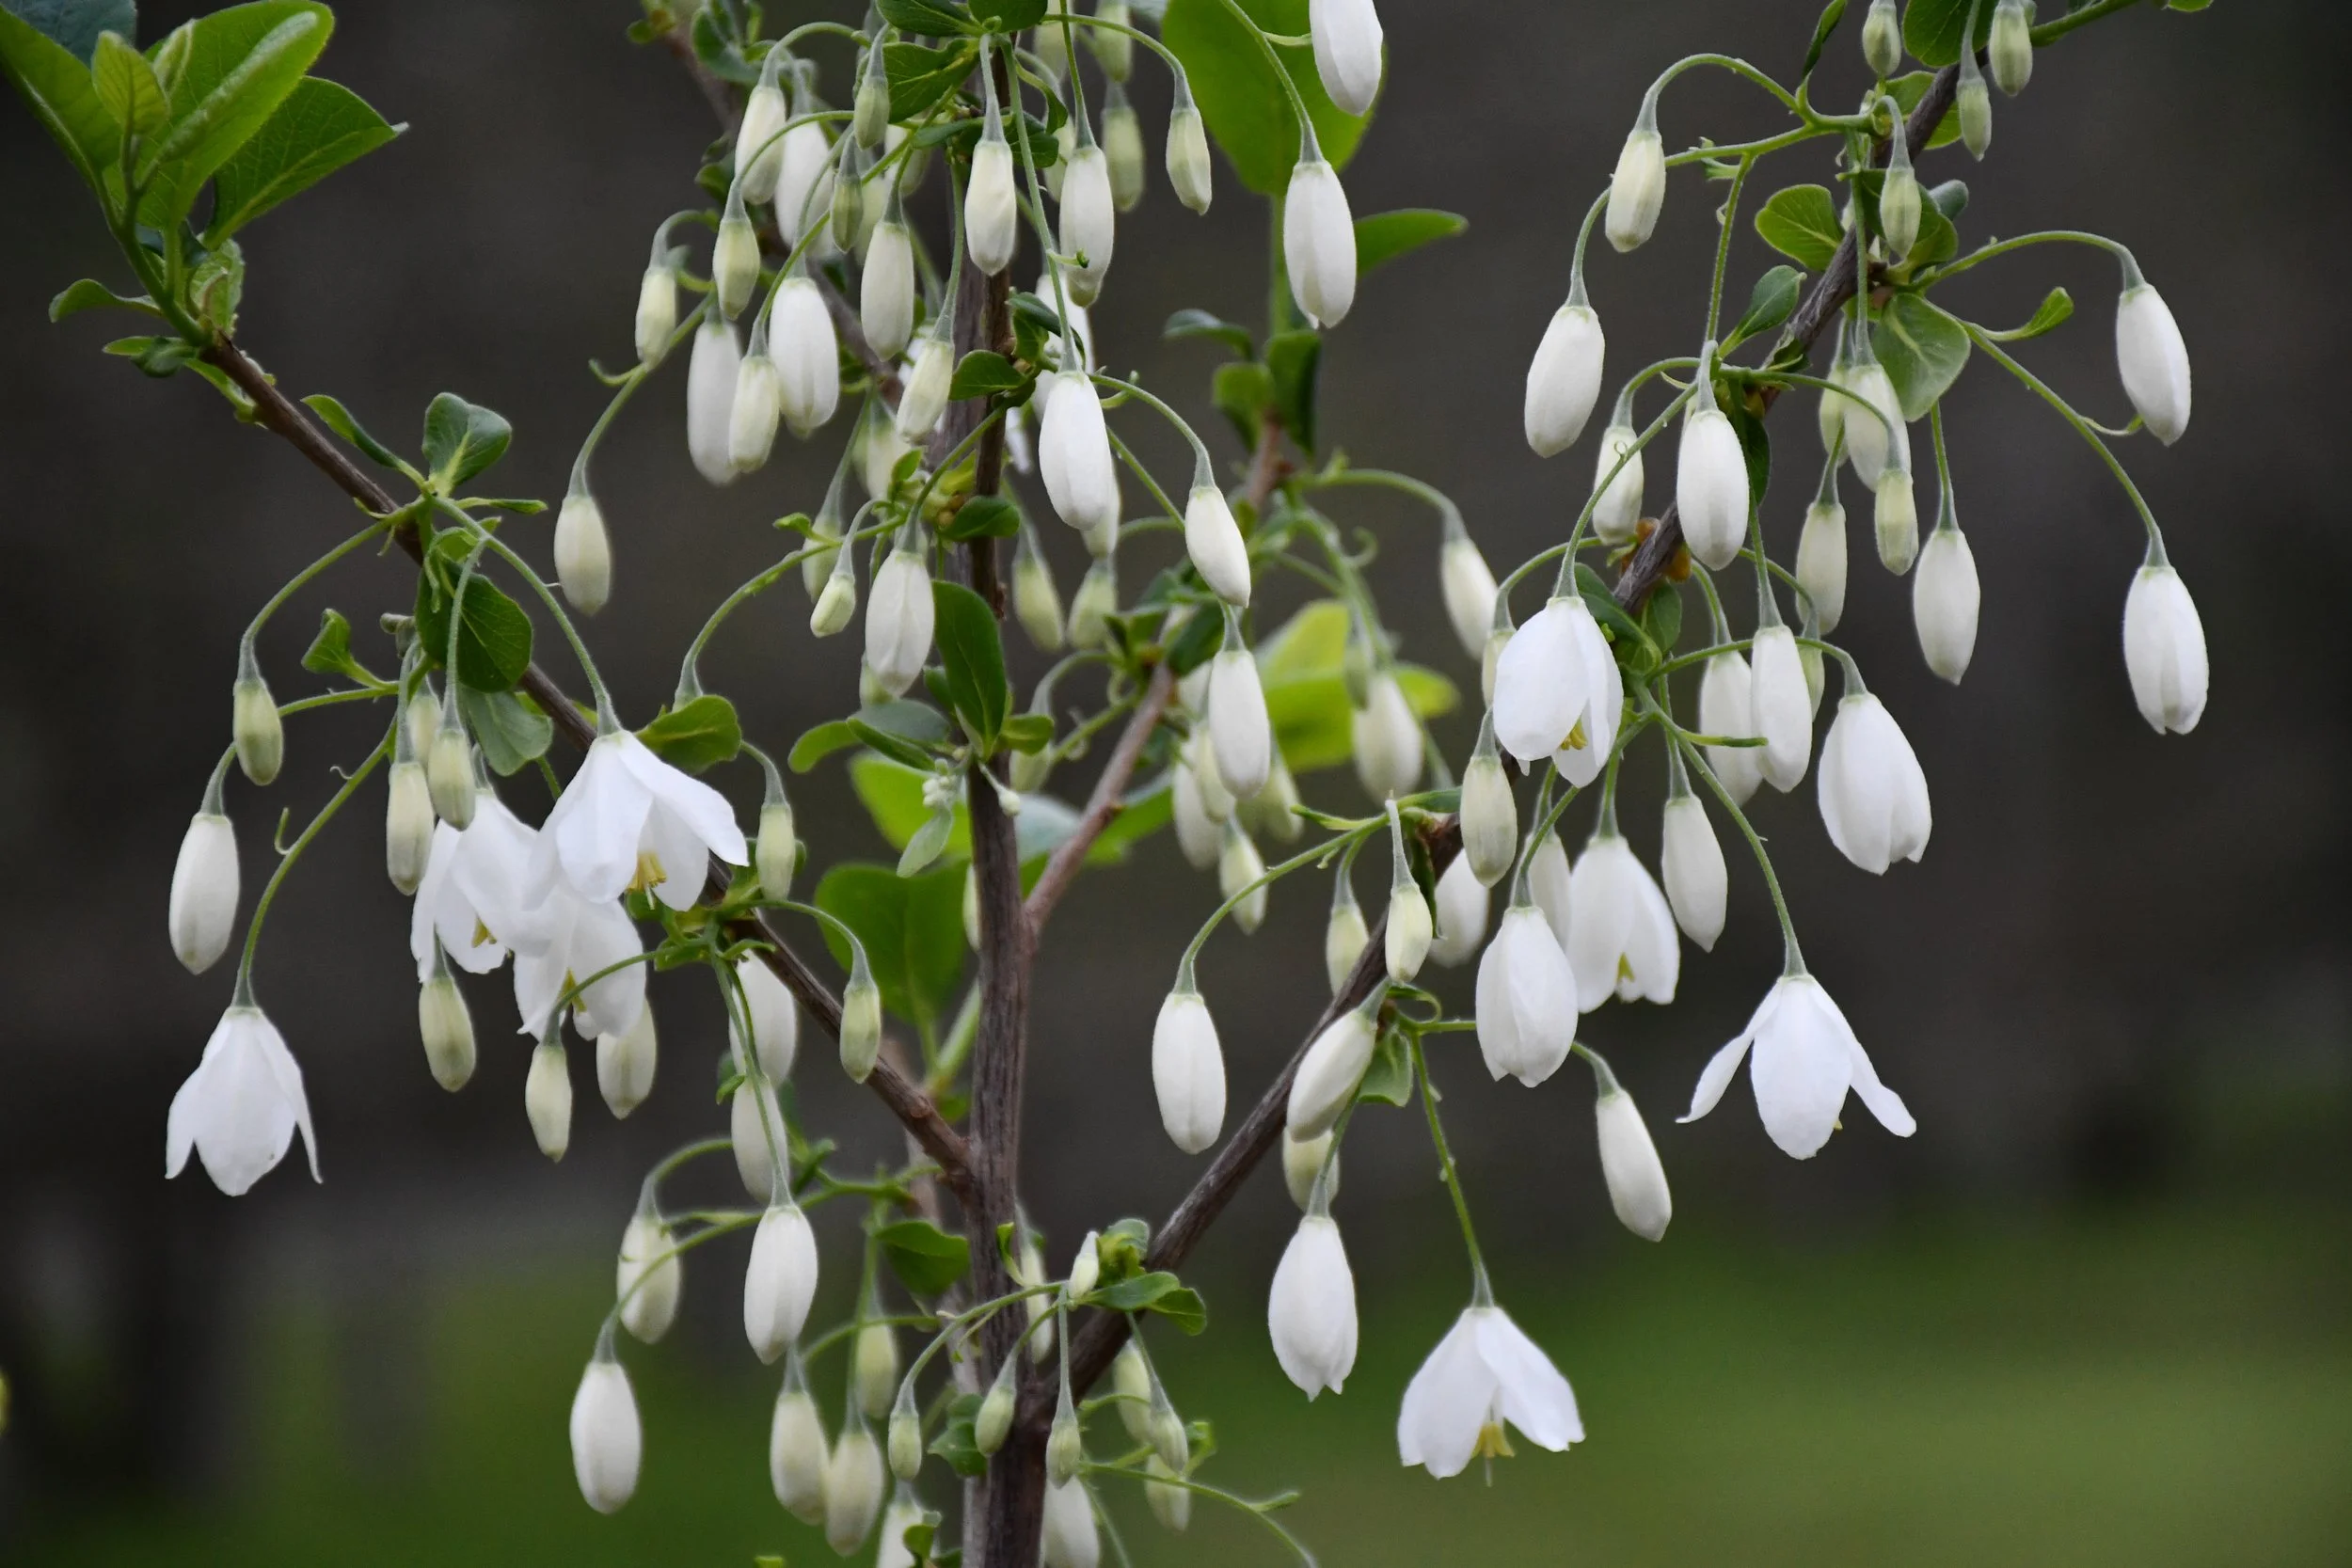
A close up of the lovely flowers of large-flowered silverbell
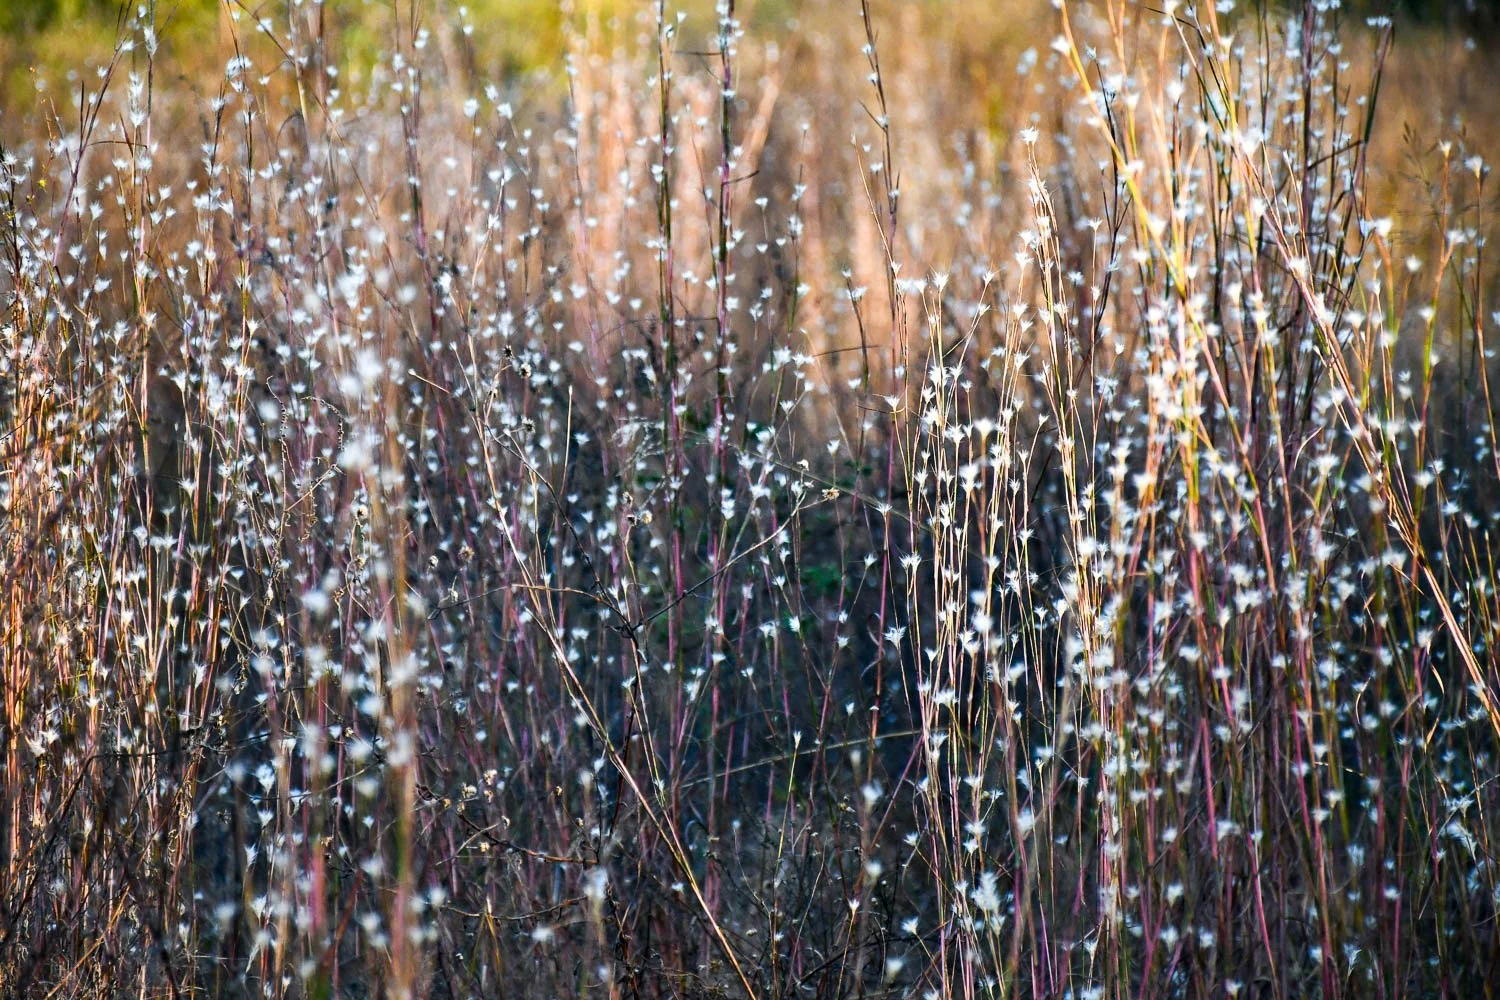
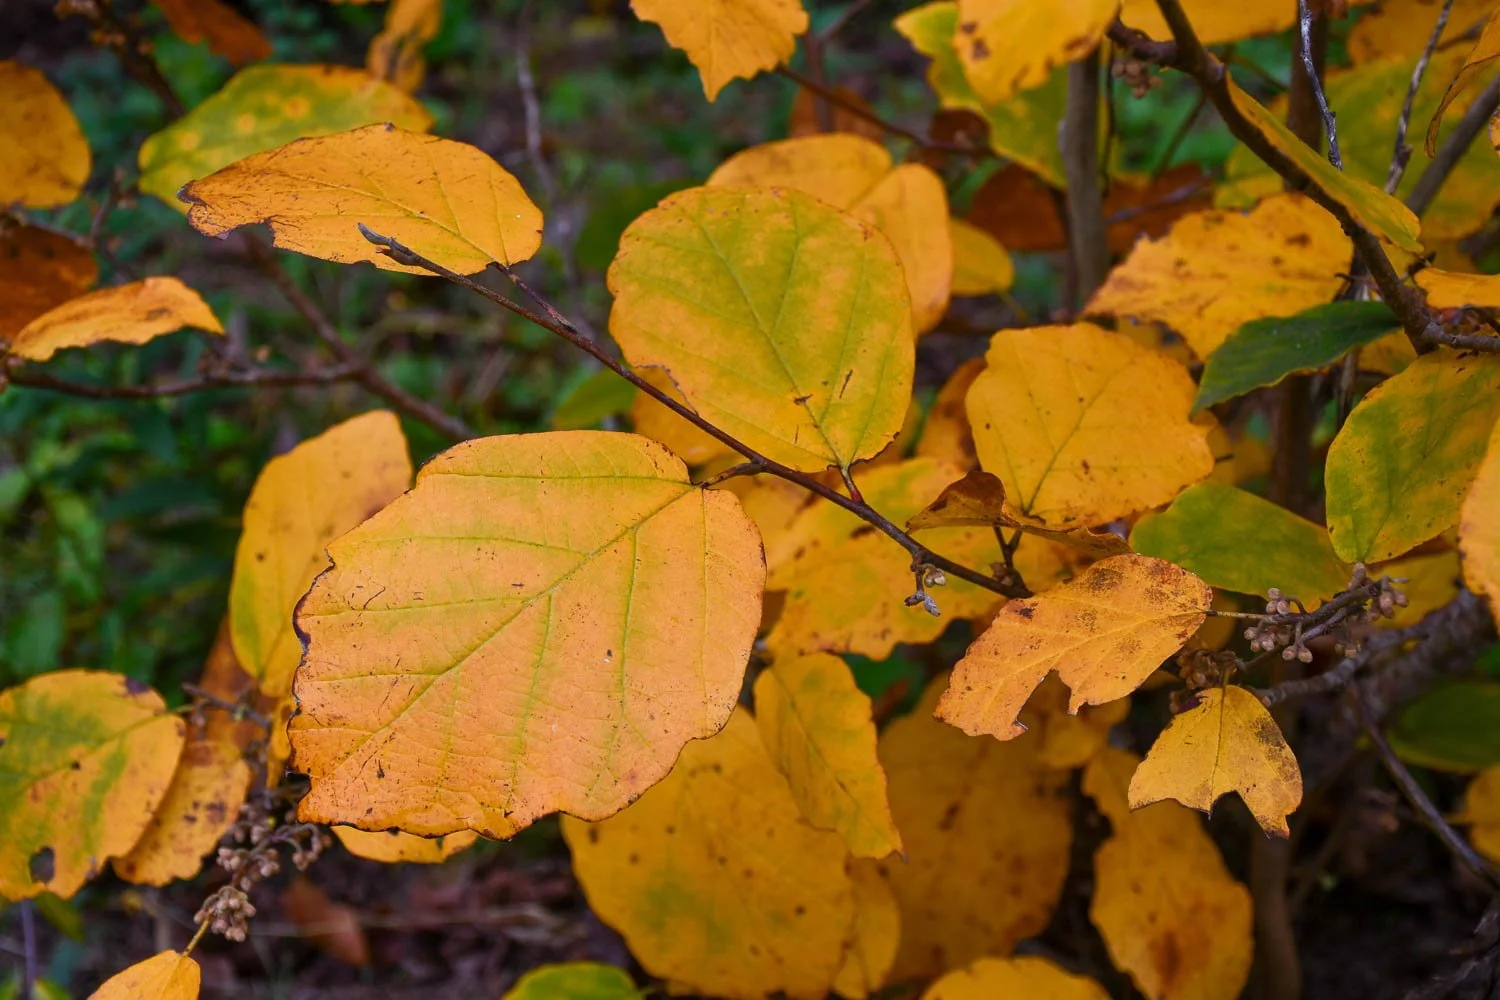
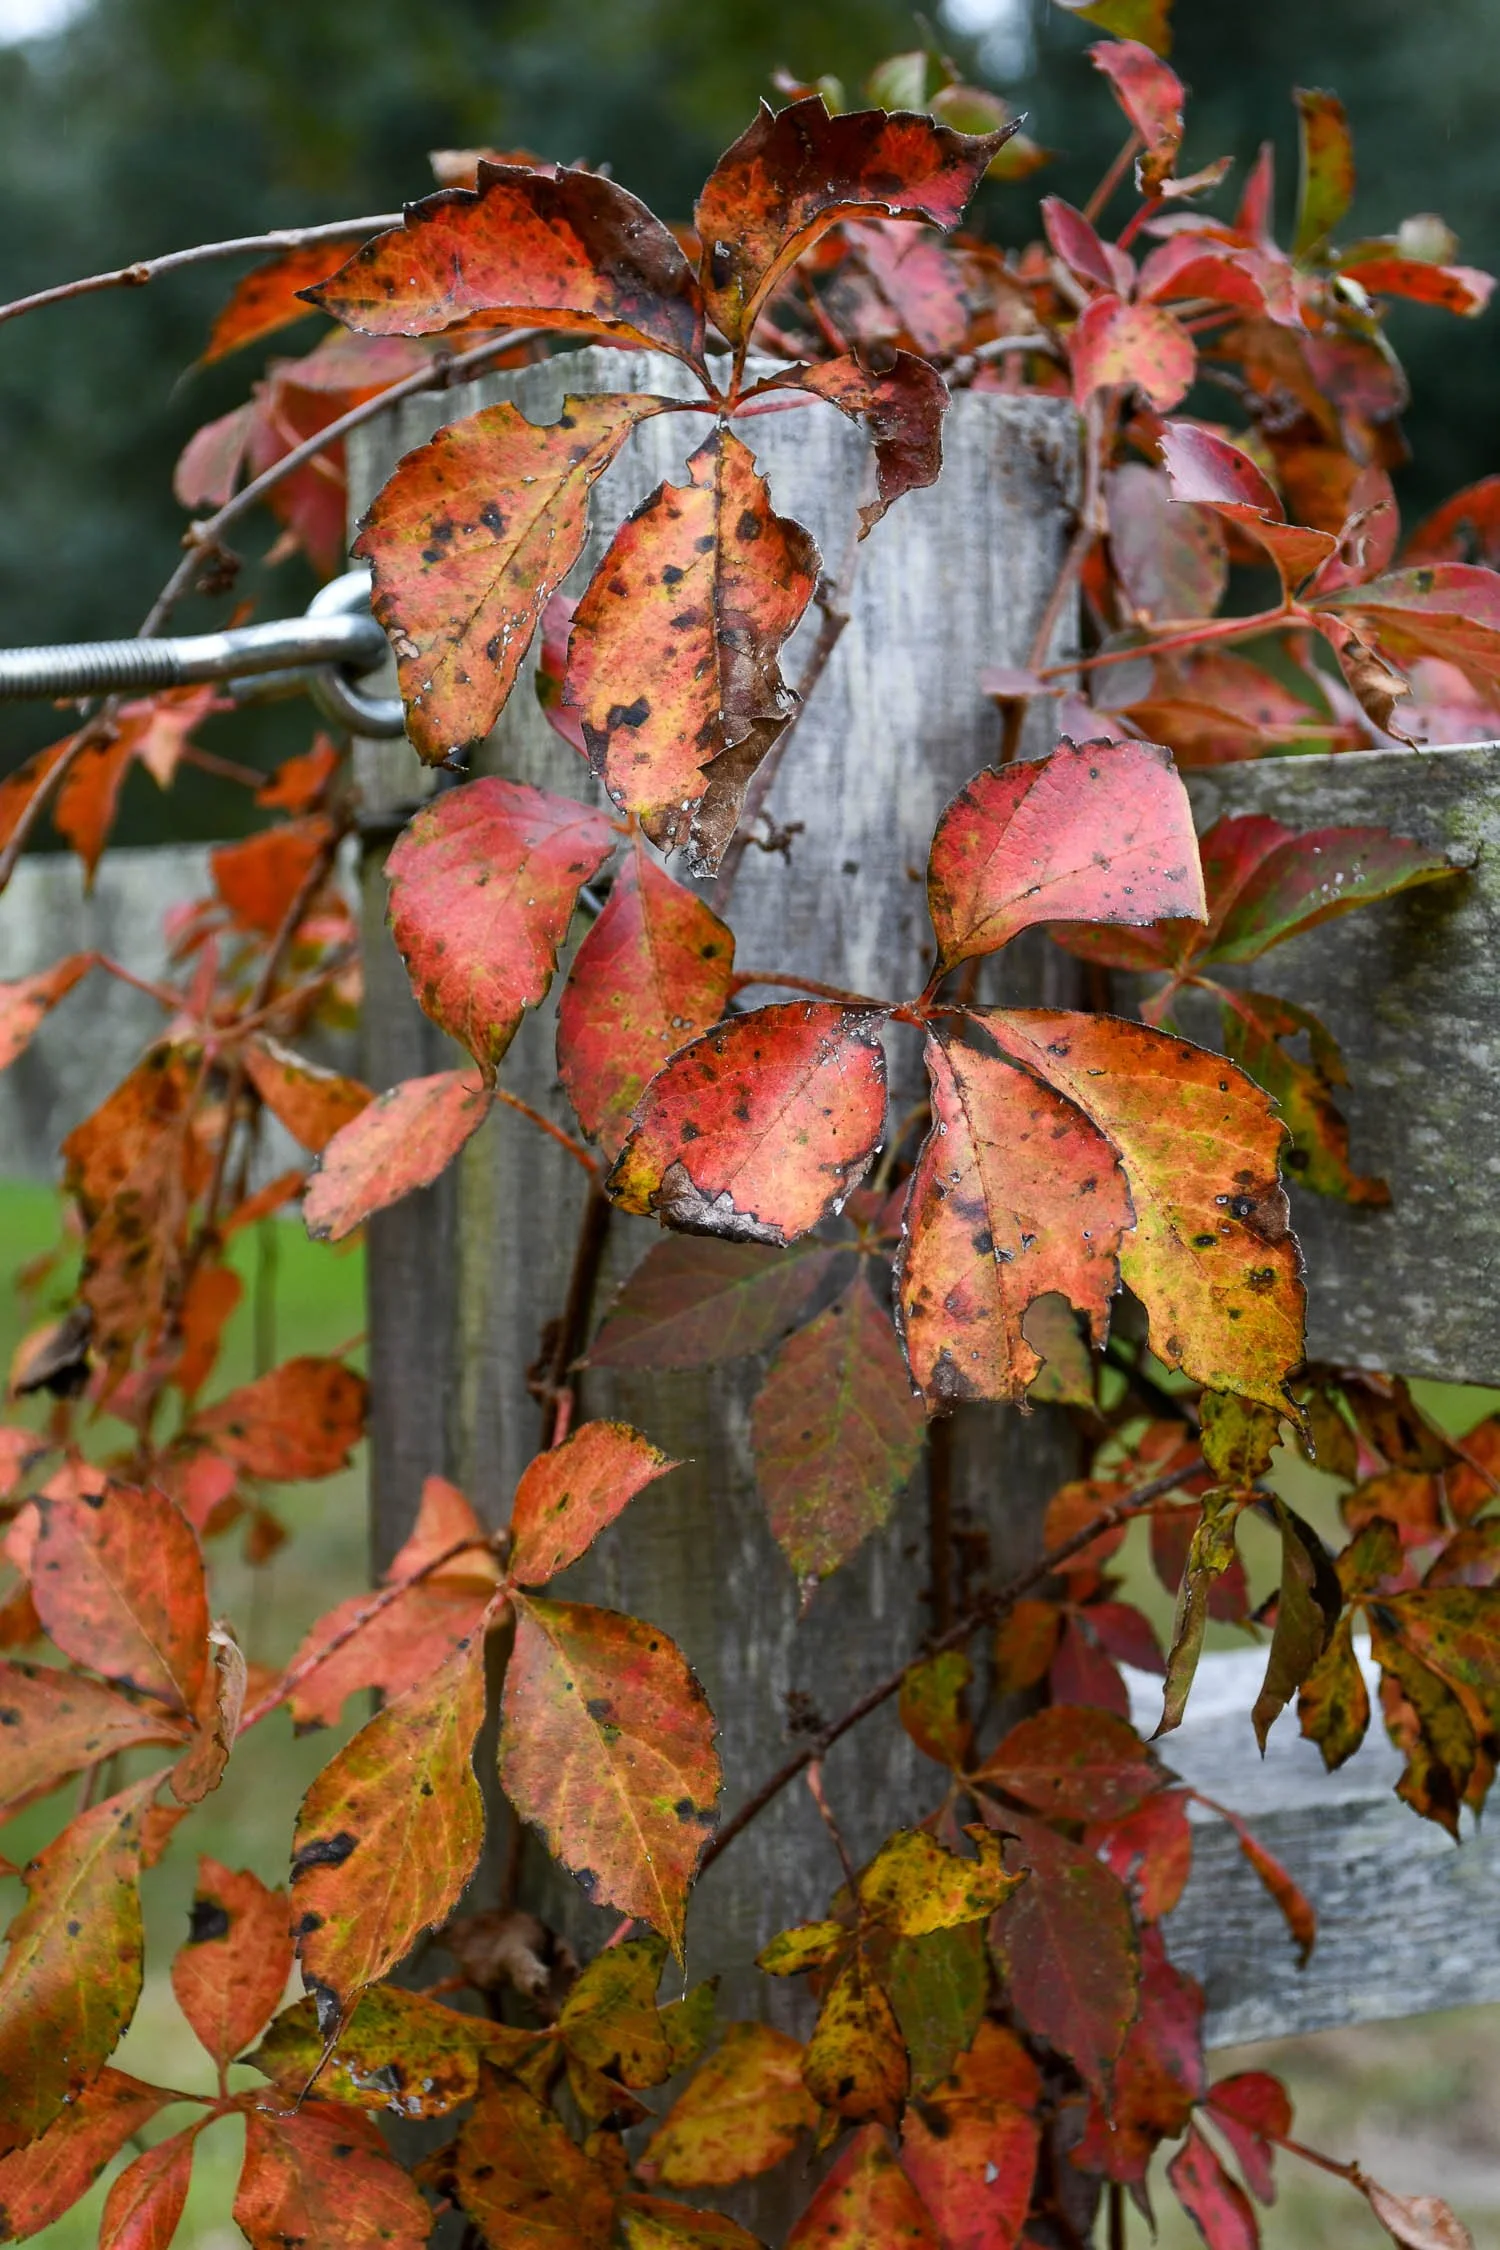
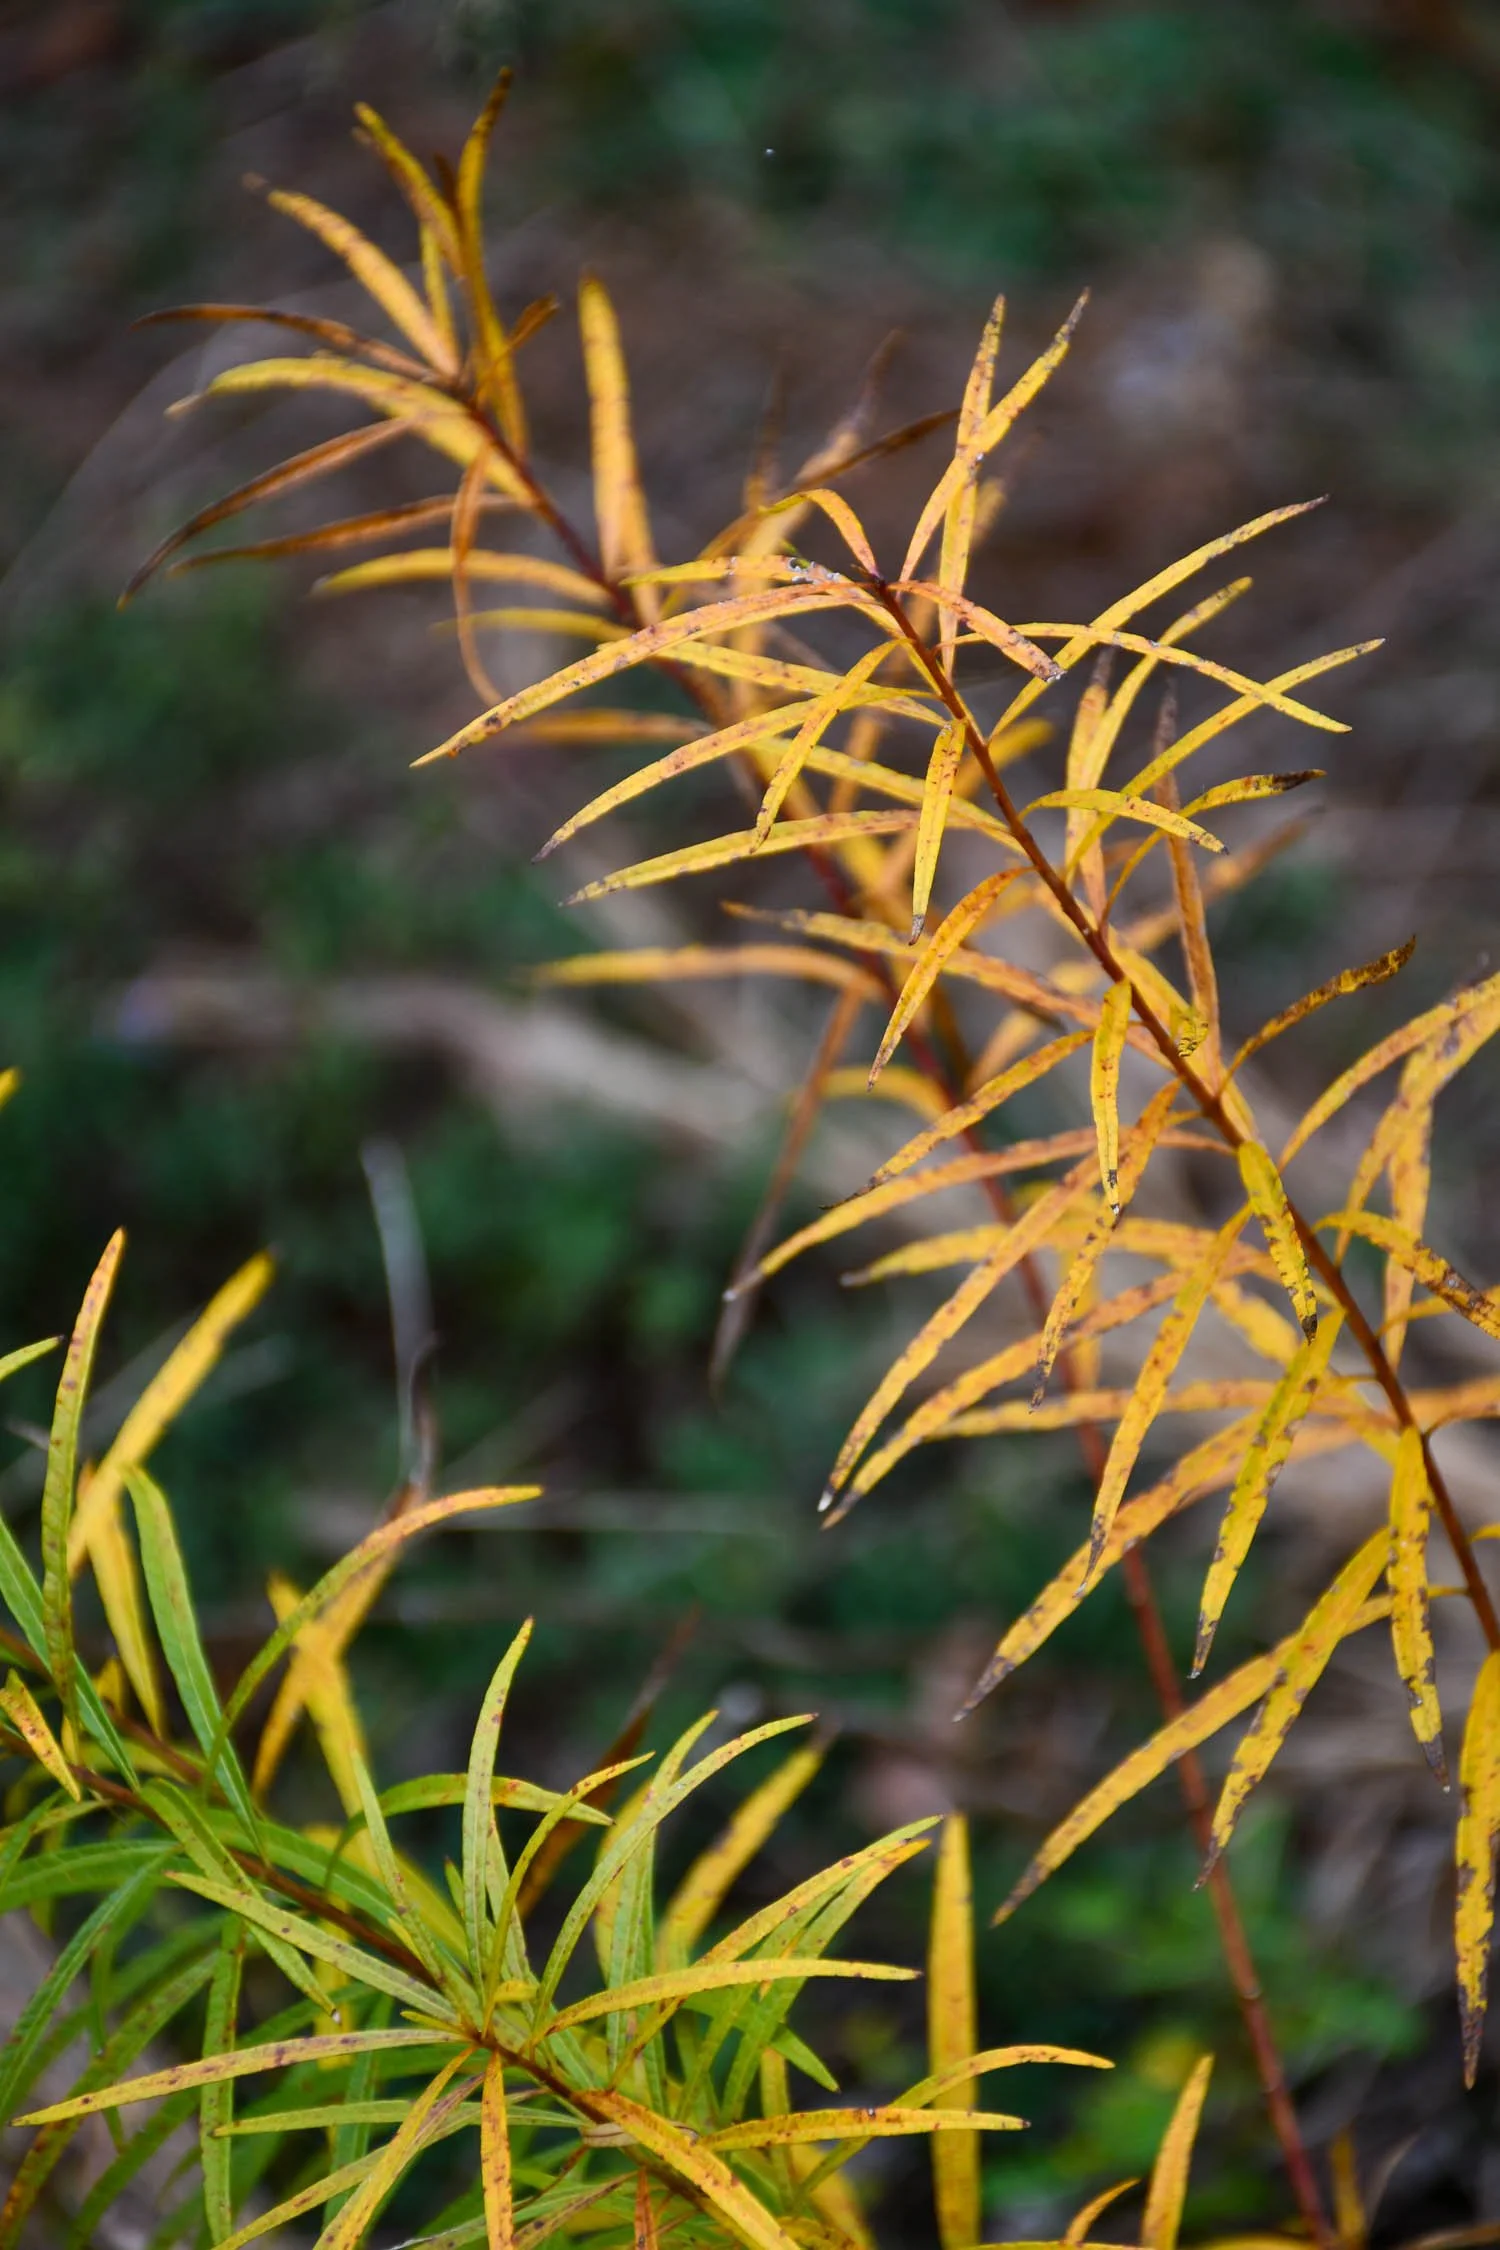
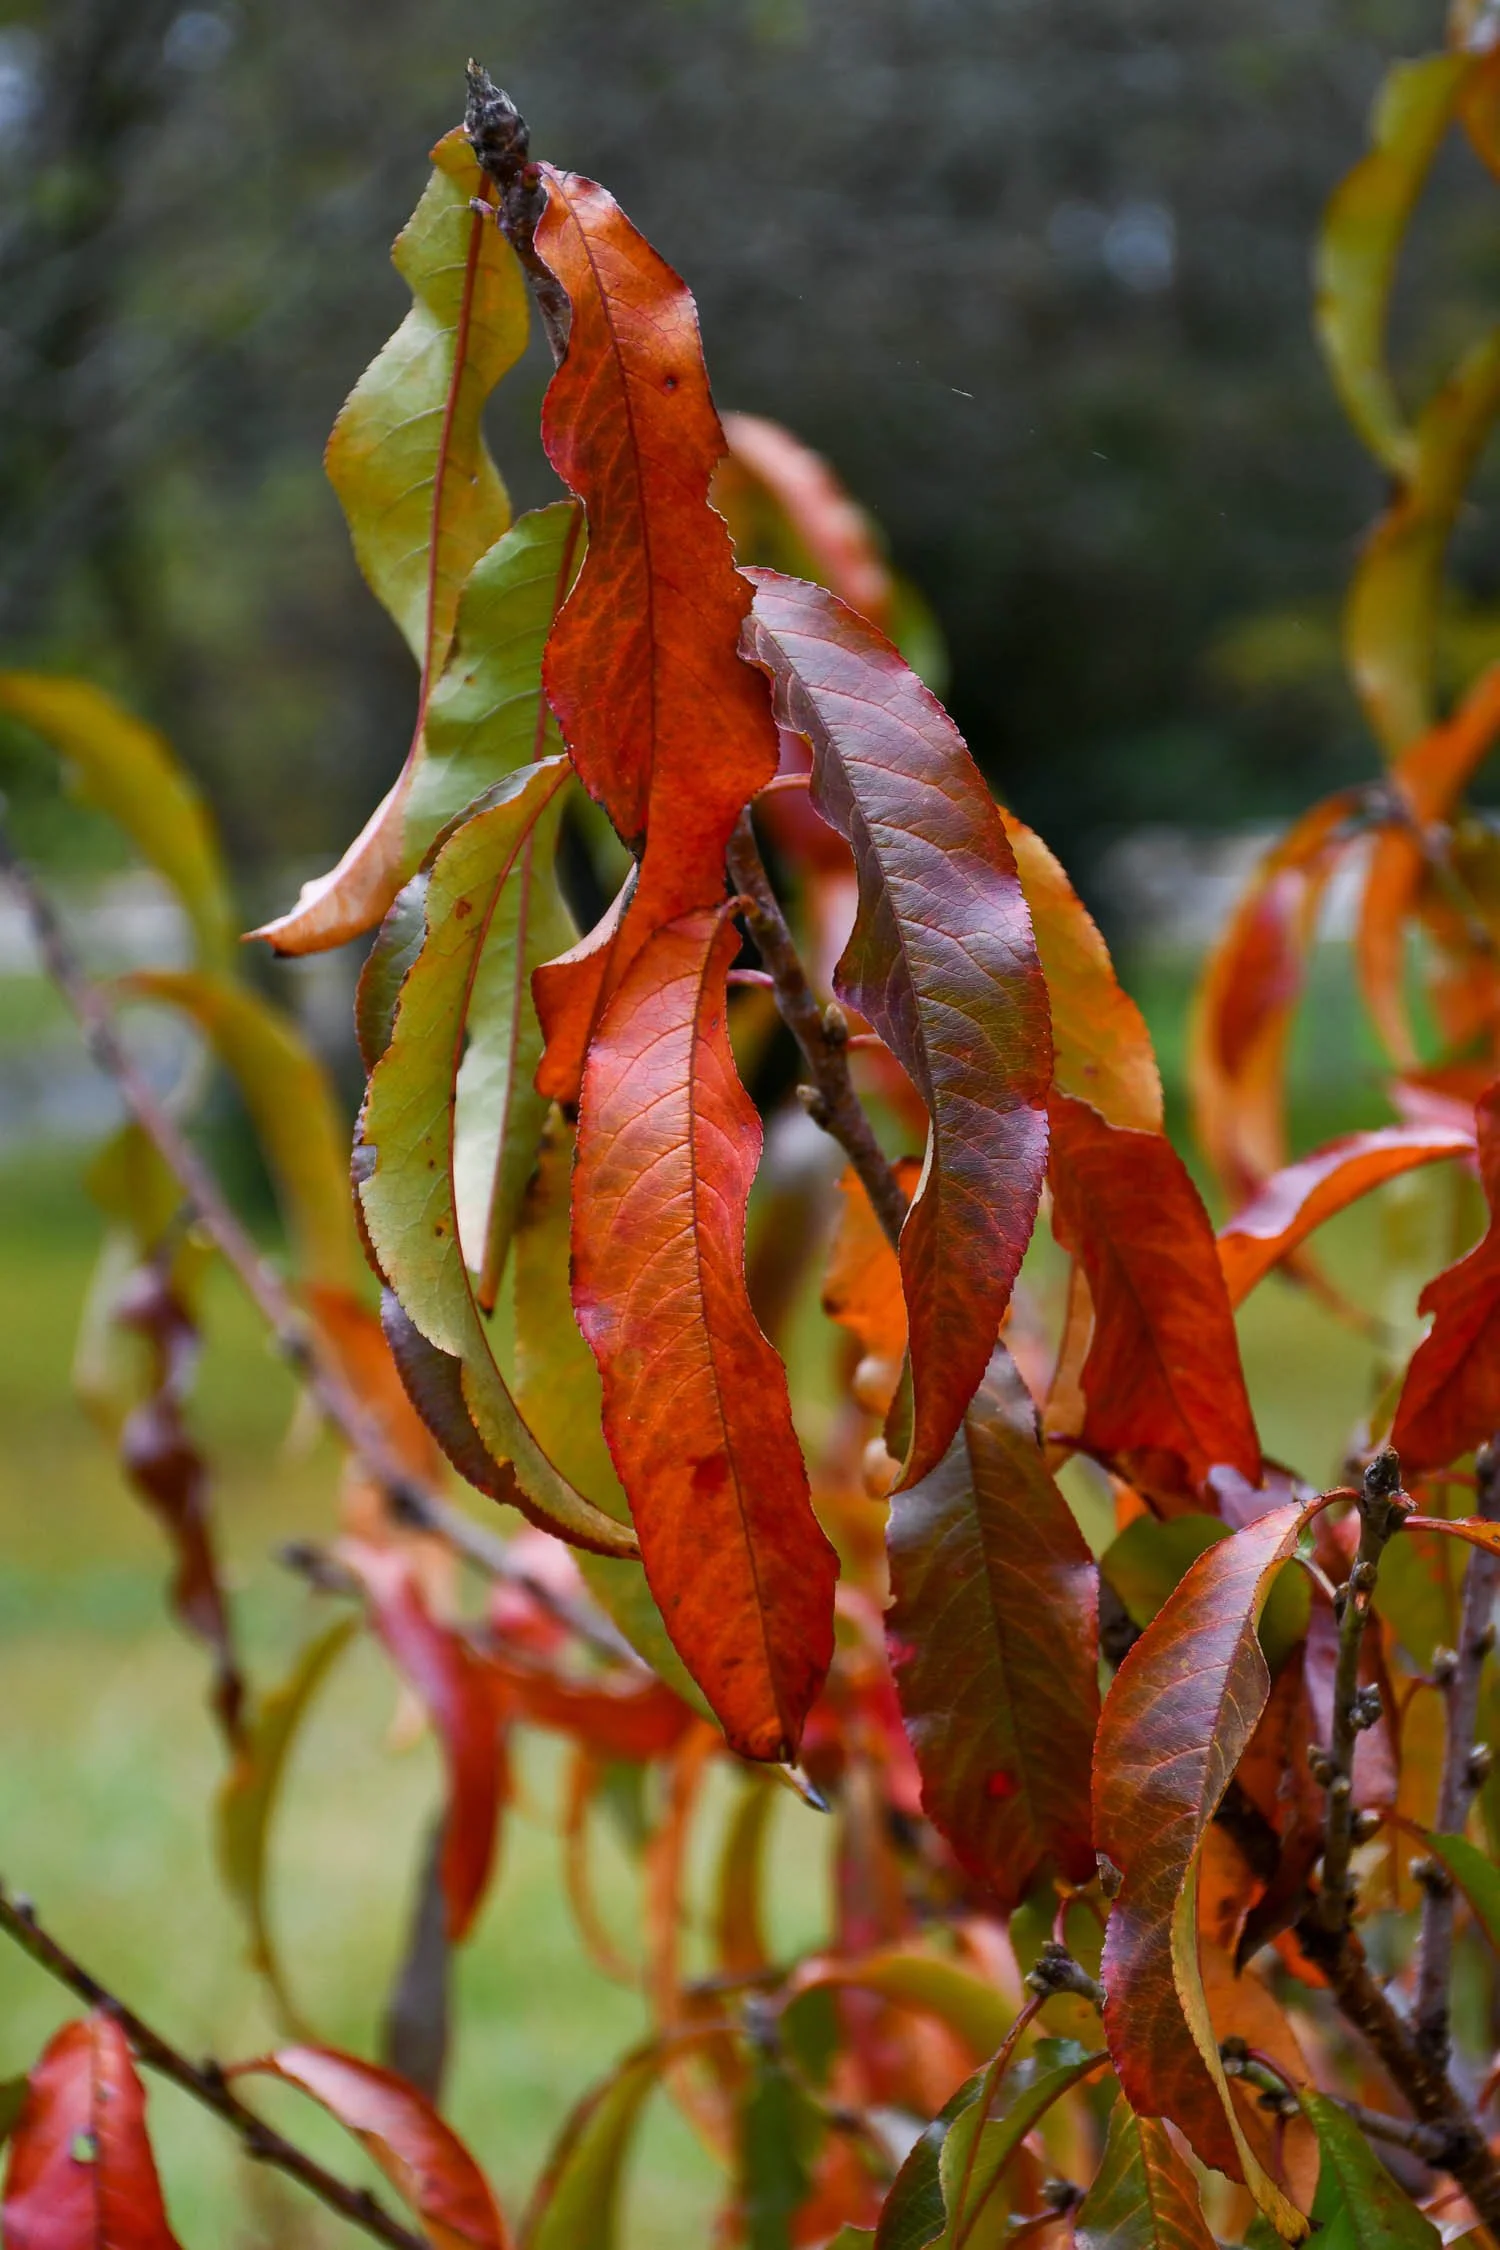
The fall foliage is also stunning in the deep South. Around the middle of November, the whole tree turns popcorn butter yellow. I should note that friends further north say that they don’t see this color change. Once the leaves drop, the sea-slug-looking, two-winged seeds are visible dangling on the tree. The winged projections likely help the seeds travel a short distance from the parent plant. Even in the winter I enjoy the bare tree outside the kitchen window as it has become a favorite perch for birds near our bird feeders.
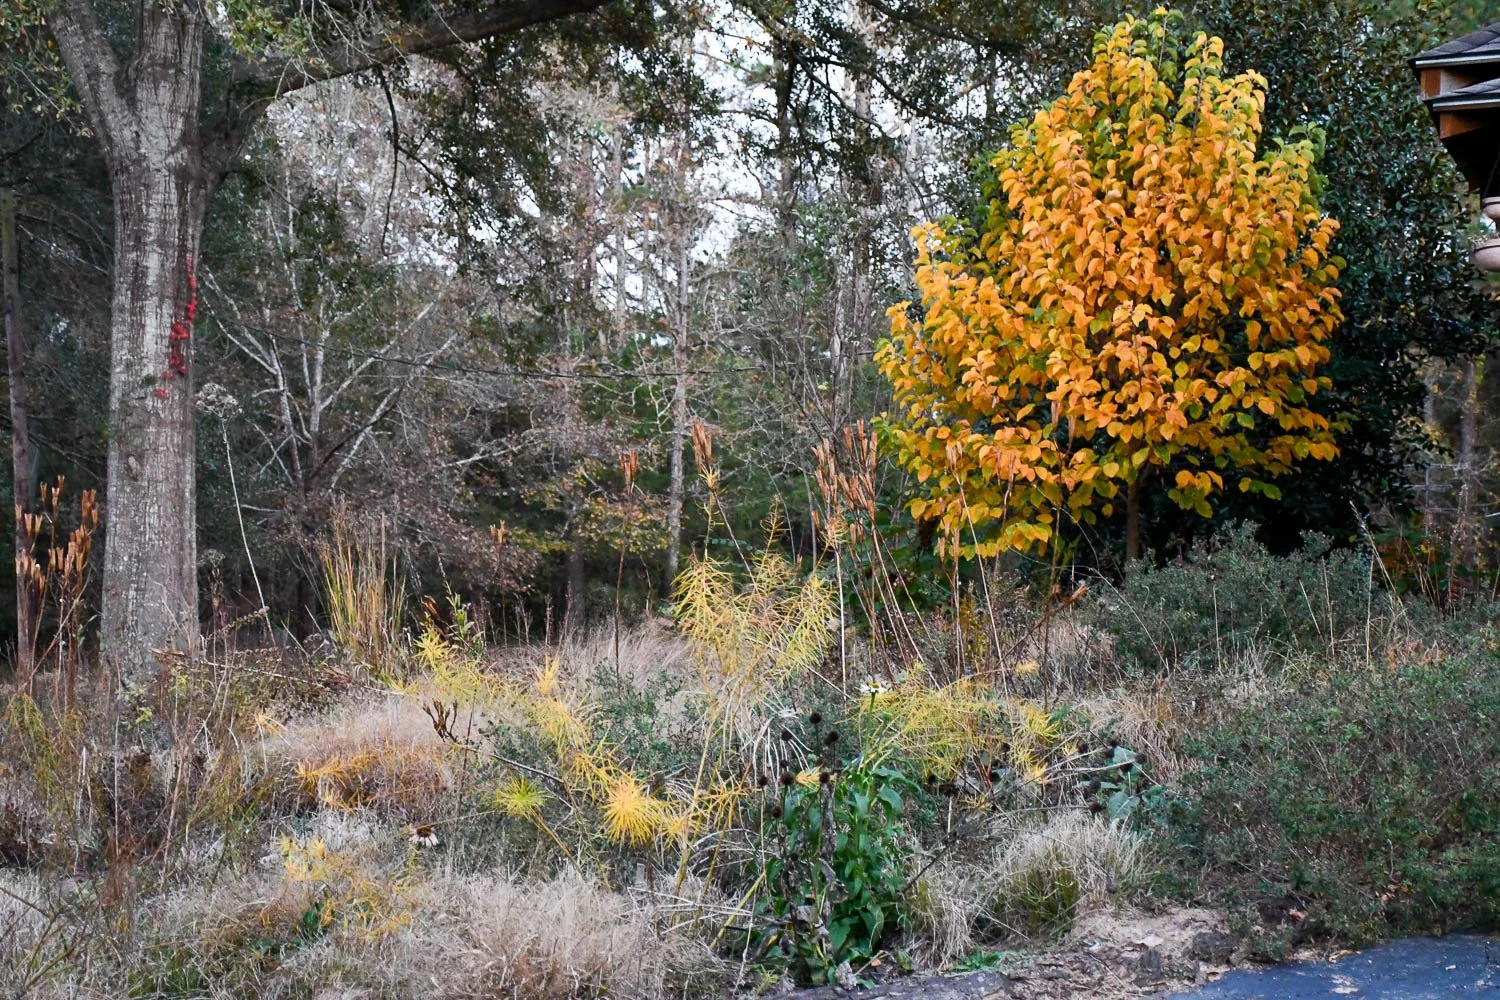
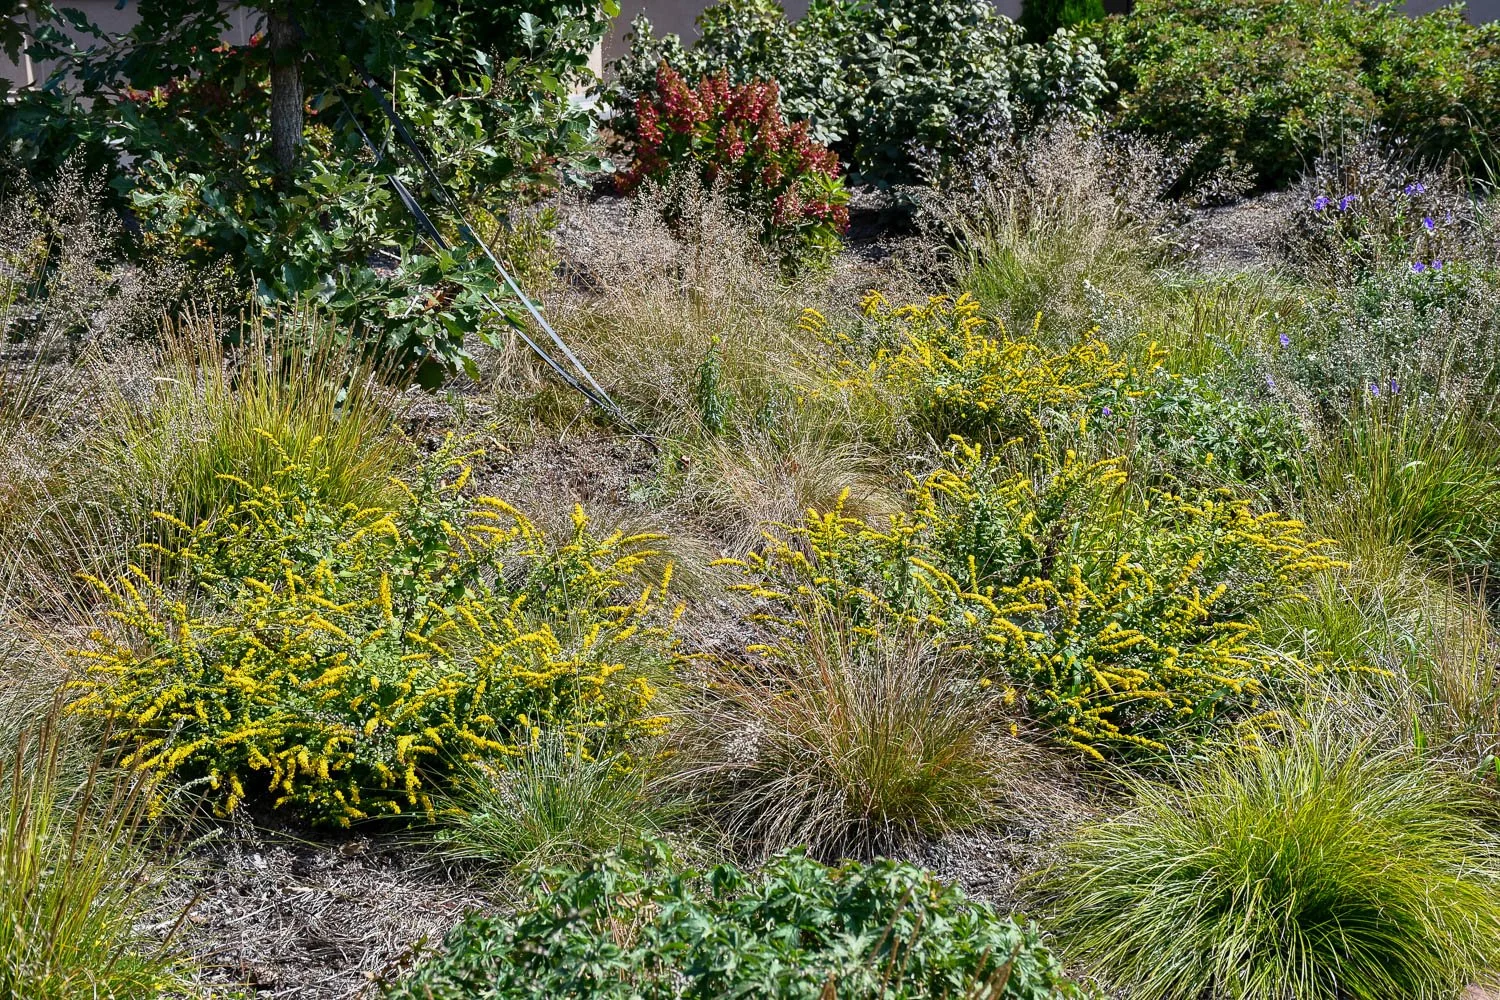
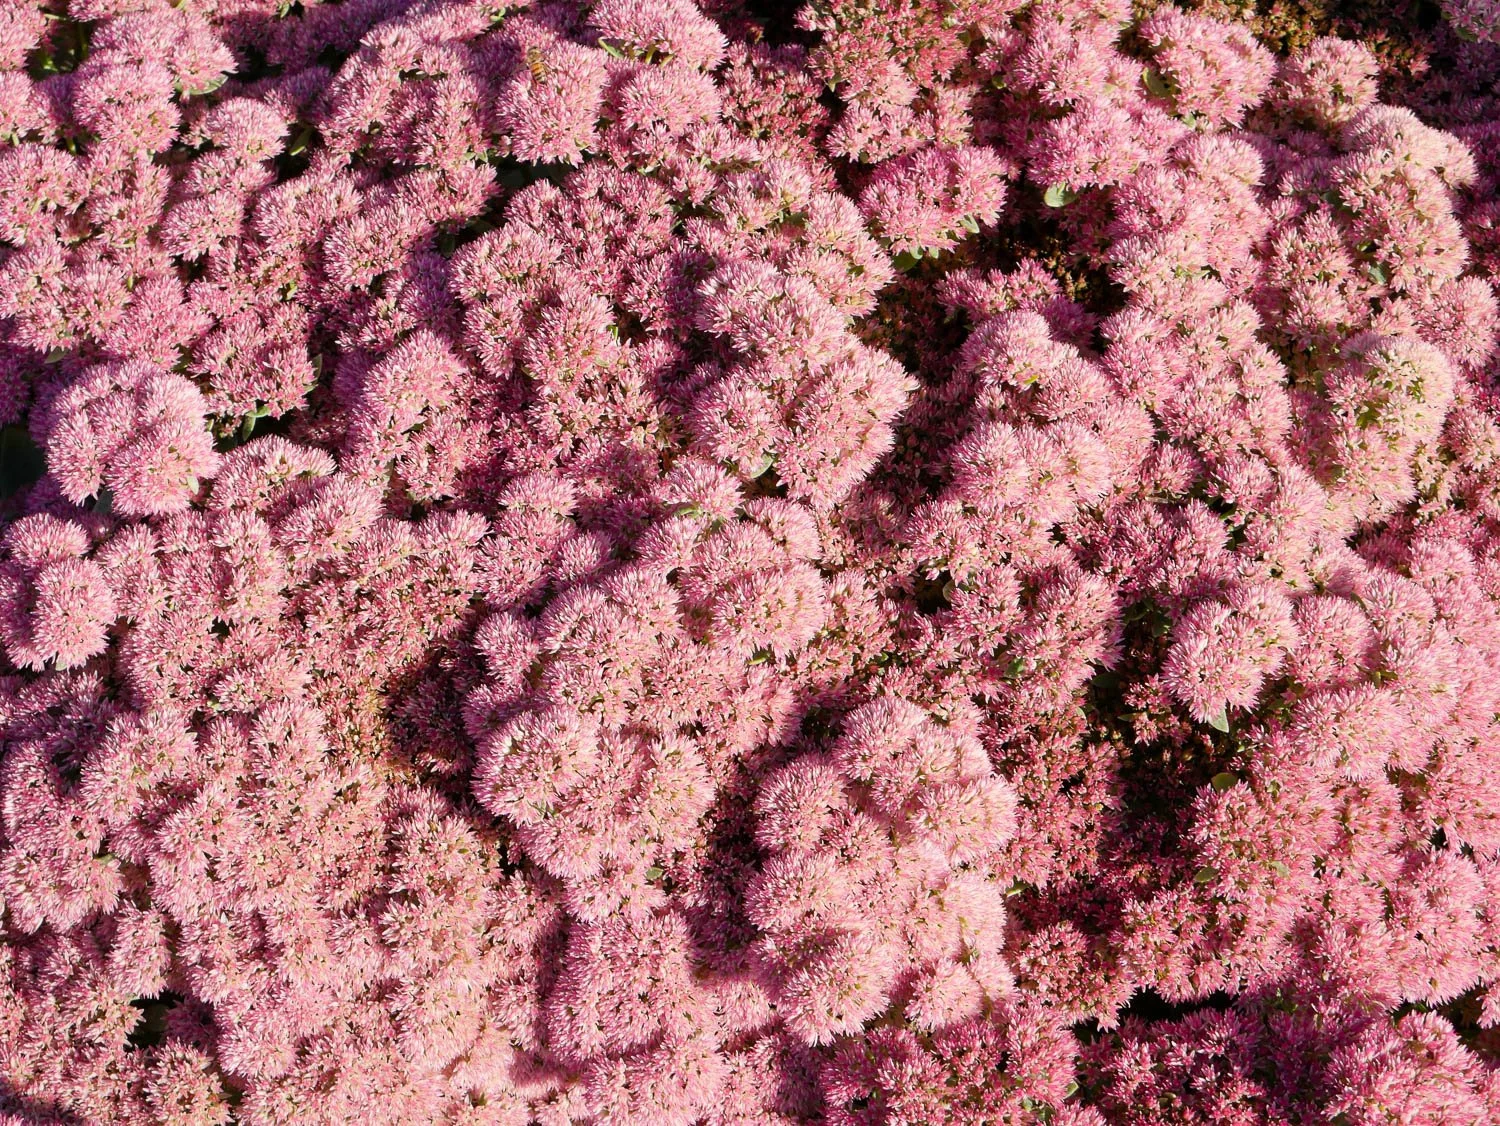
The buttery yellow fall color on Halesia diptera var. magniflora is brilliant. It’s even echoing the Amsonia hubrichtii (Arkansas bluestar) in the beds near the house.
I first learned of this tree during my time in grad school visiting the JC Raulston Arboretum. There was a large one outside the visitor’s center, and it was tall enough for the flowers to be easily visible from the rooftop garden.
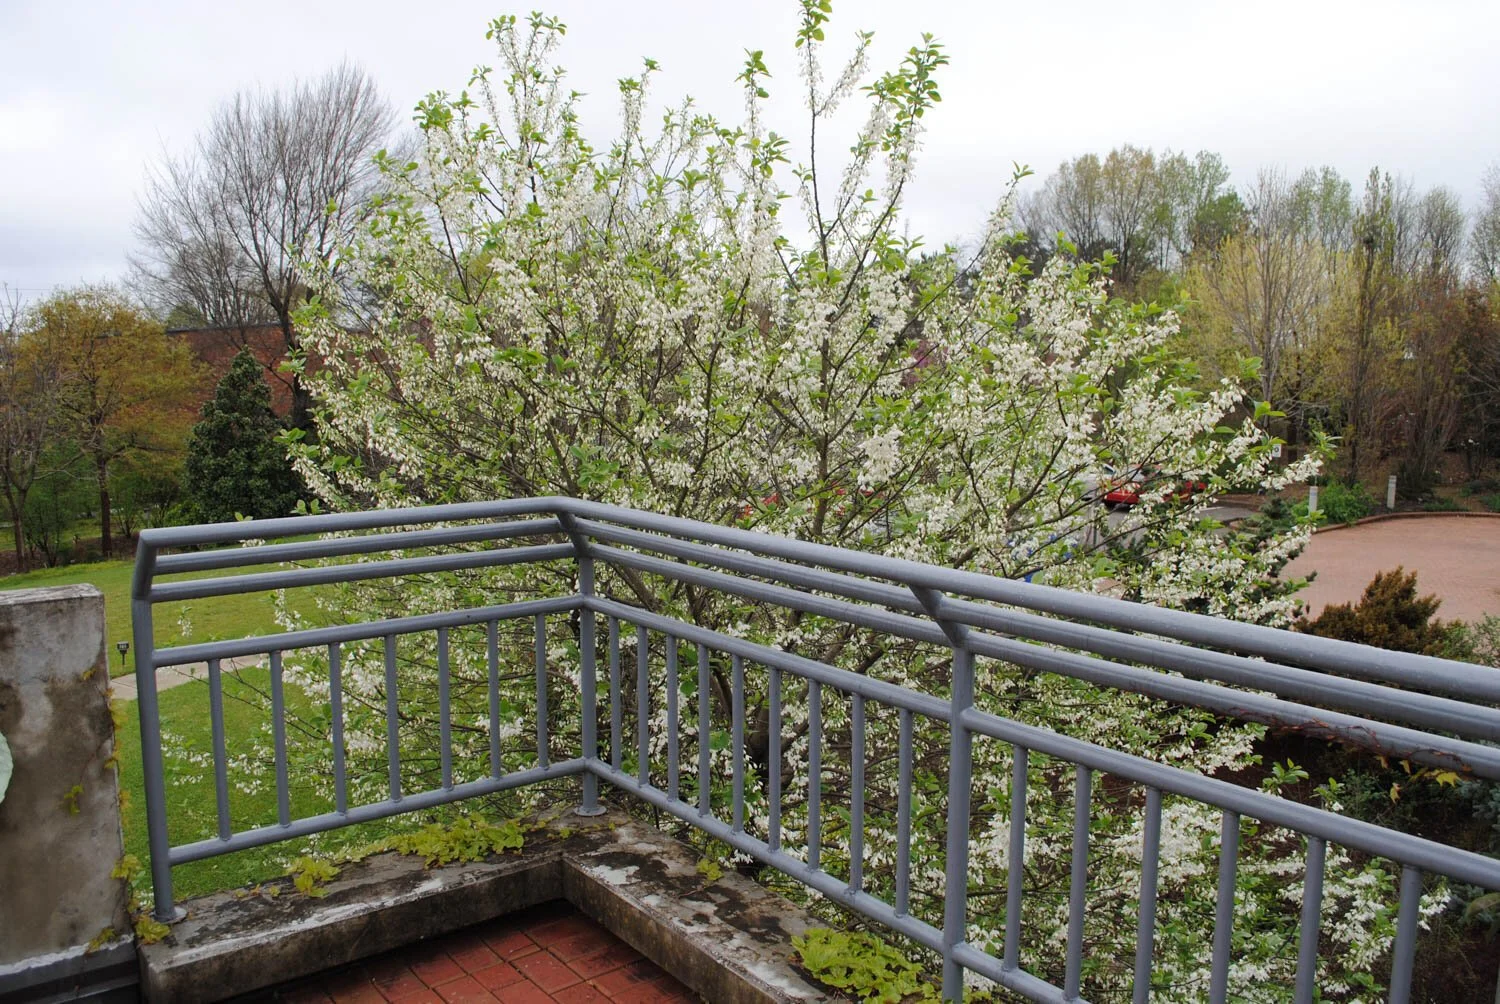
At the JC Raulston Arboretum Halesia diptera var. magniflora
I’m not alone in my admiration for this plant. Dan Hinkley wrote of its attributes almost 20 years ago. He also shared about its unique provenance. Halesia diptera var. diptera (two-winged silverbell) is native to moist, shady streamsides, and I saw it growing in situ last spring in Louisiana on either side of a creek. But, the large-flowered variety grows on drier slopes in Florida. This adaptation is key as their drought-tolerance and surprising sun tolerance led me to site them in the drier spots around our house.
The dry soils around our house have been a challenge with other species. I planted some young Acer floridanum (southern sugar maple) on the southwest corner last year since their bright yellow fall color would echo the silverbells and connect with the trees in the forest beyond. But, they burned in the sun and defoliated early. I’m going to relocate them somewhere shadier this winter and replace them with what I know will work—three more large-flowered silverbells. It will appear as though there’s a small forest of them around the house.
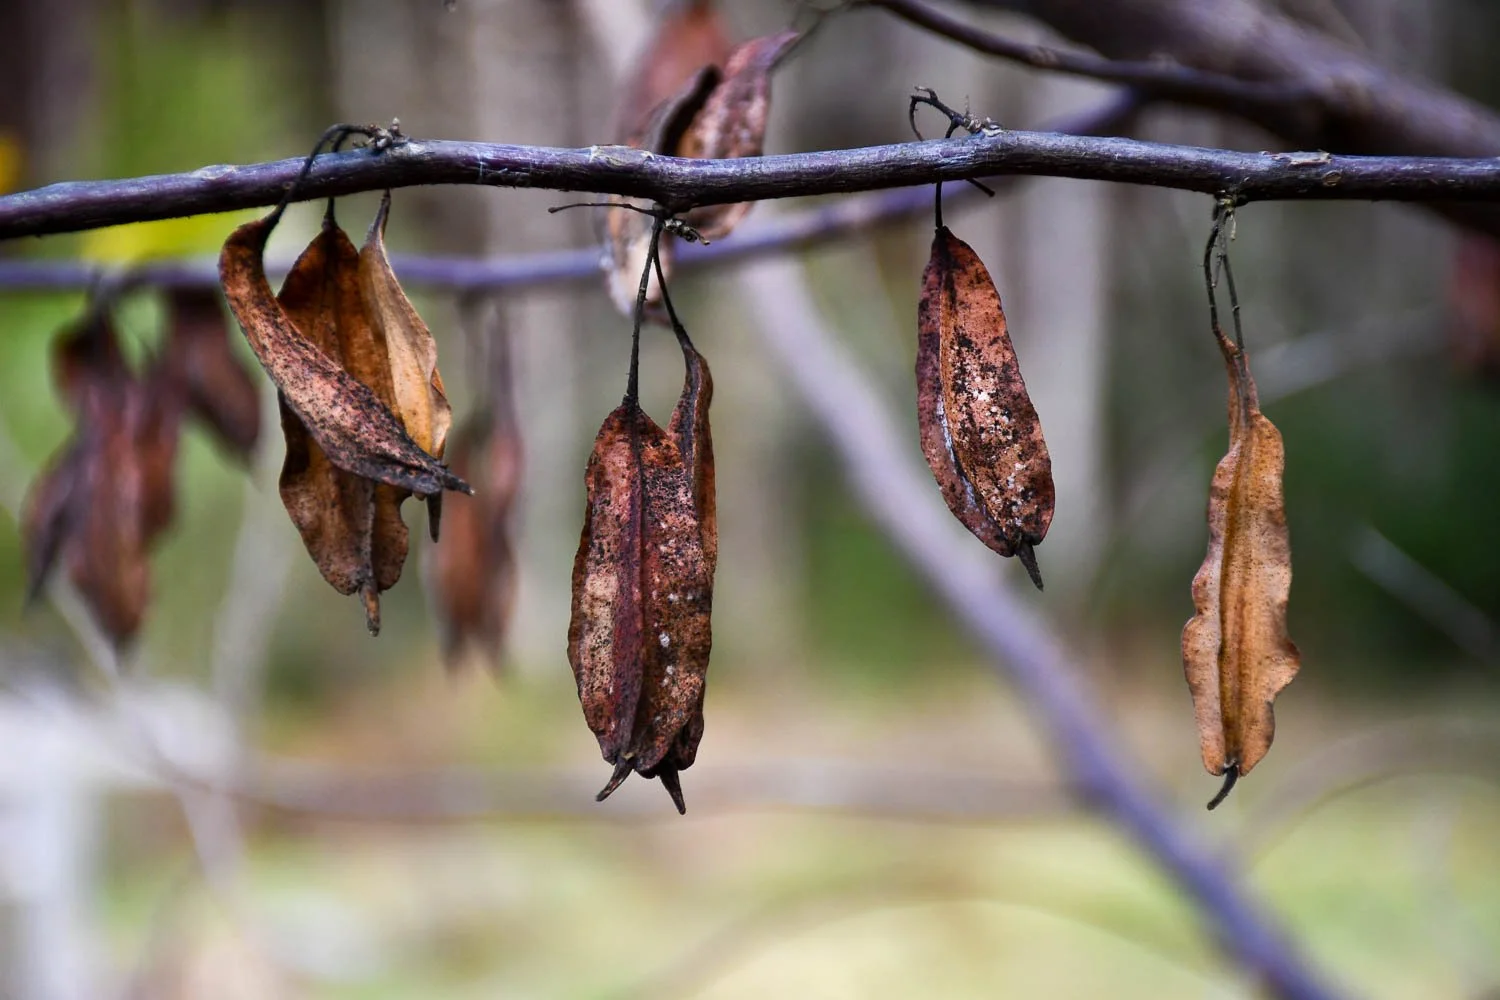
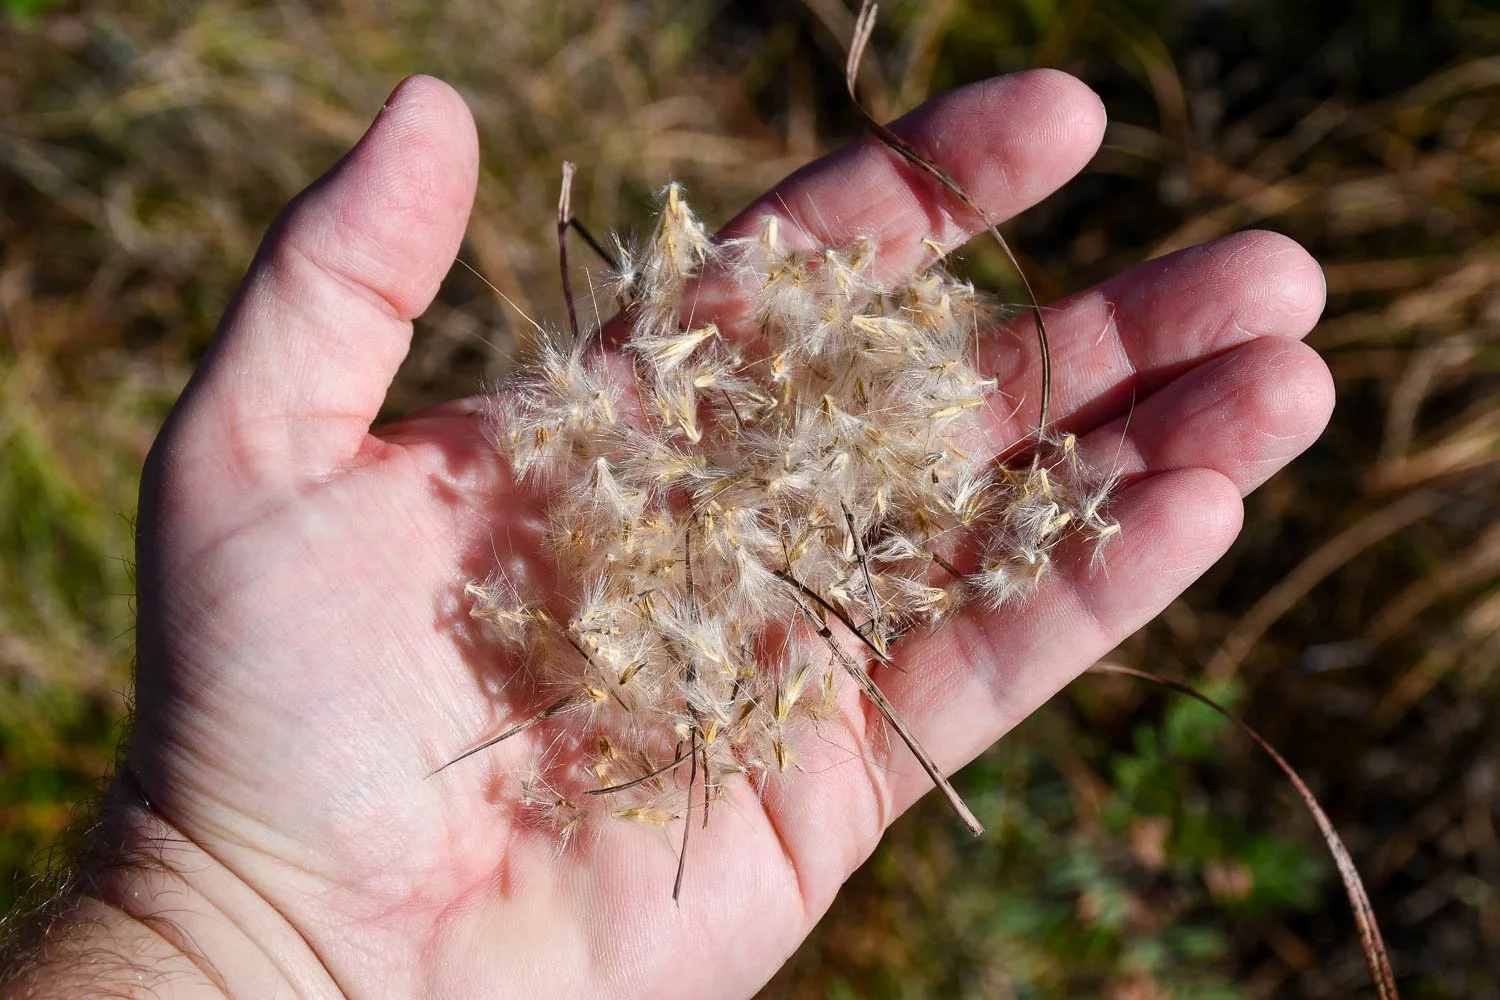
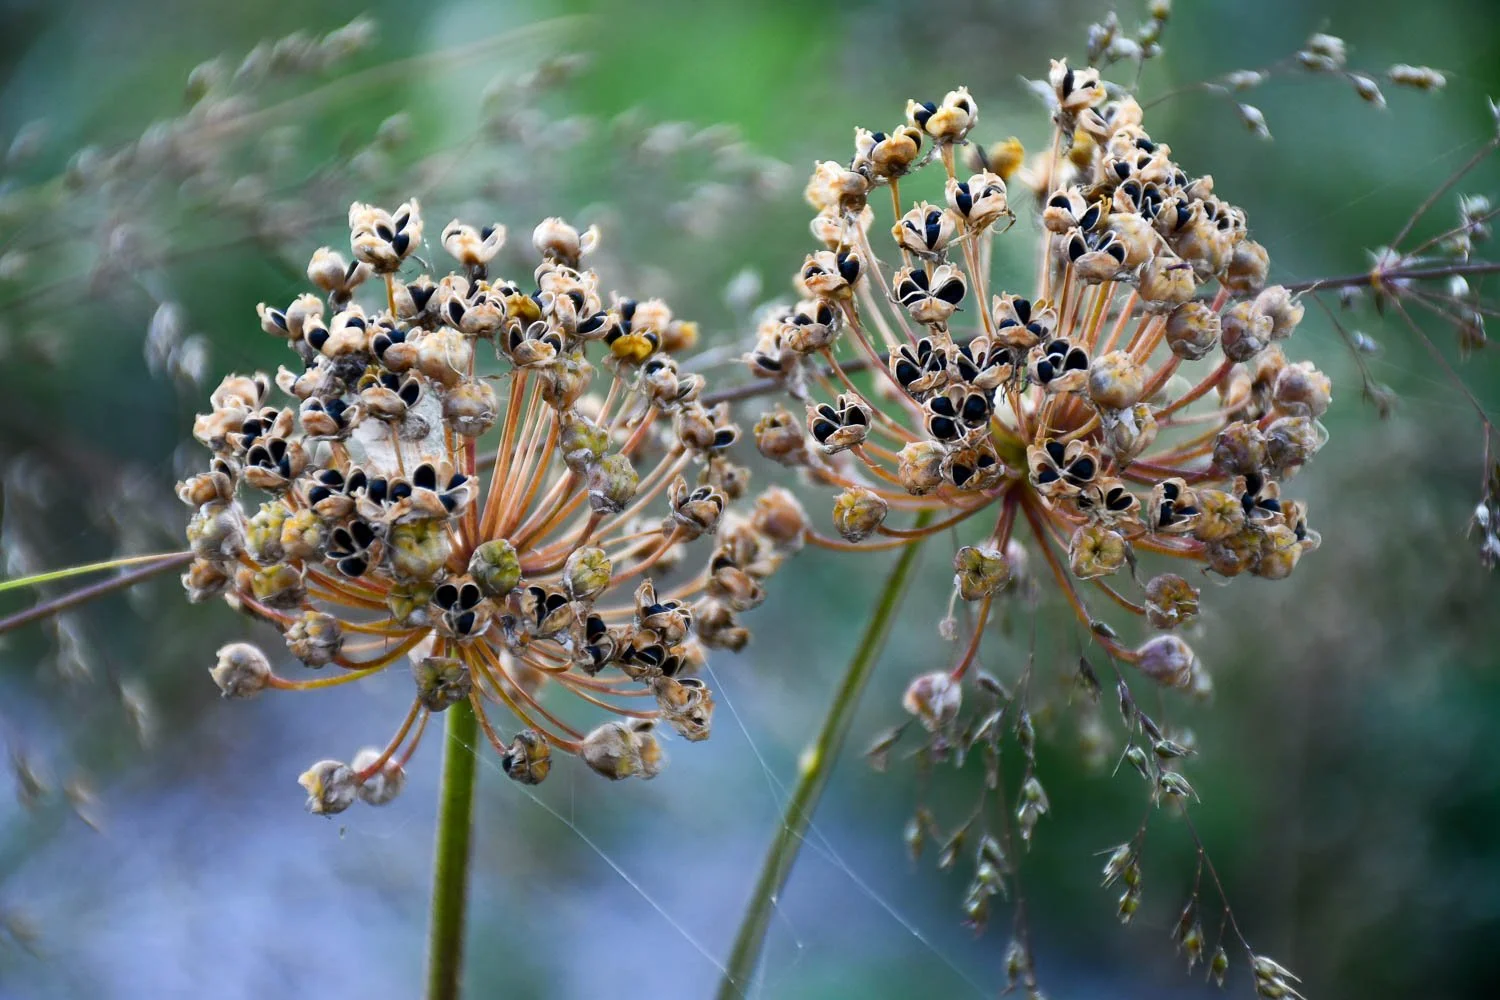
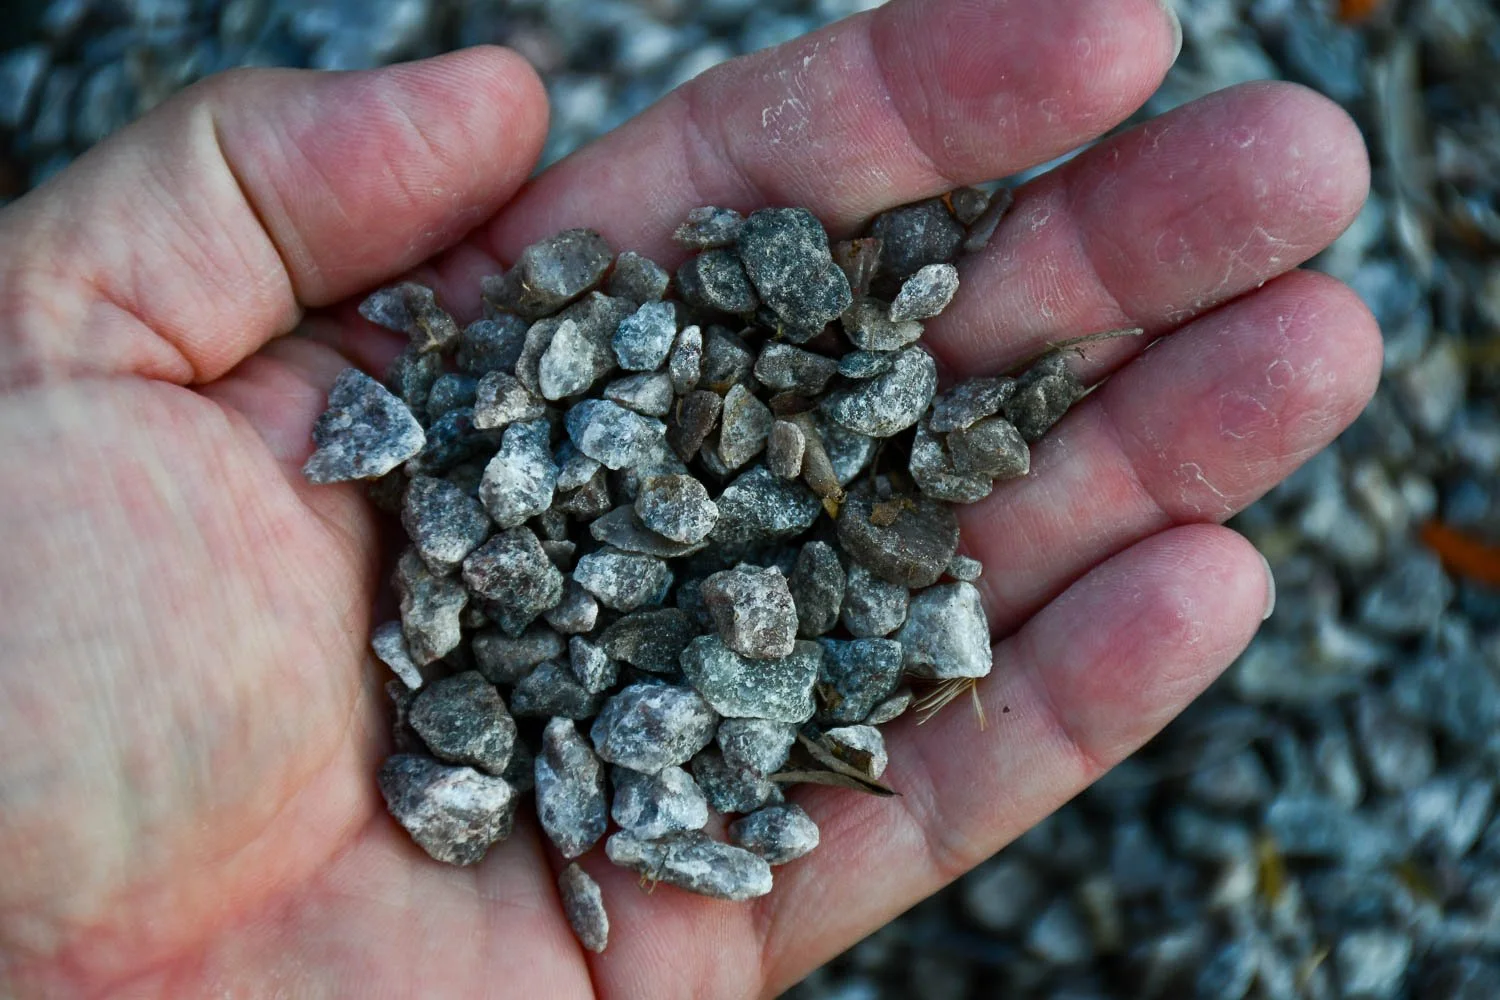
Large-flowered silverbell seed ready to harvest and be sown.
I’ve grown all my plants from scratch, but they require patience for germination as silverbells have a long dormancy. My previous approach was to collect and mass sow seed late in the year in a gallon pot, and put it on my nursery pad. One seed germinated the following autumn, and the rest germinated the following spring some 16 months from sowing. I then potted them into separate containers.
While they take a while to germinate, they grow quickly. Foot-tall trees in one-gallon pots planted in 2022 are now well over ten feet tall and flowered for the first time this year.
I don’t think one can have too many silverbells, and as part of Sowvember, I’ve collected my first crop of seed from my trees to propagate more. Sowing seed around Christmas is truly the gift that keeps on giving, and in a couple of years I know I’ll be humming Silver Bells as I open the earth and find new spots for my young silverbell trees.
KEEP GROWING