This weekend, I built a cold frame. The project has been on my wish list for a while. I’ve had issues with getting seeds started with our couple-times-a-year gully washers. This simple structure will provide me with protection from rain to start perennial and cool-season annuals with the added bonus of a couple degrees of extra warmth at night.
I had in mind what I was trying to construct since I built them as a teenager back in Tennessee based on Eliot Coleman’s designs. A walk around the hardware store, and I was able to piece together my project. I decided on a smaller size (3 × 6 ft) than my usual 4 × 8 ft because that 18 sq ft was the largest pane of plexiglass I could find. I also chose pine as my wood. There’s a cedar lumberyard about an hour away, and for future frames I’ll use that wood. But, I was in a hurry to get it built before the semester started, and it will work well for a few years.

First step before building the box was to build the wooden frame to the piece of plexiglass to create a light, the name of the pane of glass on a cold frame. You want to make sure that the light fits the box snug.

Here’s the light constructed with the plexiglass attached to the wooden frame. I used braces on the joints to make sure it stays sturdy. I used a PVC-rated drill bit and drilled slowly into the plexiglass. The guy at the hardware store told me to leave the protective coating of plastic on the glass to help drill through it. If the protective layers are absent, he said a piece of tape would help to protect the glass from shattering when drilled.
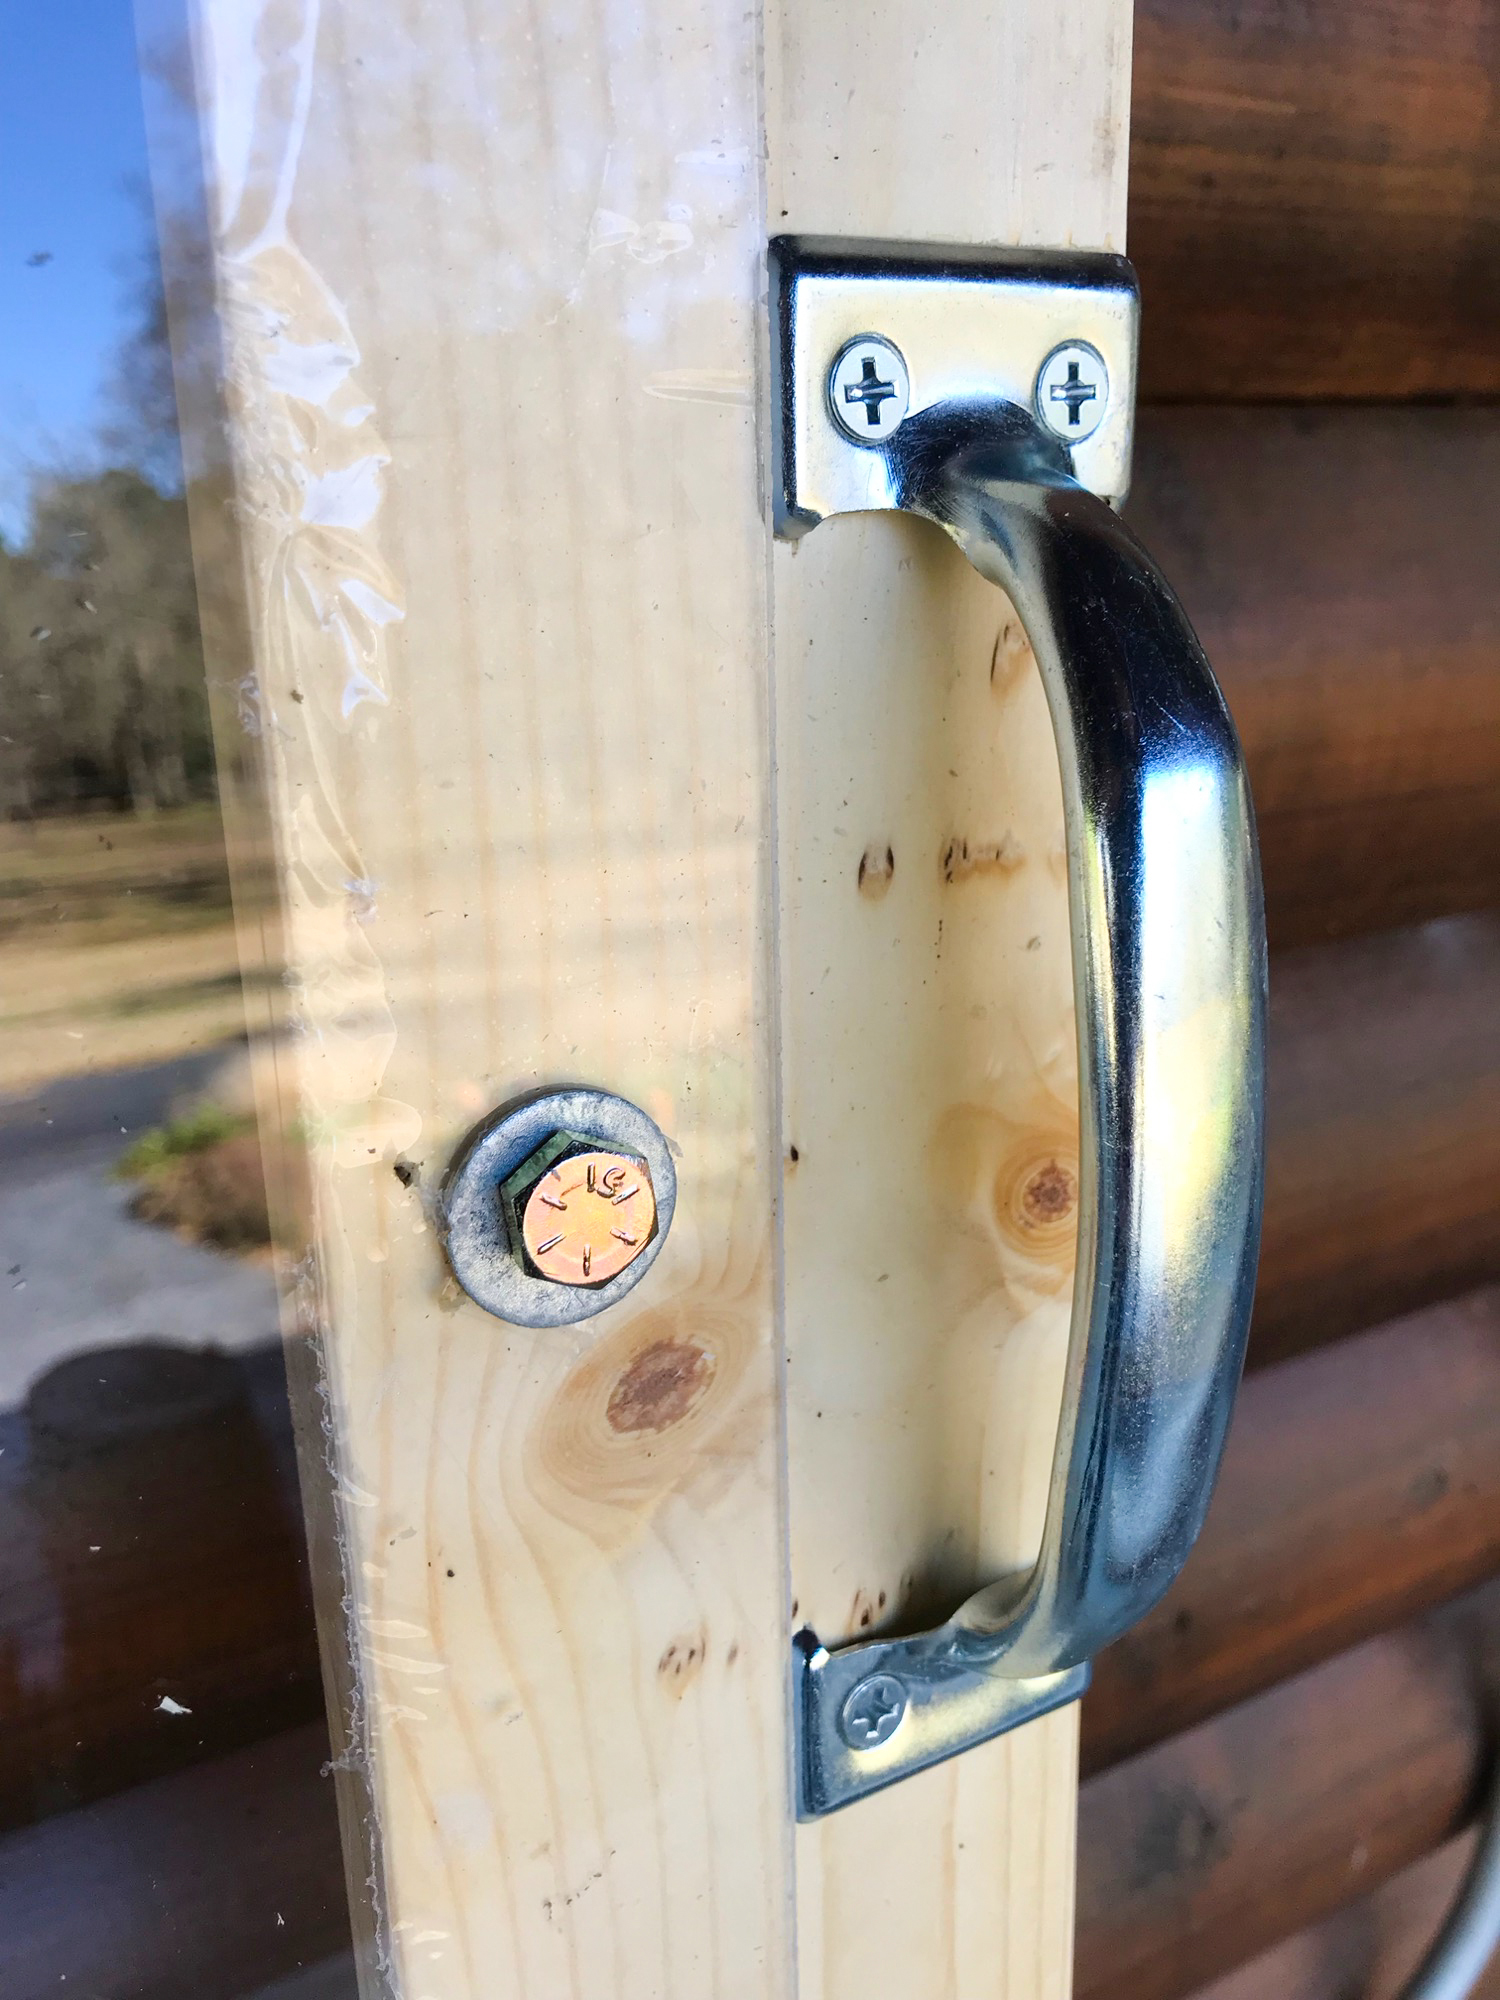
A bolt and washer hold the plexiglass on the wooden frame, and to the right is a handle for the light.

I constructed the box out of two ten-foot long 2 × 12’s cut into two pieces—6 ft long for the front and back and 3 ft long for the sides. To create a slope on the top of the box to maximize sun exposure, I cut 4 in off one of the 6 ft boards to make it 8 in tall, and for the side boards, I cut a slant (1.3 in drop per 1 ft board length). Once constructed on the ground, the cold frame is turned over so that the front and back boards have a slight slant in one direction and so that the top is flush with the light. Notches made in the middle front and back allow the installation of a support beam.

With the ground cleared, a nice mulch of leaves will help to keep weeds down and support the trays to keep them from sitting on the ground.
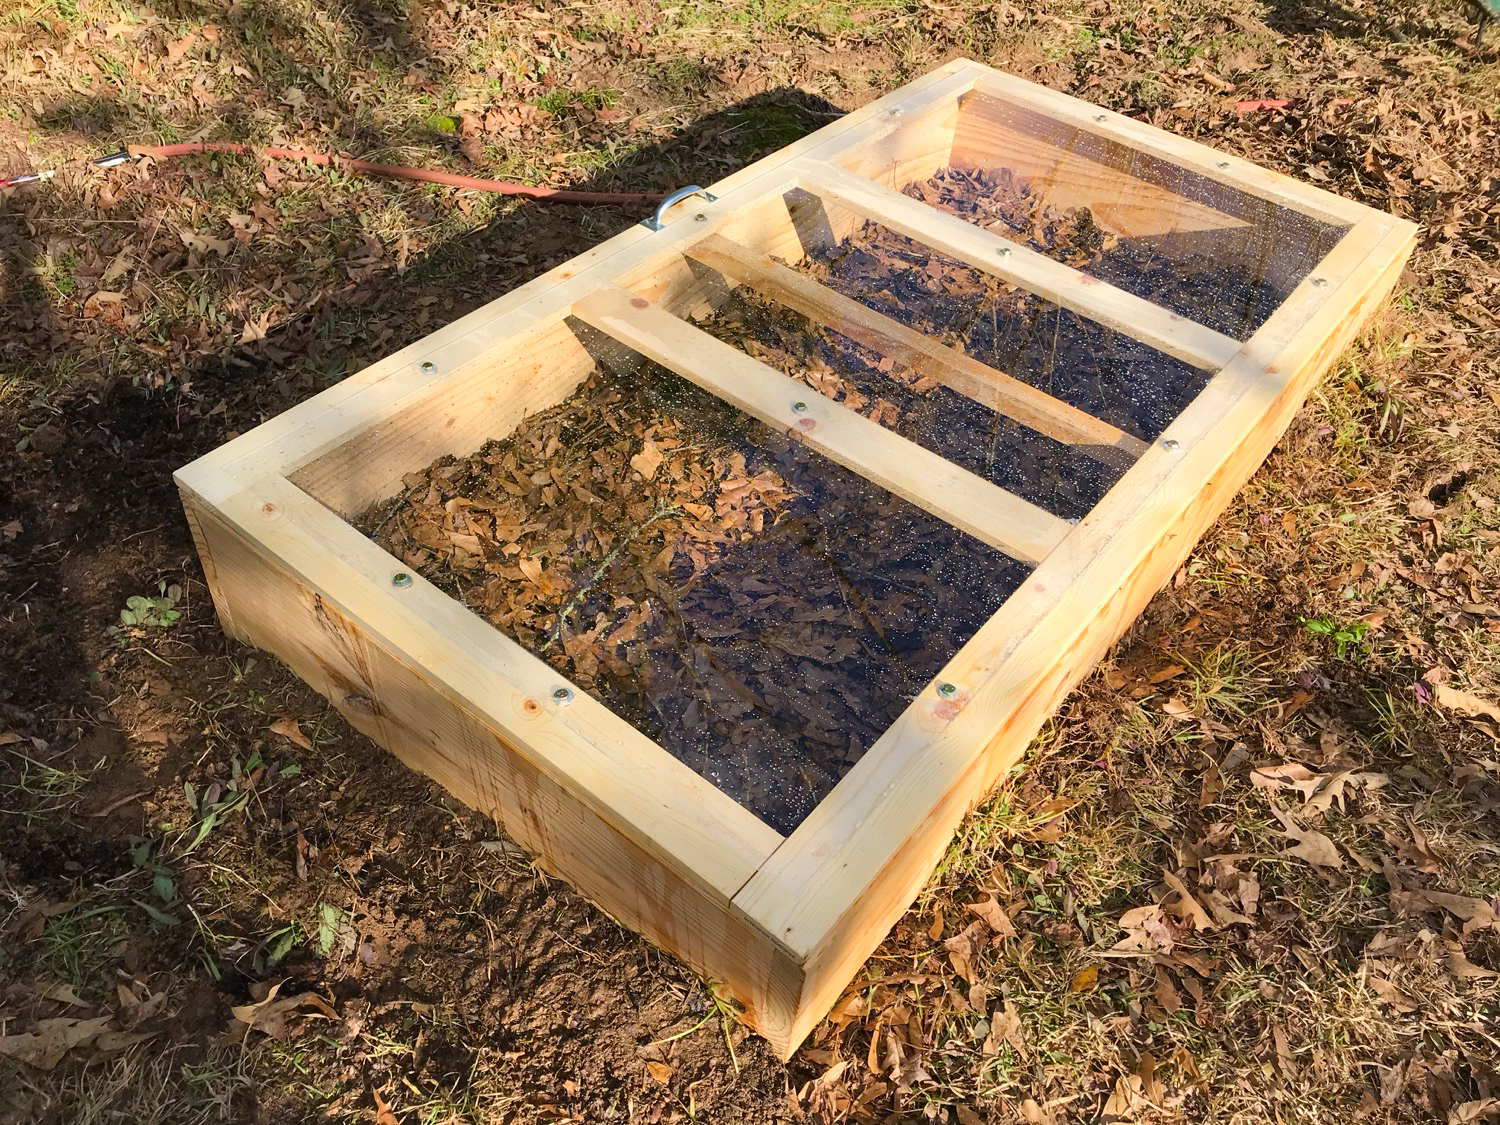
Finished product!
It was a quick project and only took me 3 hours to make. The total cost of supplies was around $160 to cover 18 square feet (~8.90 per square foot), which is cheaper from most of the models on the market. If I could do it over again, I would try to figure out a way to reduce the size of the cross beams across the light that block some of the solar radiation. Soon, I’ll also add strips along the bottom of the frame to help protect the wood from rotting, which is another suggestion from Eliot Coleman’s design. I also want to attach the light to the box and cut a notched piece of wood to open the frame to the desired height during the day.
But, overall I’m pleased with how it turned out, and I look forward to having better success growing plants.