One of the joys of winter is getting bare root plants in the mail. They may have been ordered weeks or months ago, but to open the door and see the box sitting there is always a fun surprise.
I think some people forget about the advantages of bare root plants. They are usually cheaper because they are younger plants not being sold with potting soil. The absence of substrate also makes it easy to ship, and the roots can be easily inspected to confirm there are no defects like circling or J-roots that might be hidden in a rootball.
However, there are a few disadvantages. Bare-root plants need to be planted as soon as possible upon receiving. The roots can dry out quickly since they aren’t exposed to soil. And, since bare-root plants need to be dormant because having leaves would lead to much water stress, there is a limited window for planting from late fall through early spring. But, that’s when I try to do most of my woody planting, so it’s no problem for me.
My first shipment this winter included a collection of five muscadines and four blueberries. I have long wanted a muscadine trellis to complete my double fence around our patch where we grow vegetables and cut flowers. The goal was to make it doubly functional—protect plants from deer and produce delicious fruit.
Like many projects in fatherhood, the muscadine trellis has taken longer than I anticipated. I treated myself to the eastern redcedar posts two Christmases ago from a local sawmill, I rented an auger and sunk them in the ground this past August as a birthday gift, and I ordered the plants around Thanksgiving for an early Christmas gift.
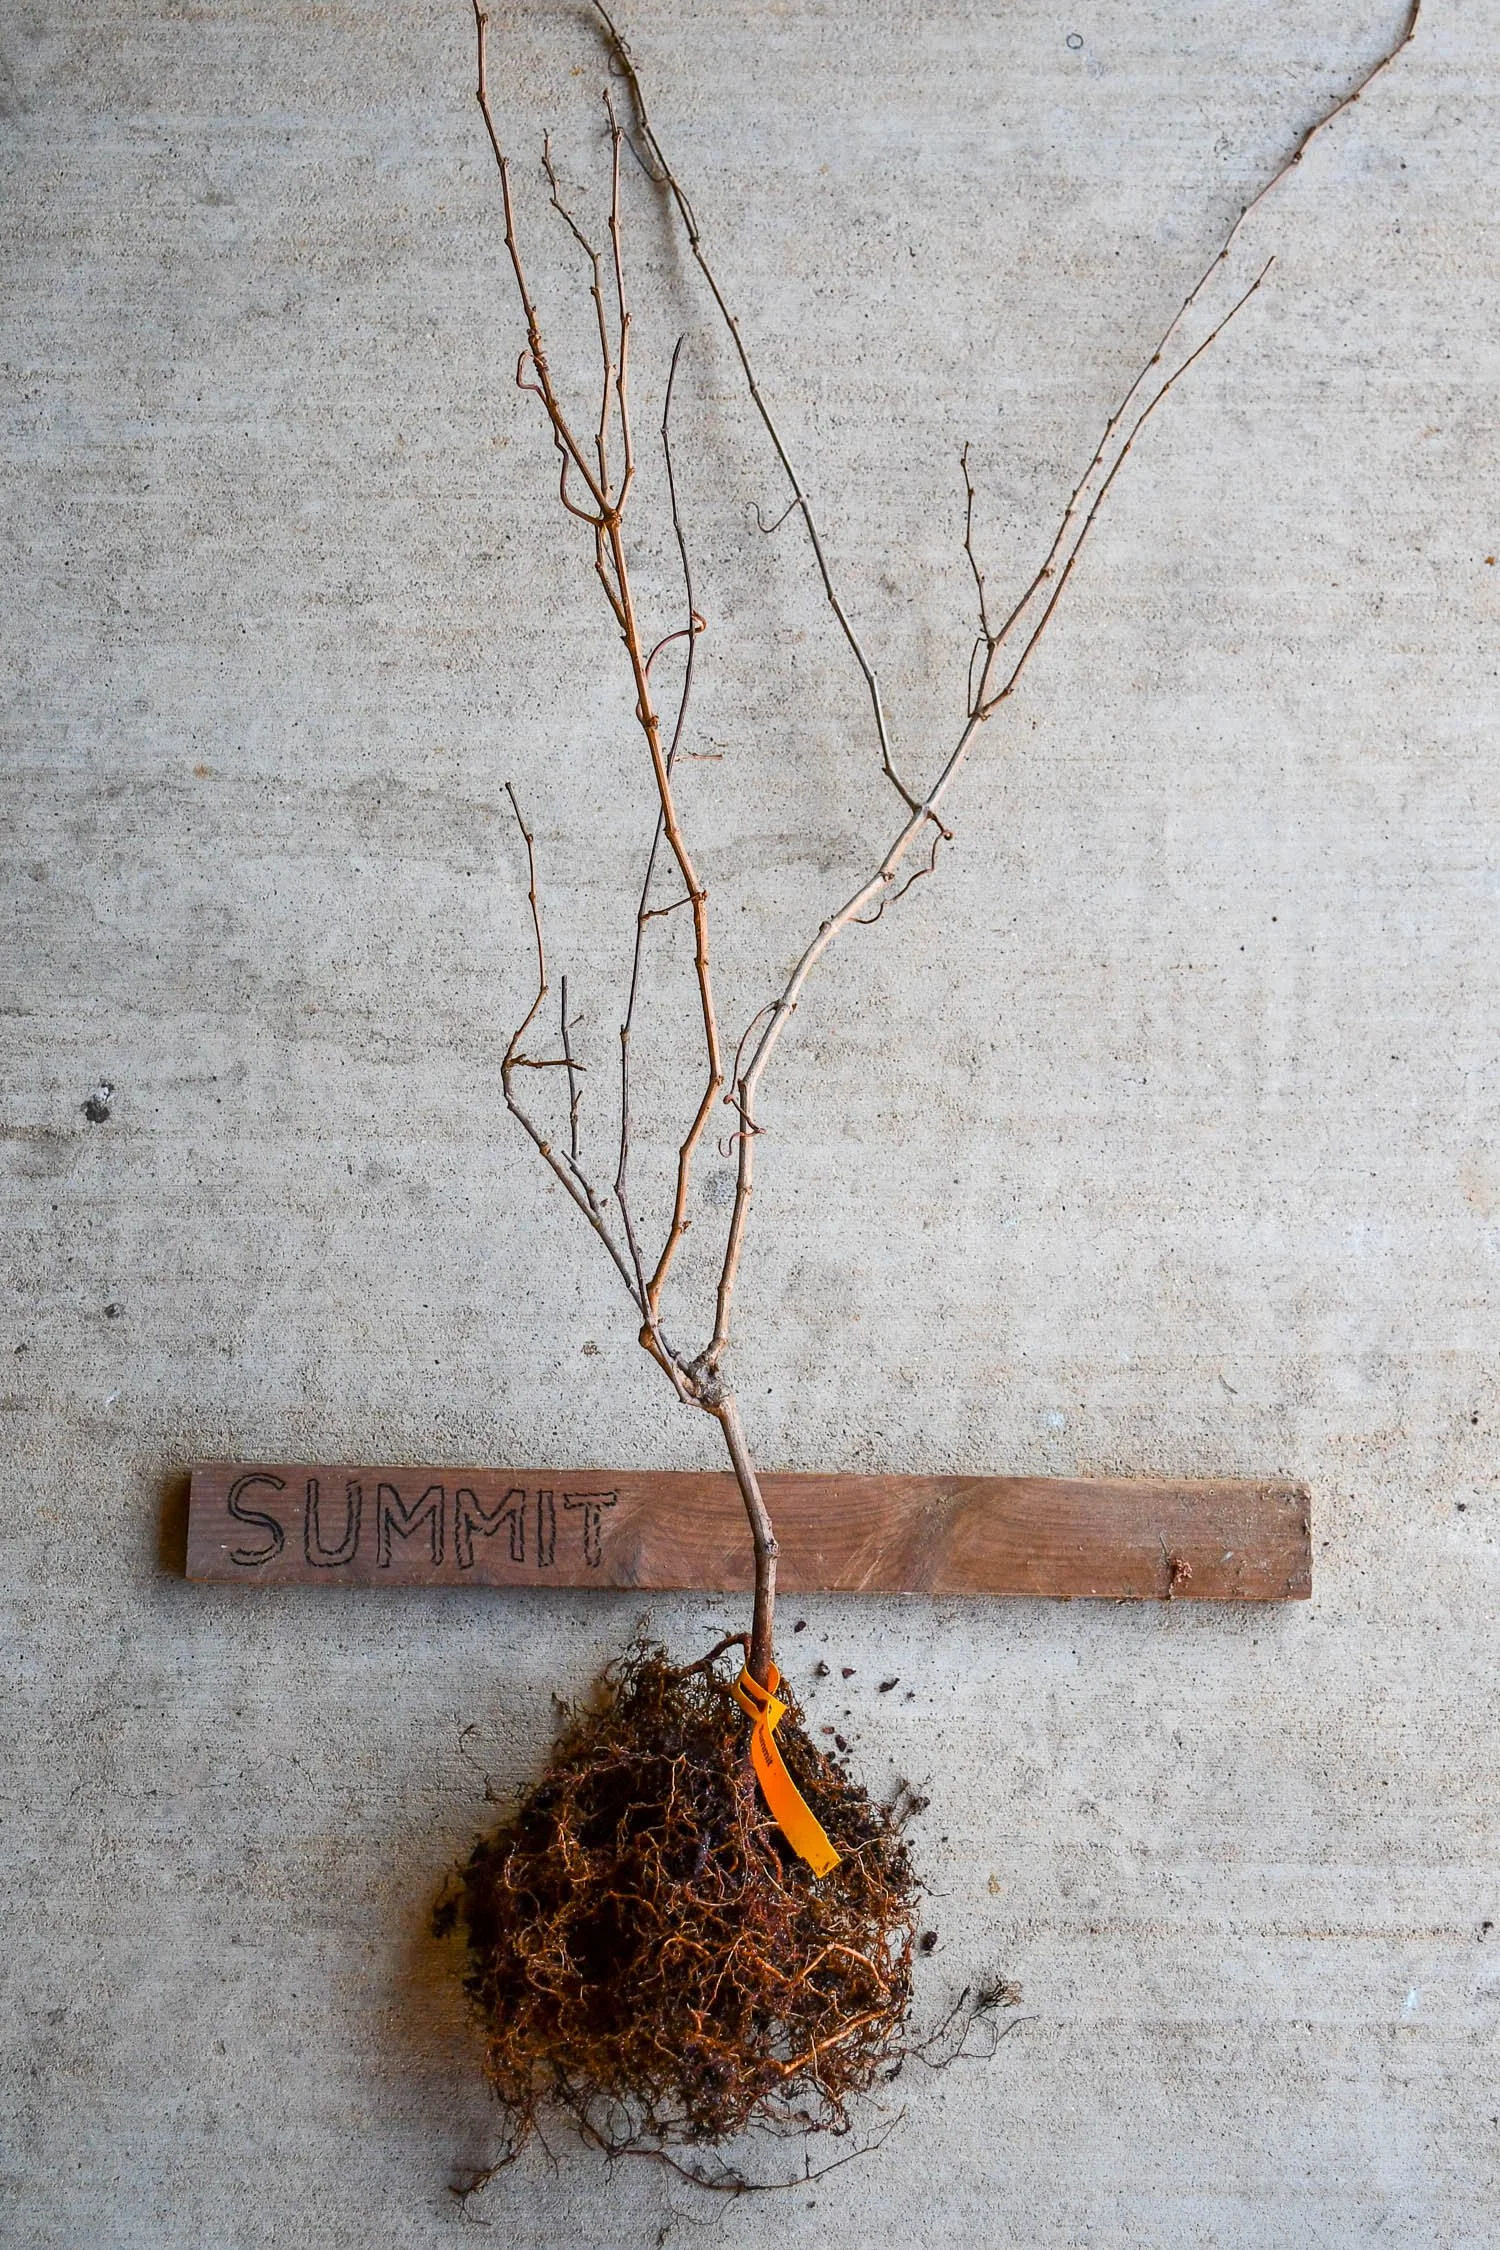
Bare-root plants can be easily assessed for any root defects. Vitis rotundifolia ‘Summit’ (muscadine) looks good to me.
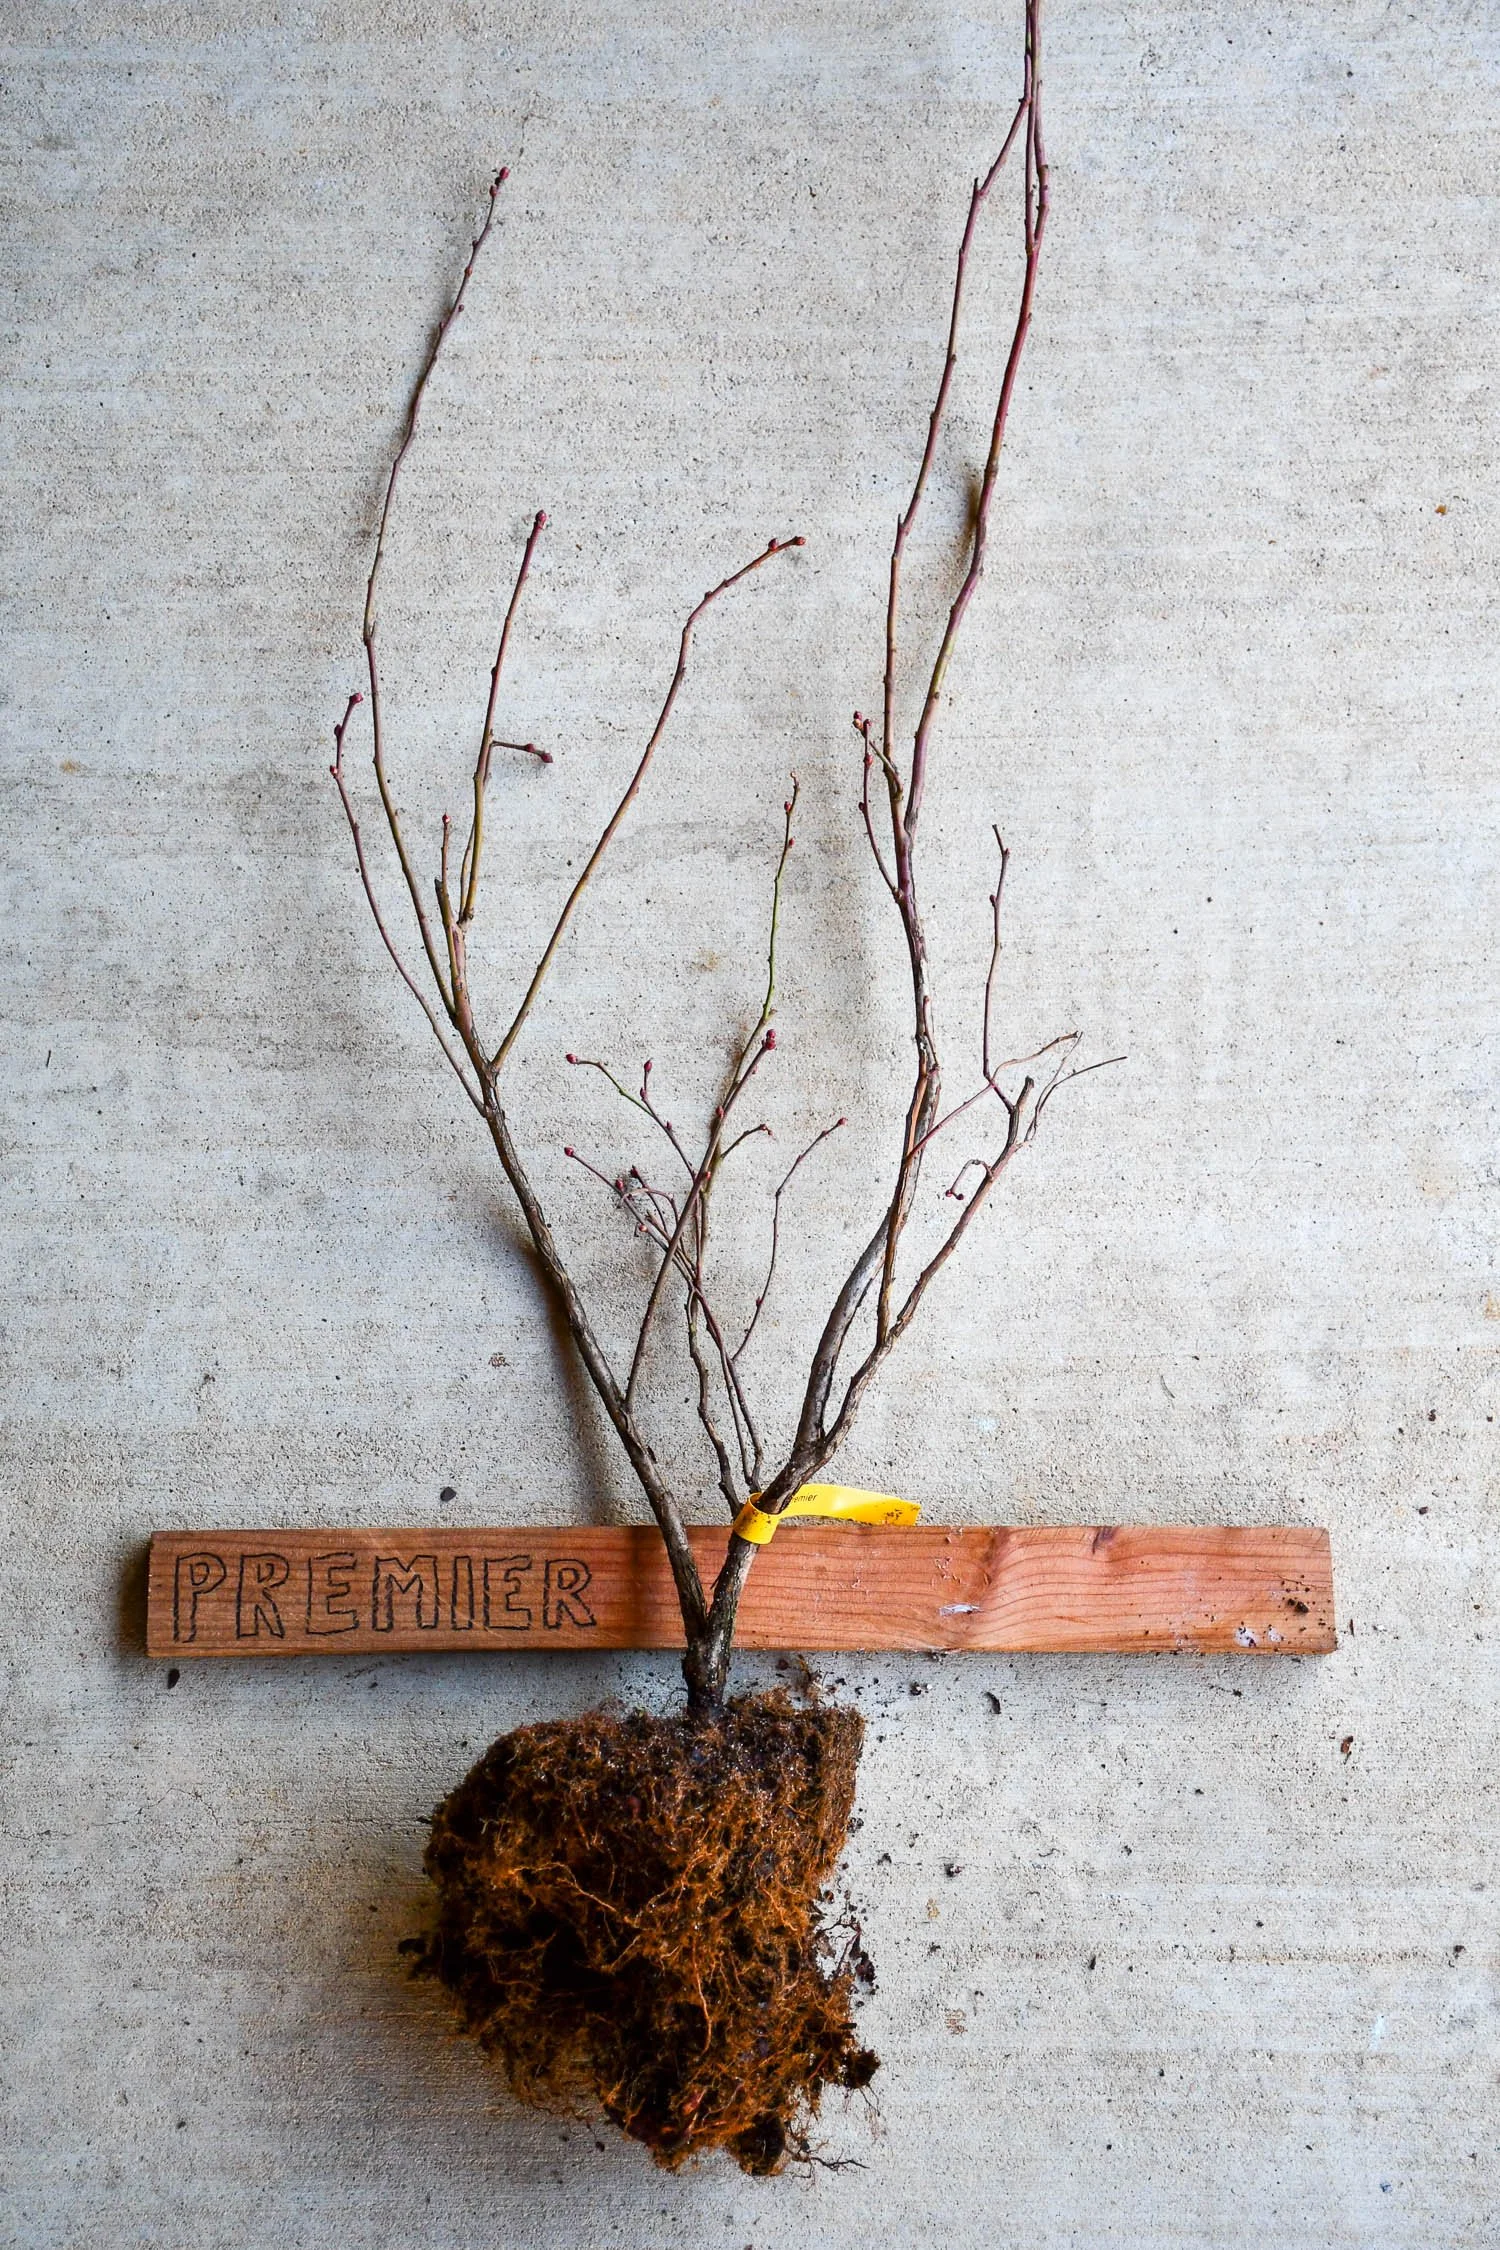
I like using scrap pieces of eastern redcedar for plant labels as seen here with Vaccinium virgatum ‘Premier’ (rabbit-eye blueberry). They can be stuck in the ground or hung from a trellis or plant for easy identification.
I spent a few hours this weekend getting them in the ground. Before planting, I made labels using scraps of eastern redcedar that last a long time in our soil. I determined plant spacing between posts with a tape measure and marked where I want each to go. Muscadines take some planning for siting due to their flowering habit. Some are self-fertile, which can produce fruit on their own, while others are female, which need a self-fertile plant nearby for fruit set. So, I alternated self-fertile and female plants to encourage fruit set.
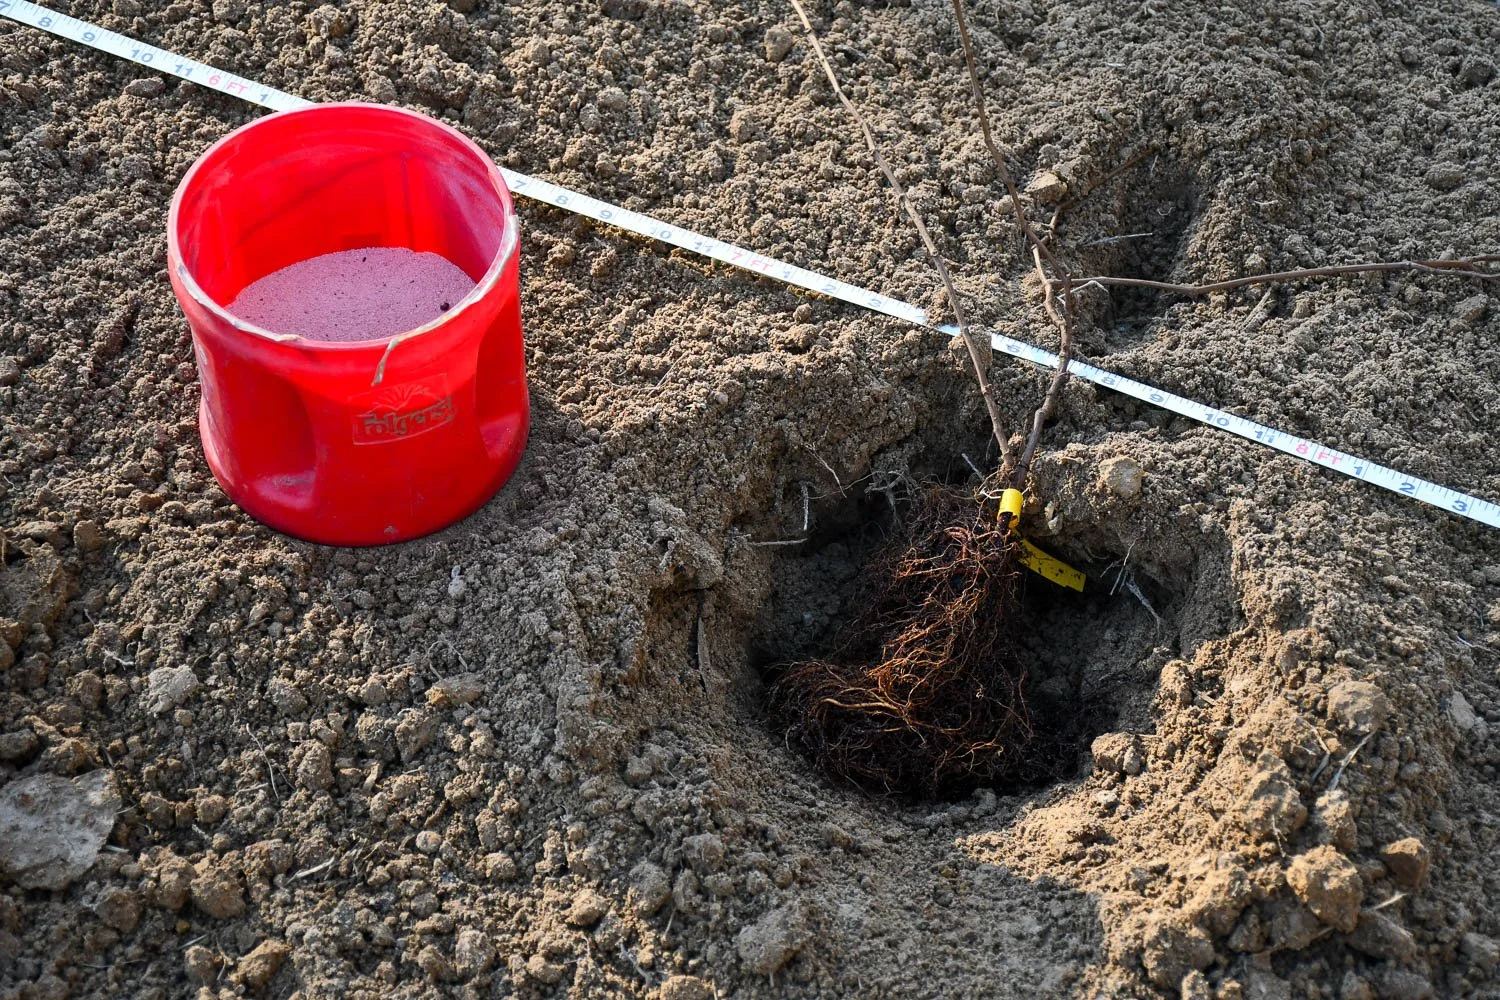
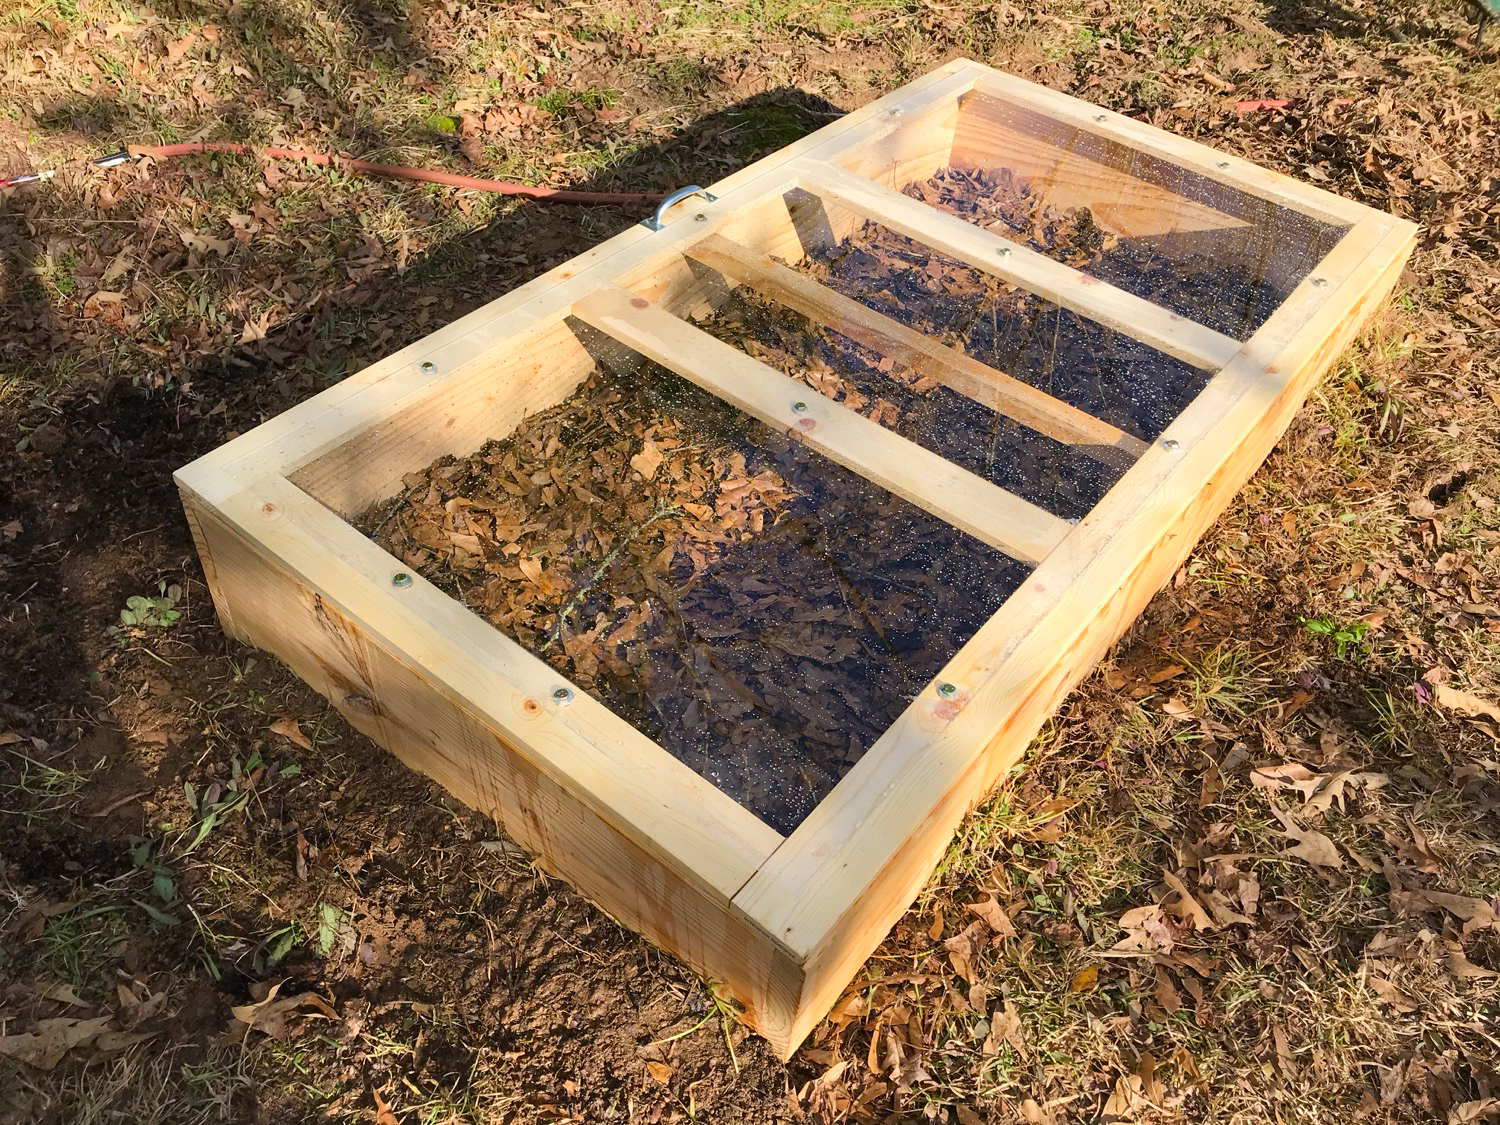
Prepping for planting bare-root muscadines
I know people say don’t directly amend the hole for woodies, but in our very acidic soils I’ve gotten in the habit of sprinkling a little bit of granular lime into the hole and in the surrounding area unless the soil test indicates otherwise or it’s an acid loving plant like blueberry. I then use my gloved hand to mix it lightly into the soil. I make sure as I plant I flare the roots out and keep the point where roots and shoots meet at ground level. I then firm the soil around the base, level the soil, and check once more that the highest root is just under the soil.
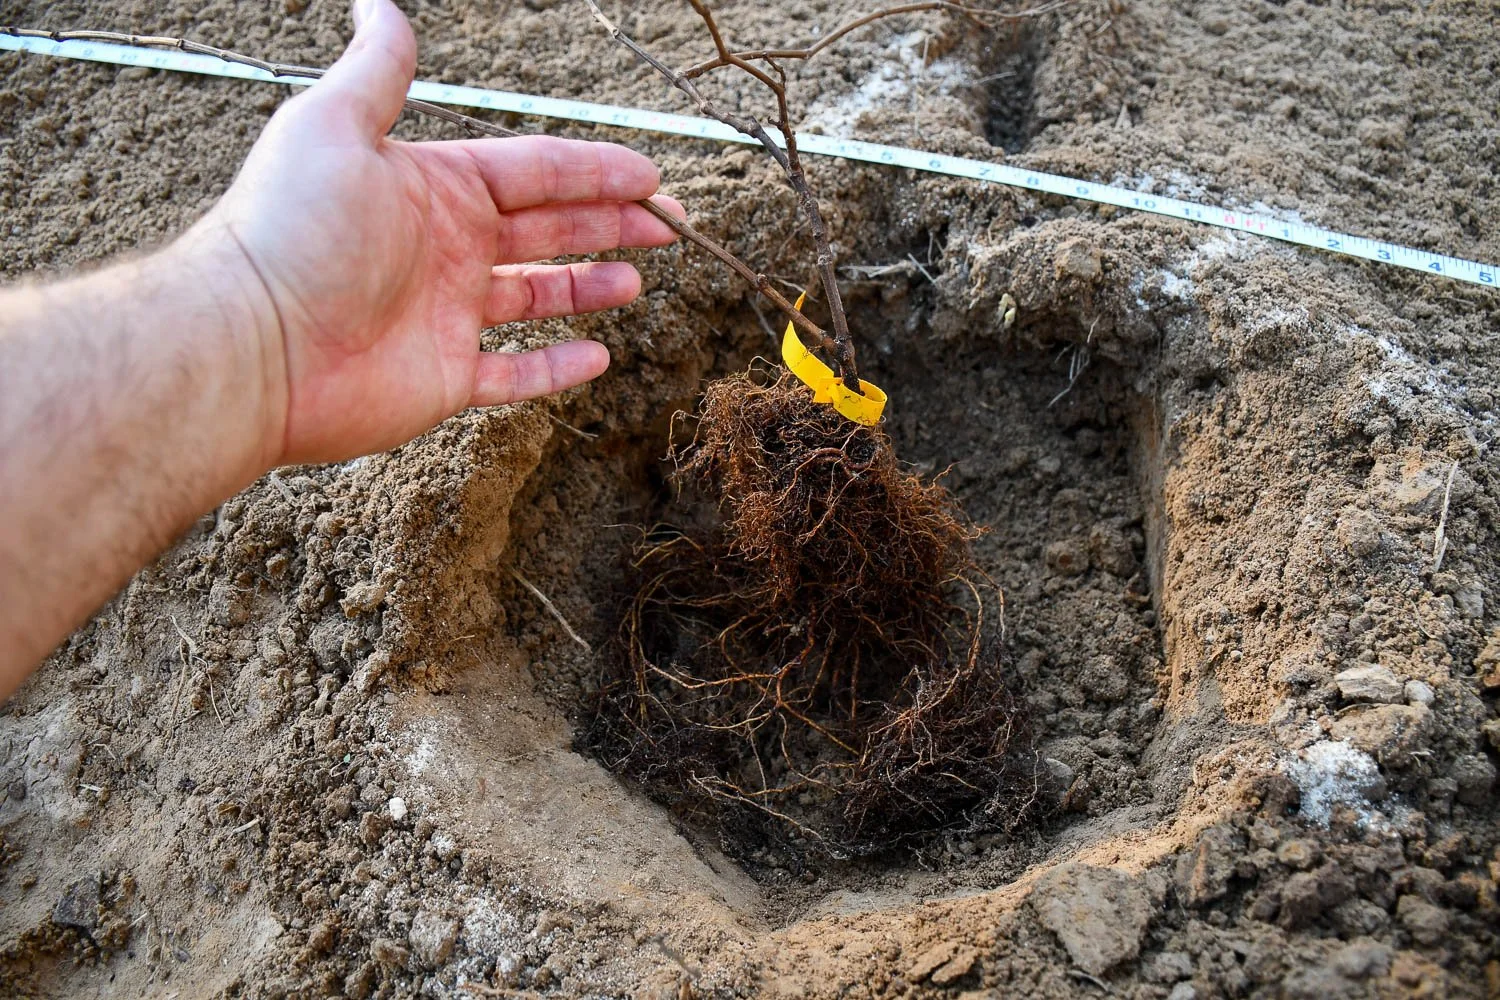
I like to make sure I flare roots out before planting.
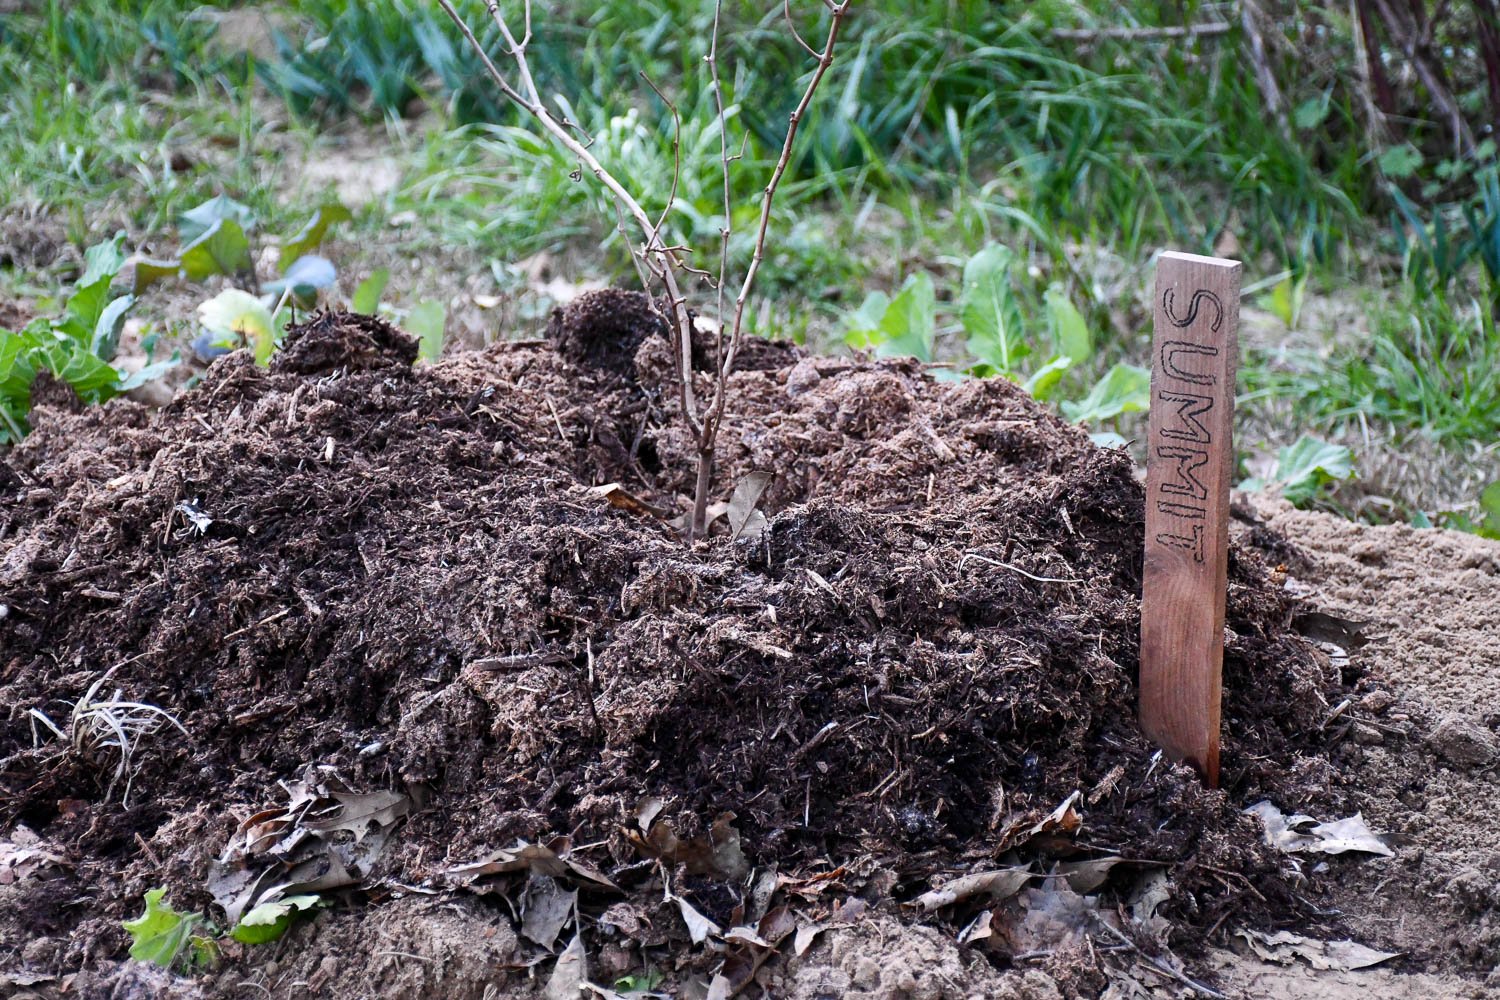
I then mulch the plants with a nice layer of leaf mold or compost, and I top that off with four pitchforks full of hardwood mulch (header image). I make a donut ring so that the water will be directed toward the base of the plant. And then I water well, usually passing back and forth a few times across all the plants.
I’ll wait for spring to fertilize them. There’s no point putting fertilizer down when they aren’t actively growing.
How do I know how much to apply? I did soil tests back in the fall for where the muscadines are going and other spots around the garden that I want to plant this year. Soil tests are crucial for reading your site to understand how to plant better, and if you struggle to understand soil tests, I’ll be talking more about them in my upcoming Botanic Bootcamp session Reading the Land for Smarter Planting. I like having multiple tests to have a snapshot of my soil in the garden. And, I like to have a base original soil for comparison.
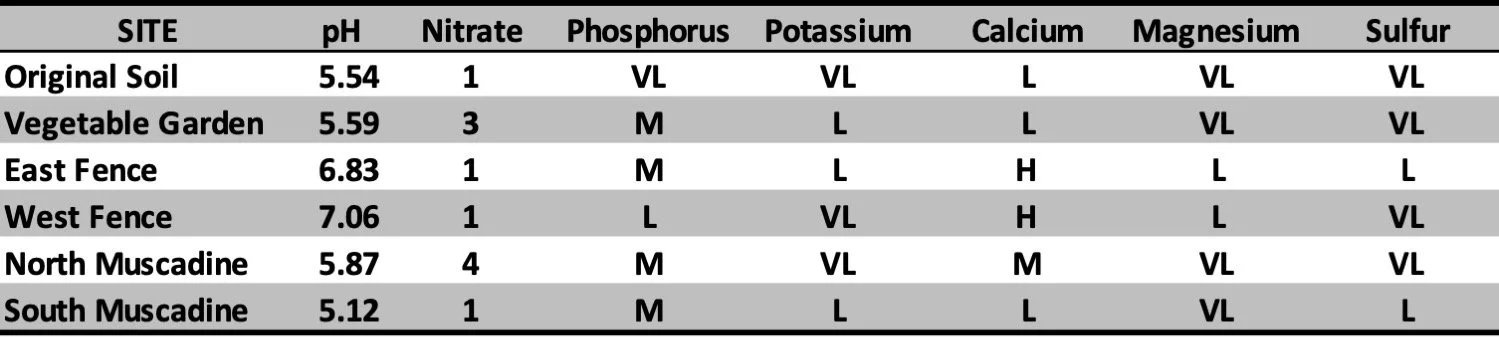
My soil test results to better understand what my site needs for fertility. M (medium) is optimum, while VL (very low) and L (low) indicate too low levels and H (high) and VH (very high) indicate that the nutrients are too high.
I can see that lime worked on areas I had already applied it, namely the north muscadine bed and the east and west fence areas where I’m working on developing naturalistic plantings this year. But, other areas that have pH values in the mid-to-low 5s will need more. For most of my naturalistic plantings, I want nitrogen to be low, but for areas where I have fruits and vegetables it needs to be higher. Across the board, for the rest of the nutrients, I am concerned by the very low levels of potassium, calcium, magnesium, and sulfate in the beds, and I will be rectifying that this spring. I prefer to use slower release sources like rock phosphate and greensand, and I’ve found a mineral called langbeinite that can provide potassium, magnesium, and sulfur to raise those levels.
My hope is that with the attention and care I give my bare-root muscadines and blueberries we’ll have a healthy crop in a few years. Yes, patience is required, but it is well worth it to pick fruit in my own garden warmed by the summer sun.
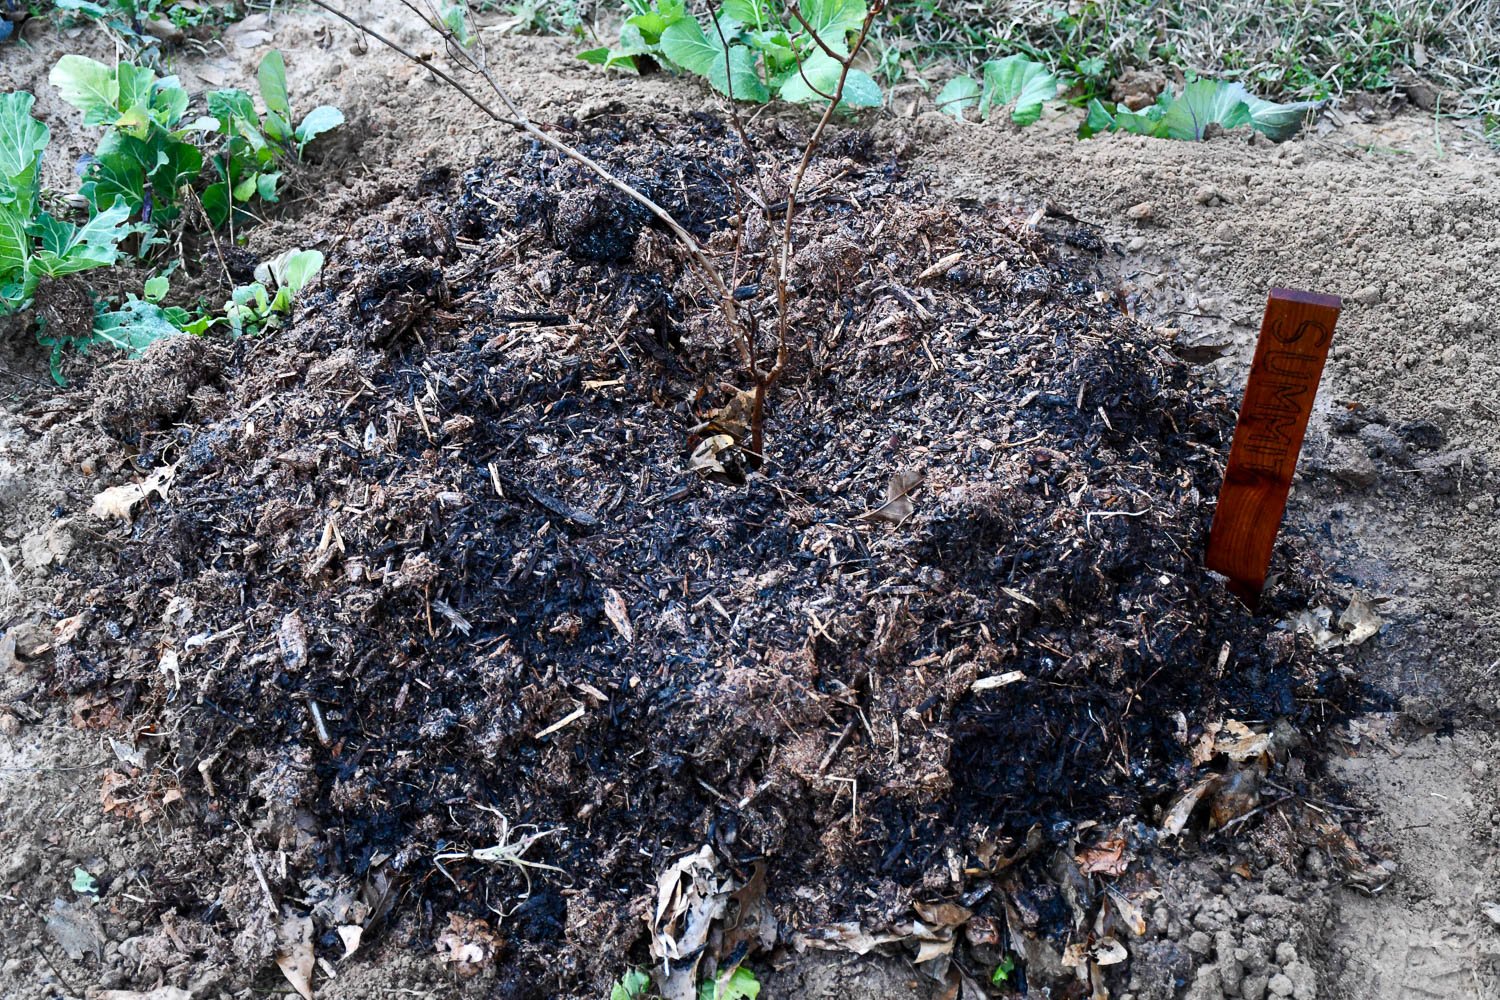
‘Summit’ muscadine well watered in
Keep Growing