My heart sank when I saw it. The forecast two Tuesdays ago showed 35 °F seven days out.
The day before, Magnolia and I had planted beans and squash because when I looked at the two week forecast, there was nothing below freezing. But models update overnight, and my worries that the early spring we'd been experiencing would be nipped before the last frost date appeared to be coming true.
Throughout the week I continued to monitor the temperature, and after a couple of days, Time and Date was saying that we were going to have a low of around 21°F Tuesday morning. Talk about gut wrenching. Other weather apps and websites weren't claiming that yet, but their forecasts would drop over the coming days until we received an official freeze warning.
I had felt this pain already a few years ago in 2023 when Pam Penick was coming to shoot our garden for her book Gardens of Texas. We had two days of 26 °F after several weeks of warm weather. The Baptisia (wild indigo) had already emerged, the persimmons had flushed out, and my azaleas were in full bloom. All of them and more got burned. The Baptisia failed to flower correctly that year, and I even lost most of my blueberries. I can weather these events if they happen once every 10 years, but after having this just happen three years ago, I was ready to take matters more into my own hands instead of waiting and seeing.
Protecting plants isn’t new to me. Season extension has been an interest of mine since my teenage years. As a gardener in Tennessee where the season was shorter, I played around with covers, double covers, and other strategies to protect plants. I was mainly focused on trying to extend the end of the season into the winter (one year I got spinach to survive 9 °F!), but we can also extend the season by protecting plants in the spring. And, it’s not just limited to the vegetable garden or seedlings. There are other methods we can use to protect plants from cold weather.
So after catching the red eye back from speaking in Seattle and getting home around 8:00 AM last Sunday morning, I went outside to set about protecting what I could after a short nap. I got everything in place so that I’d be ready Monday night. Three forecasts I looked at Monday evening showed 29 °F, 27°F, and 21°F. My guess was we would be 24 °F.
I awoke Tuesday morning to find that we were 24.6 °F. Boom! While it felt great to know our area well enough that I could guess the temperature, I dreaded what I might find outside.
However, I was delighted that my season extension efforts mostly paid off. Here’s the different approaches I used this week along with if I would repeat them.
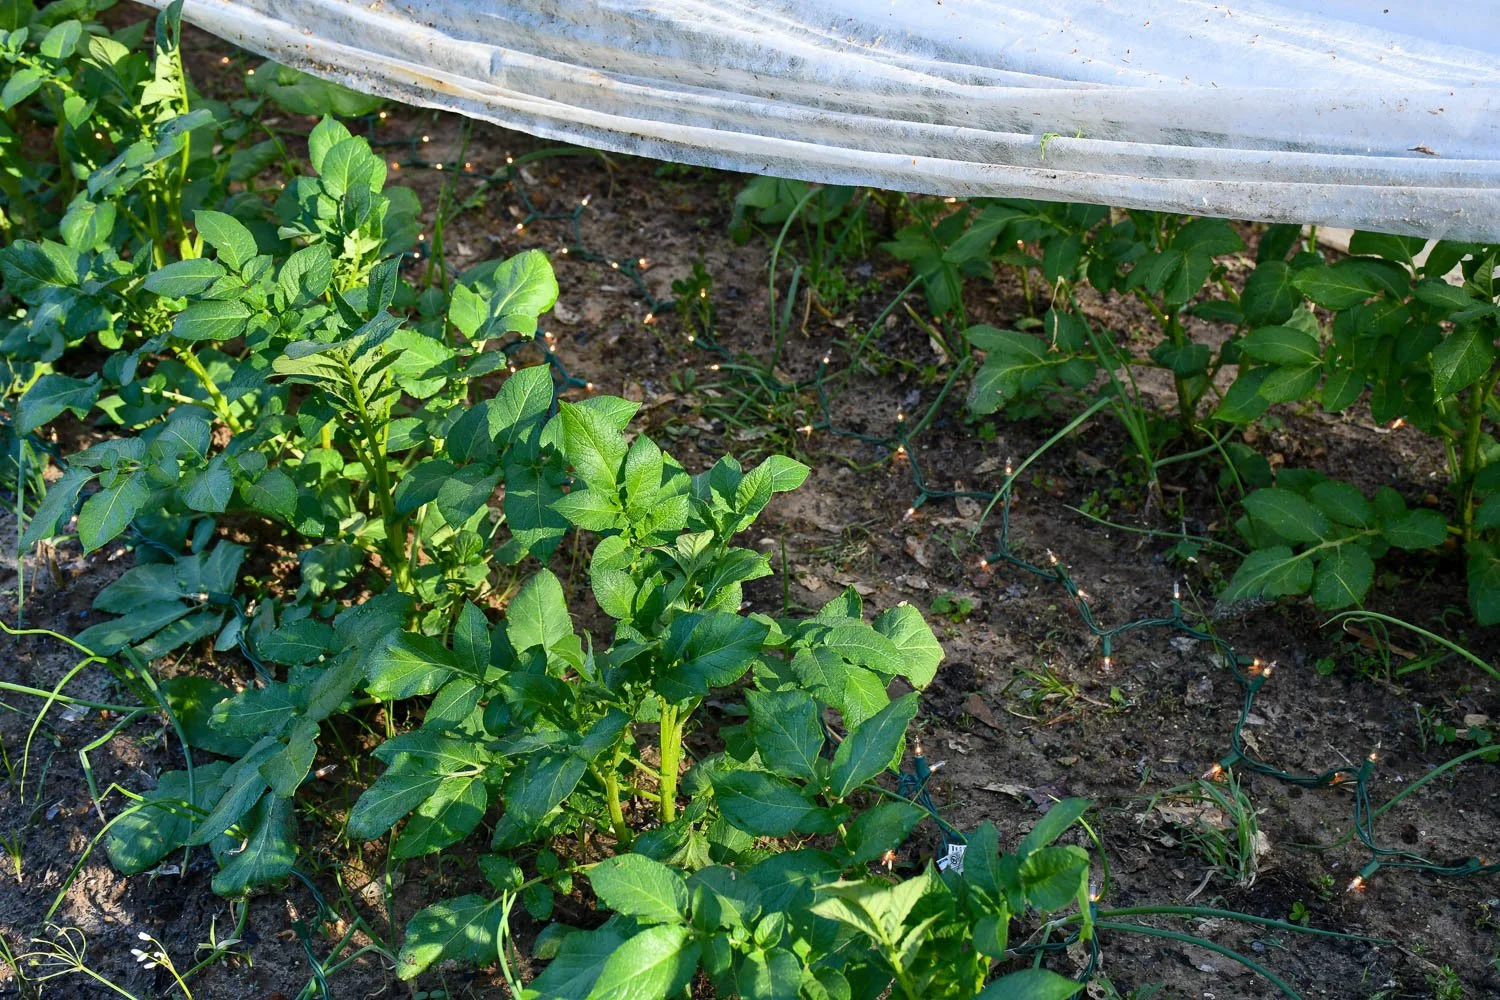
Covering vegetables with frost cloth and Christmas lights (absolutely yes!). It’s funny. In a bit of fleeting optimism, I had put my floating row cover up just before I saw the first hint of a coming cold front. I dragged it back out, and put the frost cloth back up over my luscious potatoes (seriously, the best crop I’ve ever had!) and the beans and zucchini that we had just planted. But, this time I added five strings of Christmas lights around the tender plants. Years ago when we had a late frost, it was enough to protect my tomatoes, and I figured it would work again. I have to give credit to Lindsay Kerr, who gave me the idea of using the Christmas lights years ago. One of the issues we have in Texas is if we wait until we’re frost free we run the risk that we will have a hot summer that will slow plant growth.
The success of this method with the beans and zucchini also has me rethinking when to plant my warm-season crops during the yearly tug of war between winter and spring. Usually I try to wait to plant warm-season crops until the last absolute frost date, maybe even two weeks past that. It was what I practiced in Tennessee to optimize plant growth based on weather. But in Texas, we are racing to get plants to grow and yield before we get so hot in the summer. I'm now considering jumping the gun and extending the season in the other direction—starting earlier in the spring under cover to help get crops going before the heat arrives.
I might also look at attaching the Christmas lights directly to the hoops to keep them suspended up off the ground. I just have to watch to make sure wherever I put them doesn't risk ripping the fabric.
Potatoes are still alive the morning of the freeze with the floating row cover and Christmas lights.
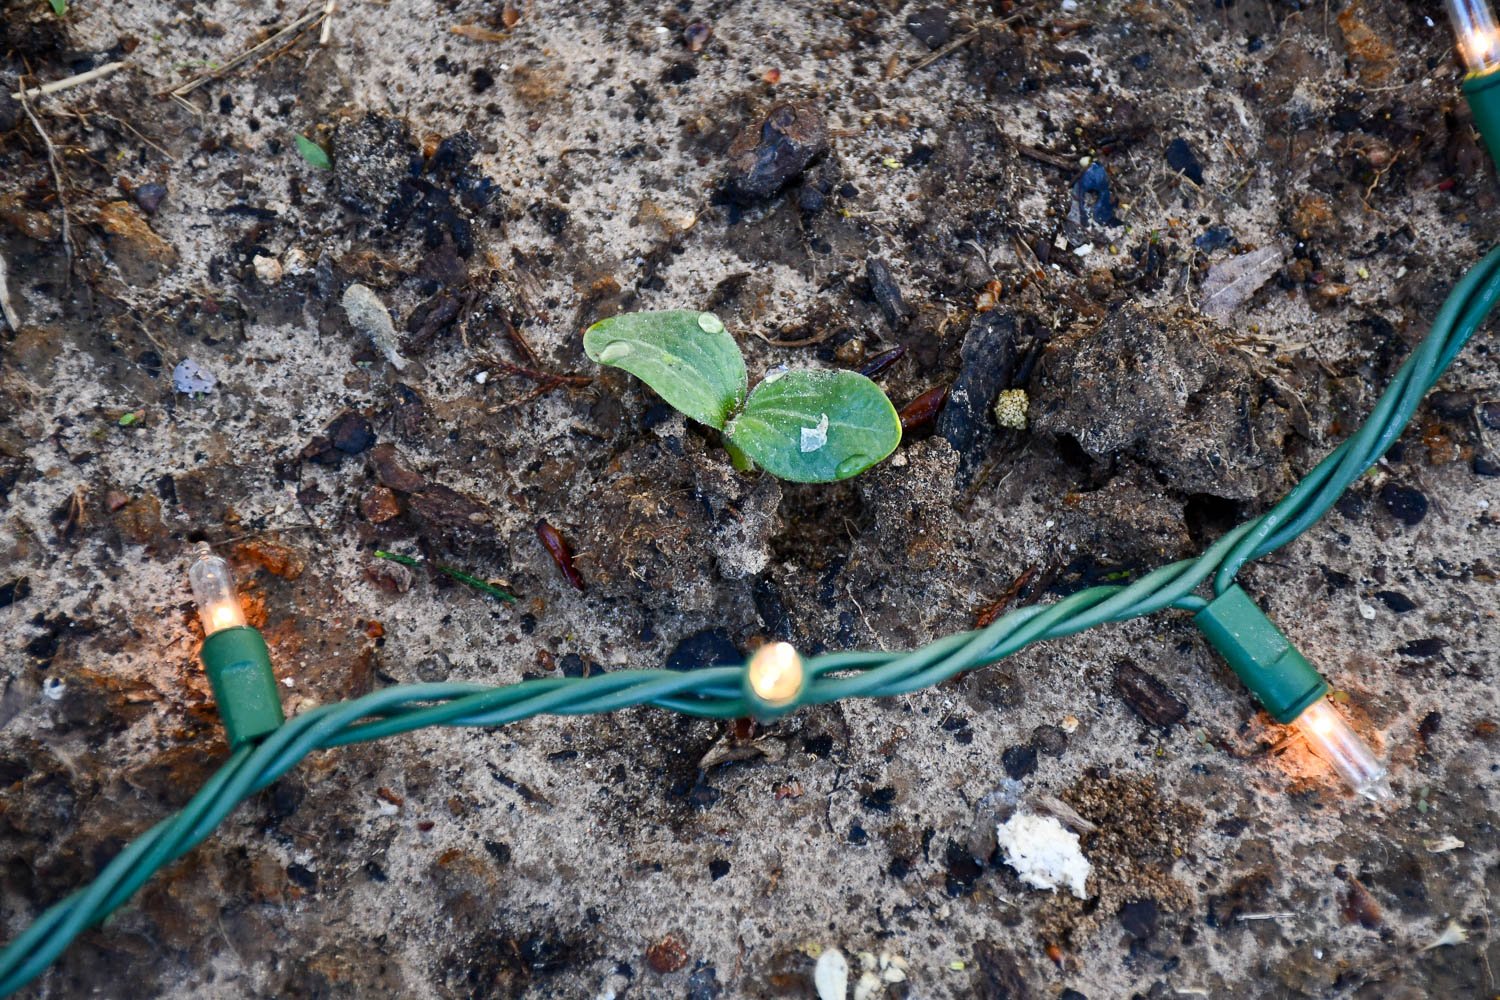
Zucchini seedlings made it with the Christmas lights.
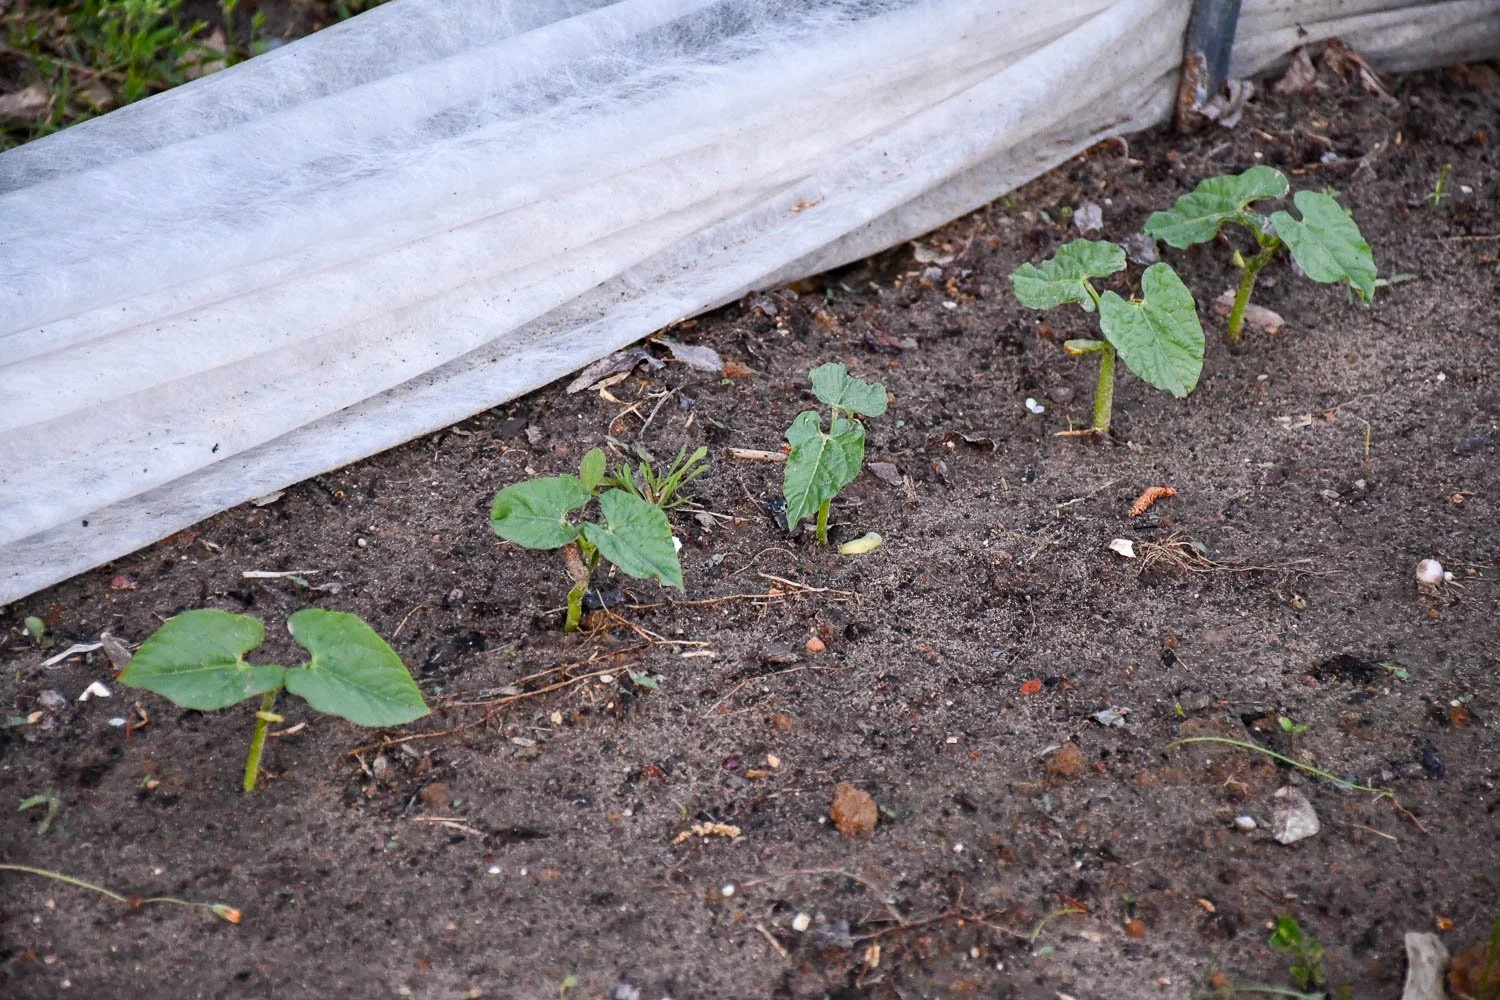
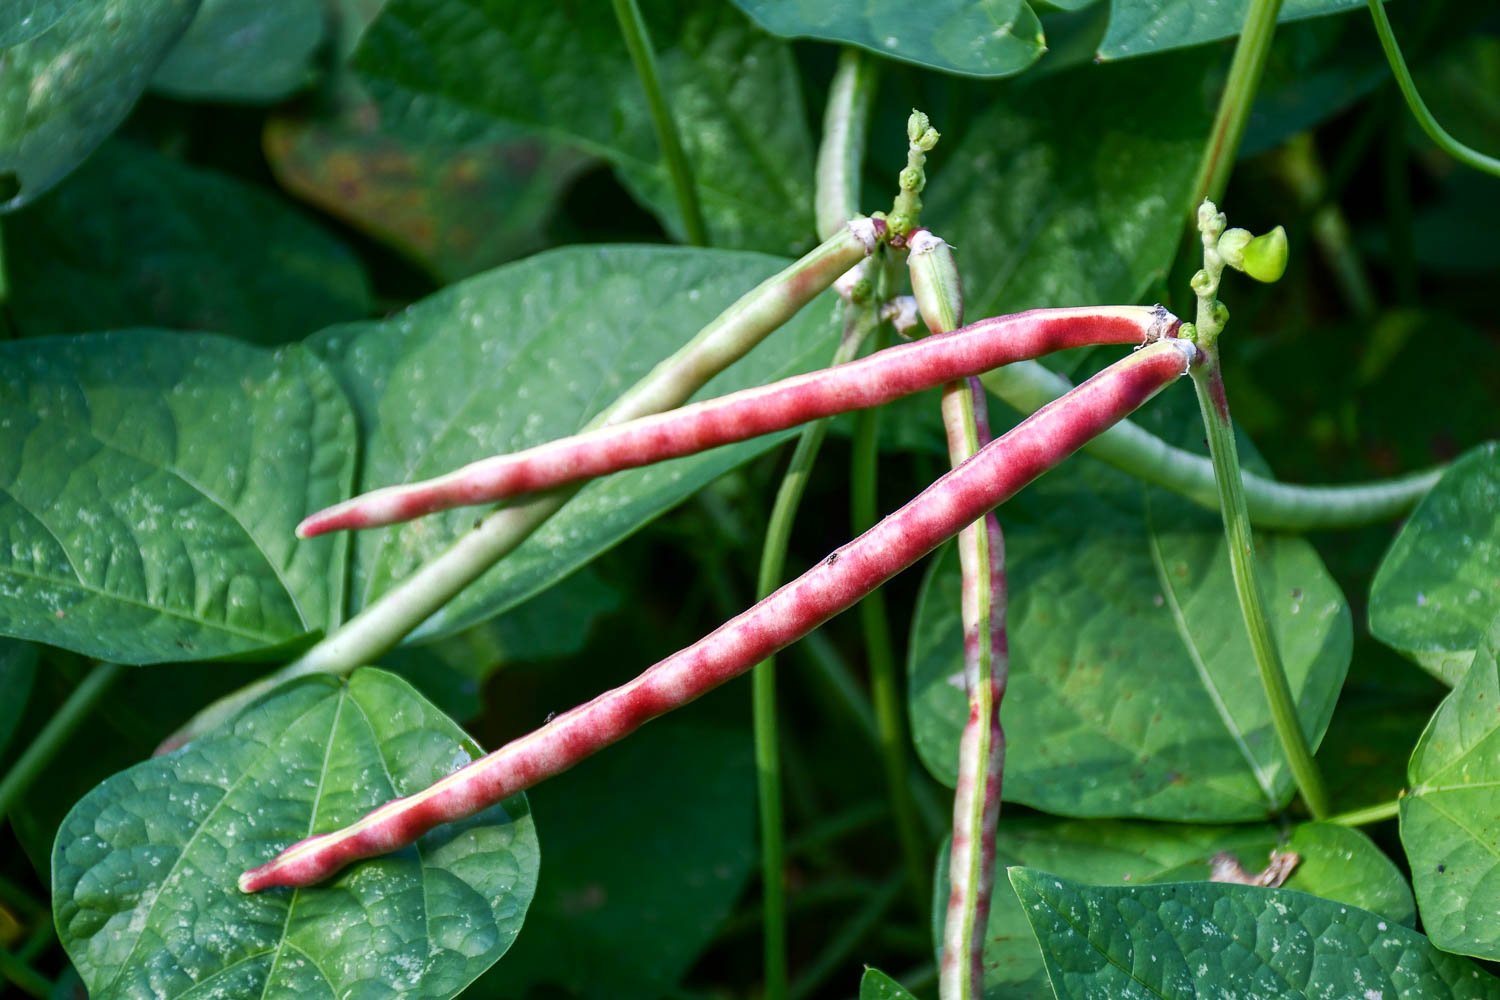
A few days later, bush beans have emerged well.
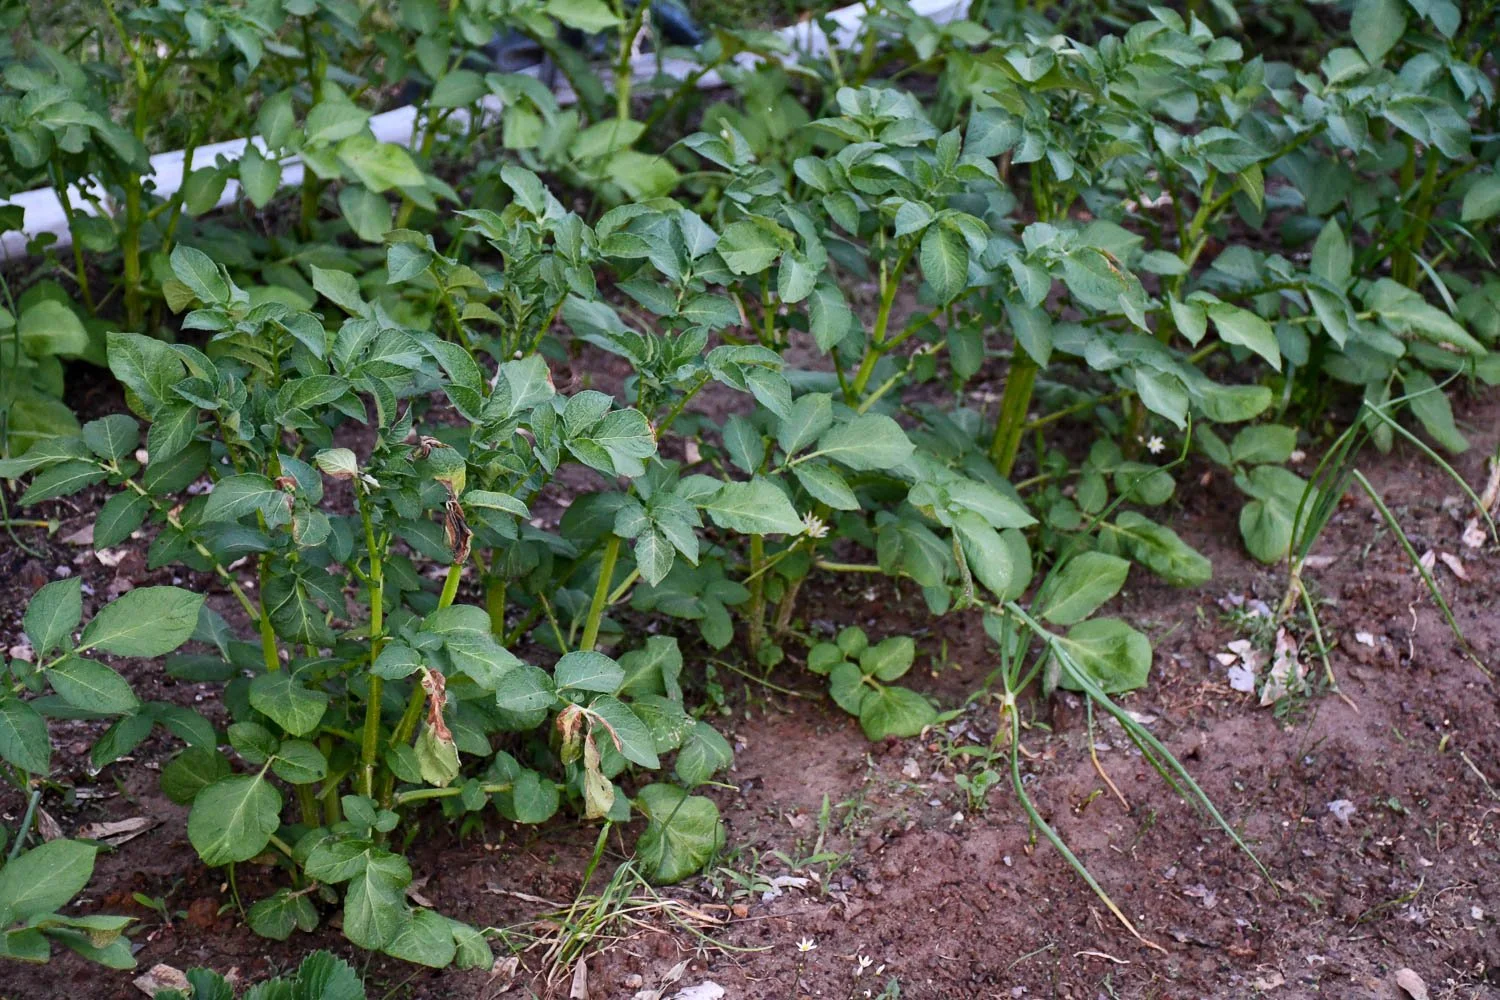
A few days after the freeze, the potatoes look healthy. Note a few brown leaves where the foliage touched the frost cloth.
Covering blueberries with blankets and Christmas lights (absolutely yes!). I threw two strands of Christmas lights on two blueberry shrubs, and then covered them with old blankets. The recommendation with blankets or other coverings is that it has to cover the plant all the way to the ground. However, the blankets weren’t that big, which meant they were suspended on the plants with a gap at the base. The Christmas lights were able to produce enough warmth that it protected them! The two blueberries I lit and covered are still in flower now a few days later, and the fruit appear just fine. There’s another blueberry bush that I did not cover as a control a few feet away, and the fruit have turned brown on them.

After removing the blankets, the blueberries looked fine with the Christmas lights.

A few days after the freeze, bees are still working the blueberry flowers.
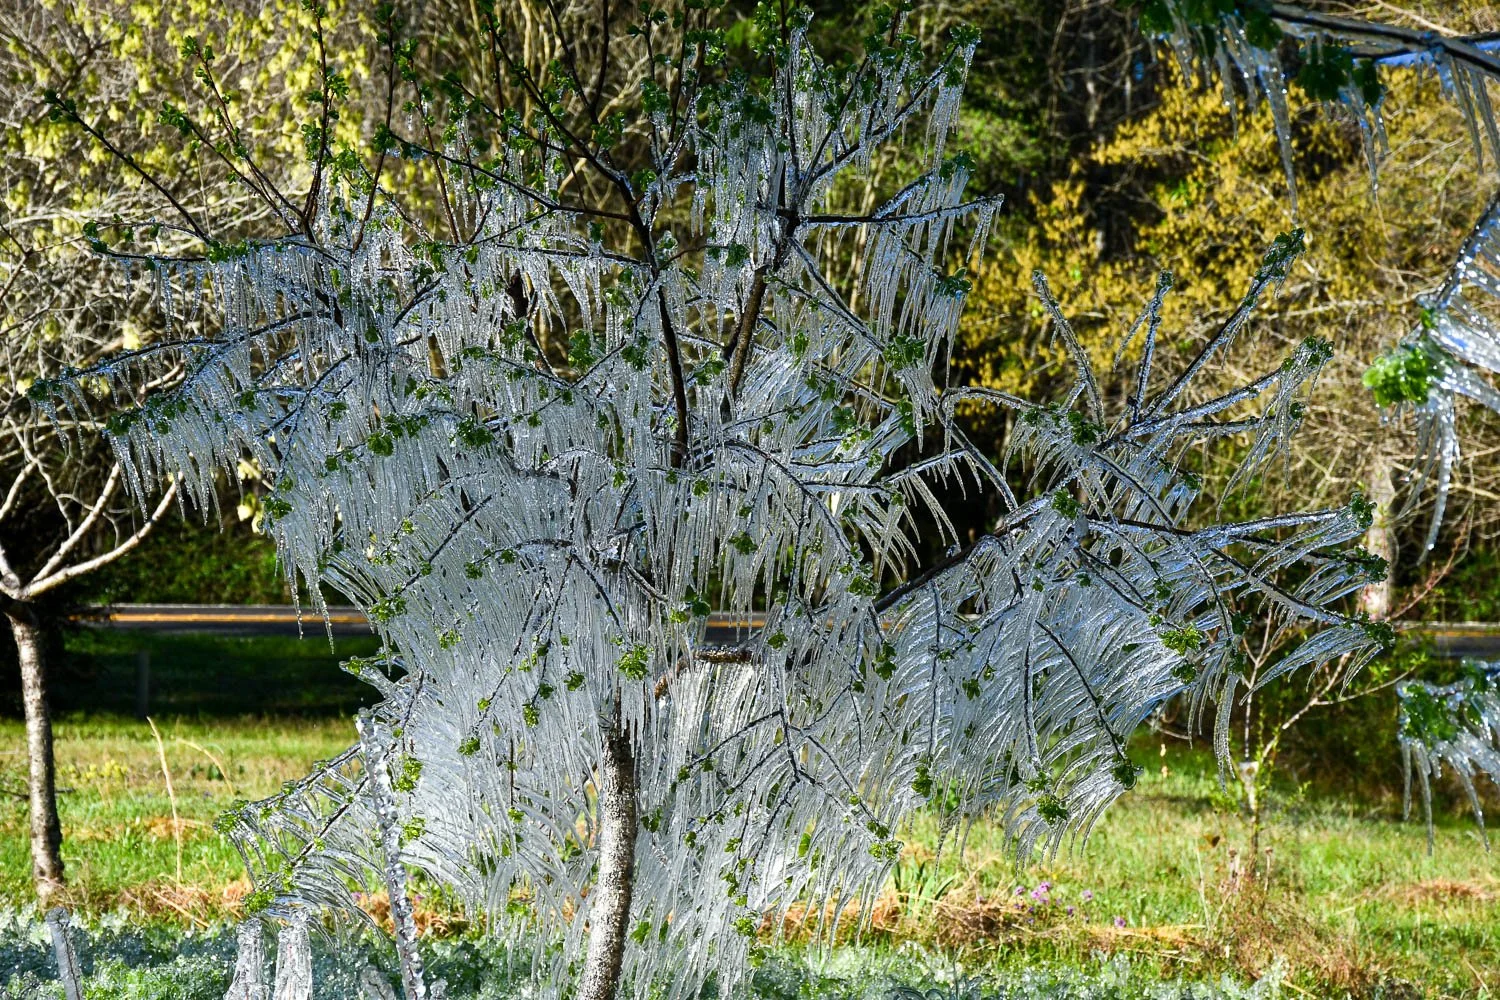
Running an overnight sprinkler on the persimmons (maybe, but probably yes). Water can be an effective means to prevent plants from freezing. As water goes from a liquid to a solid, it releases latent heat, and that heat is enough to protect plant tissue. It’s not just large scale farmers who use this method. My great-grandfather would go out in the middle of the night and run a sprinkler on his strawberry patch to protect the flower buds from a late freeze. Around 10:00 PM, I saw the temperature had already dropped to 32.4°F, so I went outside and turned the water on. To my dismay, the water in the hose had already frozen. I turned it on and noticed a slow trickle out of the sprinkler. There was enough water moving through the hose that it was able to melt the ice, and after about two minutes or so the sprinkler was running. In the future, I'll probably try to start it a little bit earlier.
The next morning the tree was covered in ice (header image). Would I do this approach again? Most likely. It sure is nice a few days later to see verdant leaves and emerging flower buds on the persimmons. The one issue, though—and it hit me around 2:00 AM lying in bed—is that the weight of the ice on the plants could be catastrophic. I actually lost a couple of small branches on one tree. The loss didn't disfigure it in any meaningful way because I've been pruning them healthily over the years, but it's something to consider. Am I willing to lose a portion of the tree due to ice load just to save a year’s crop?
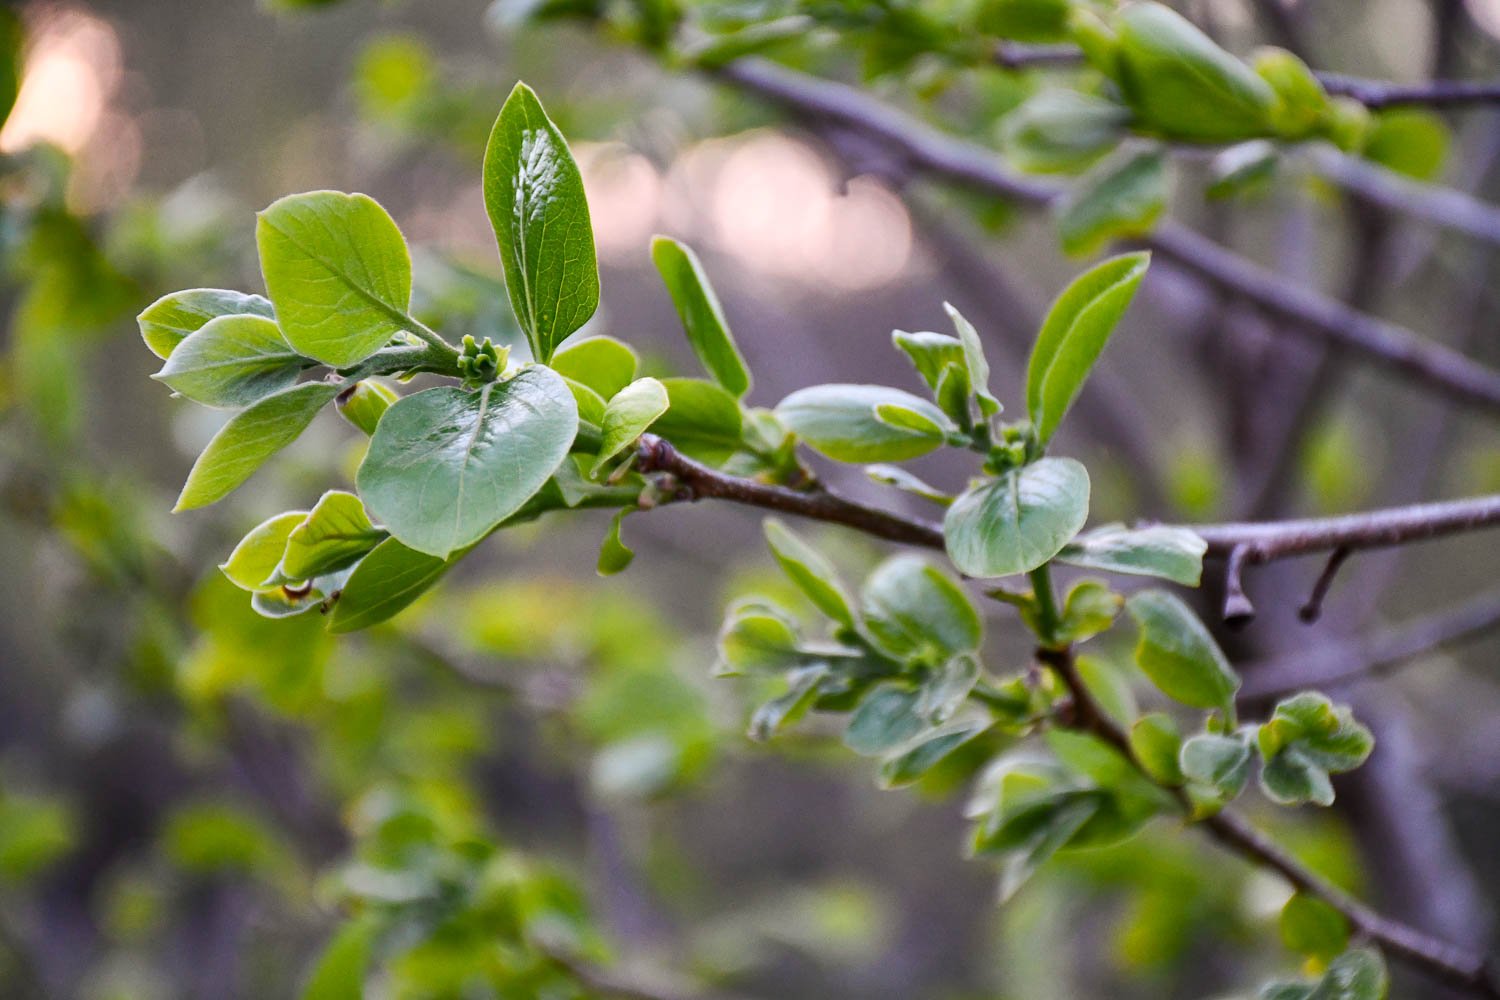
A few days later, the persimmon trees I sprayed are still green with minimal leaf damage…
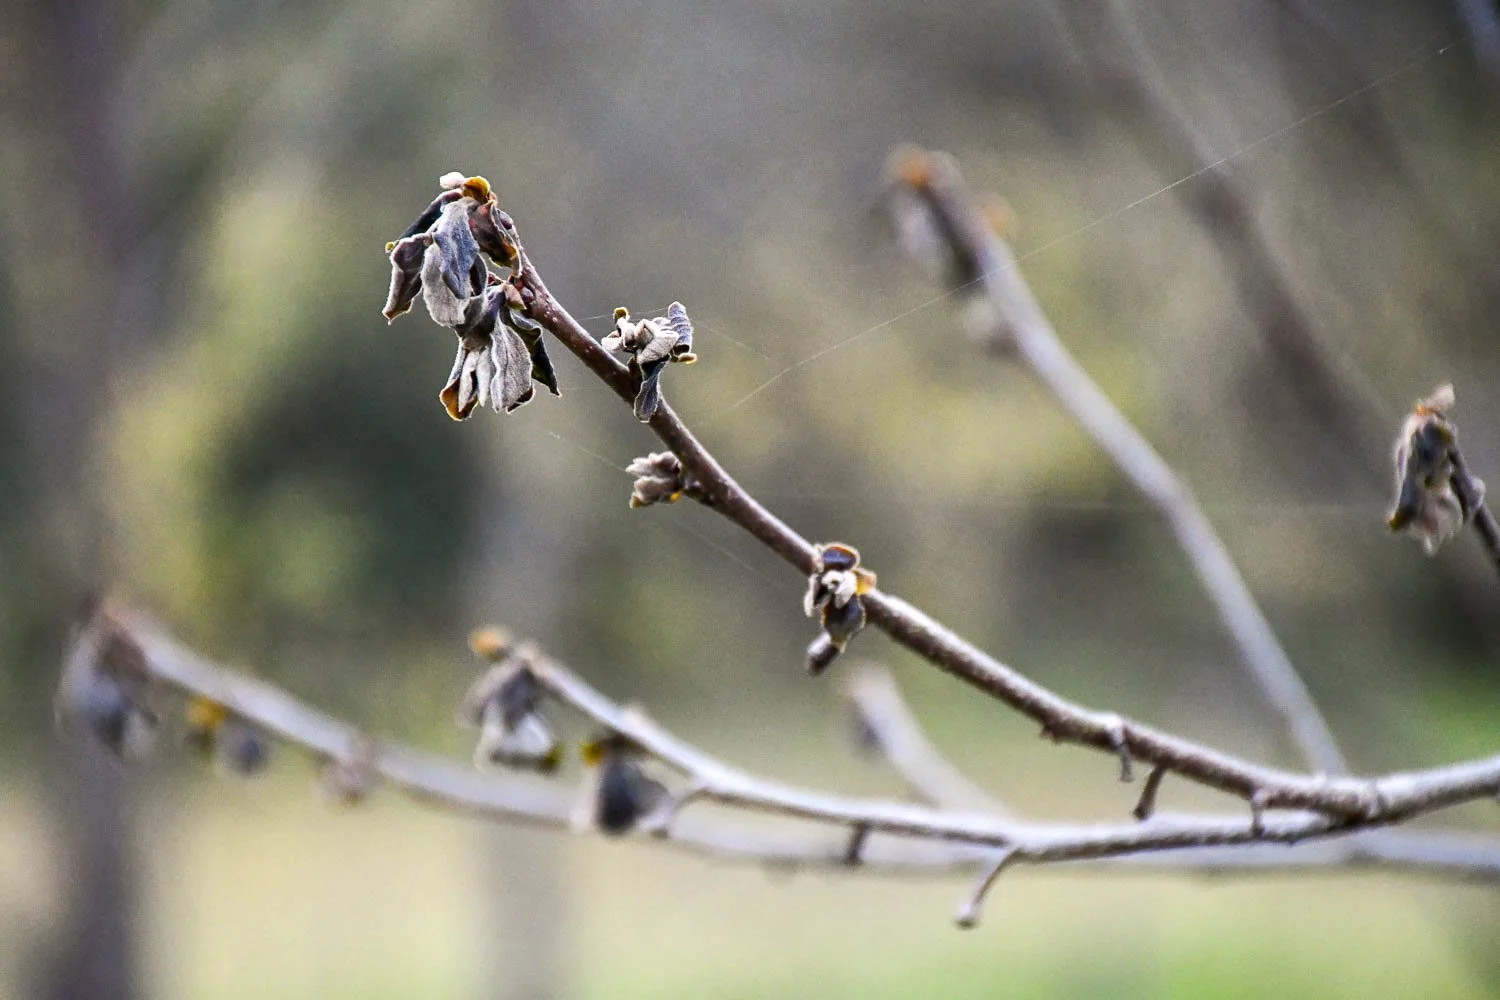
…while the one I didn’t spray water on looks rough. It should rebound like they did a few years ago.
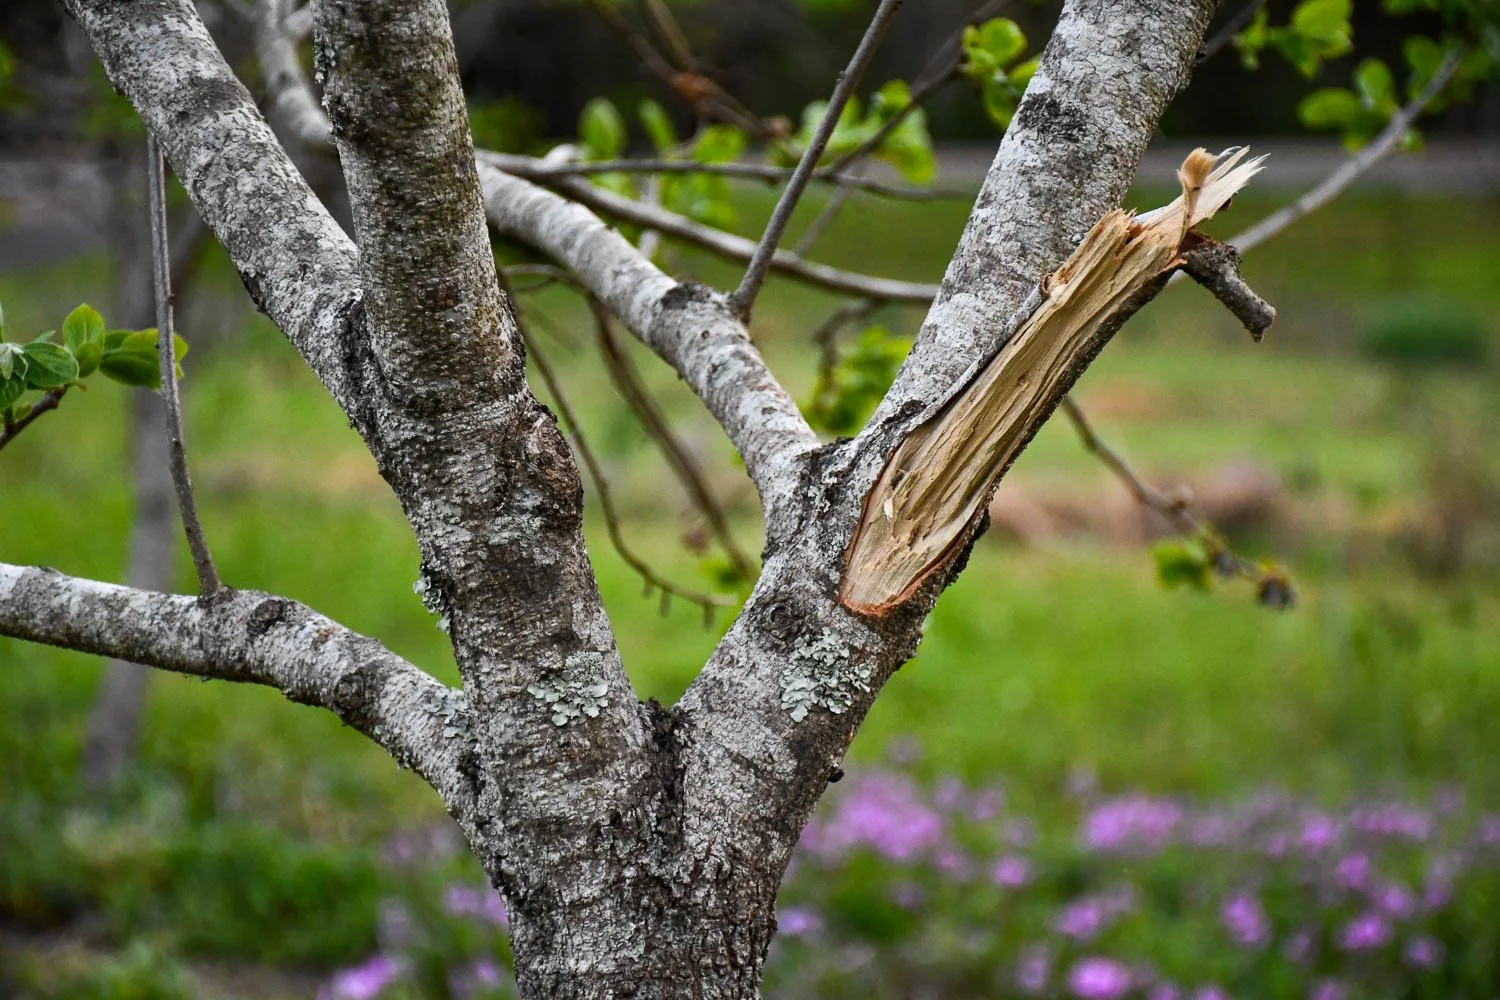
A gash on the persimmon tree from the ice load. This damage makes me question if I would spray them with water again.
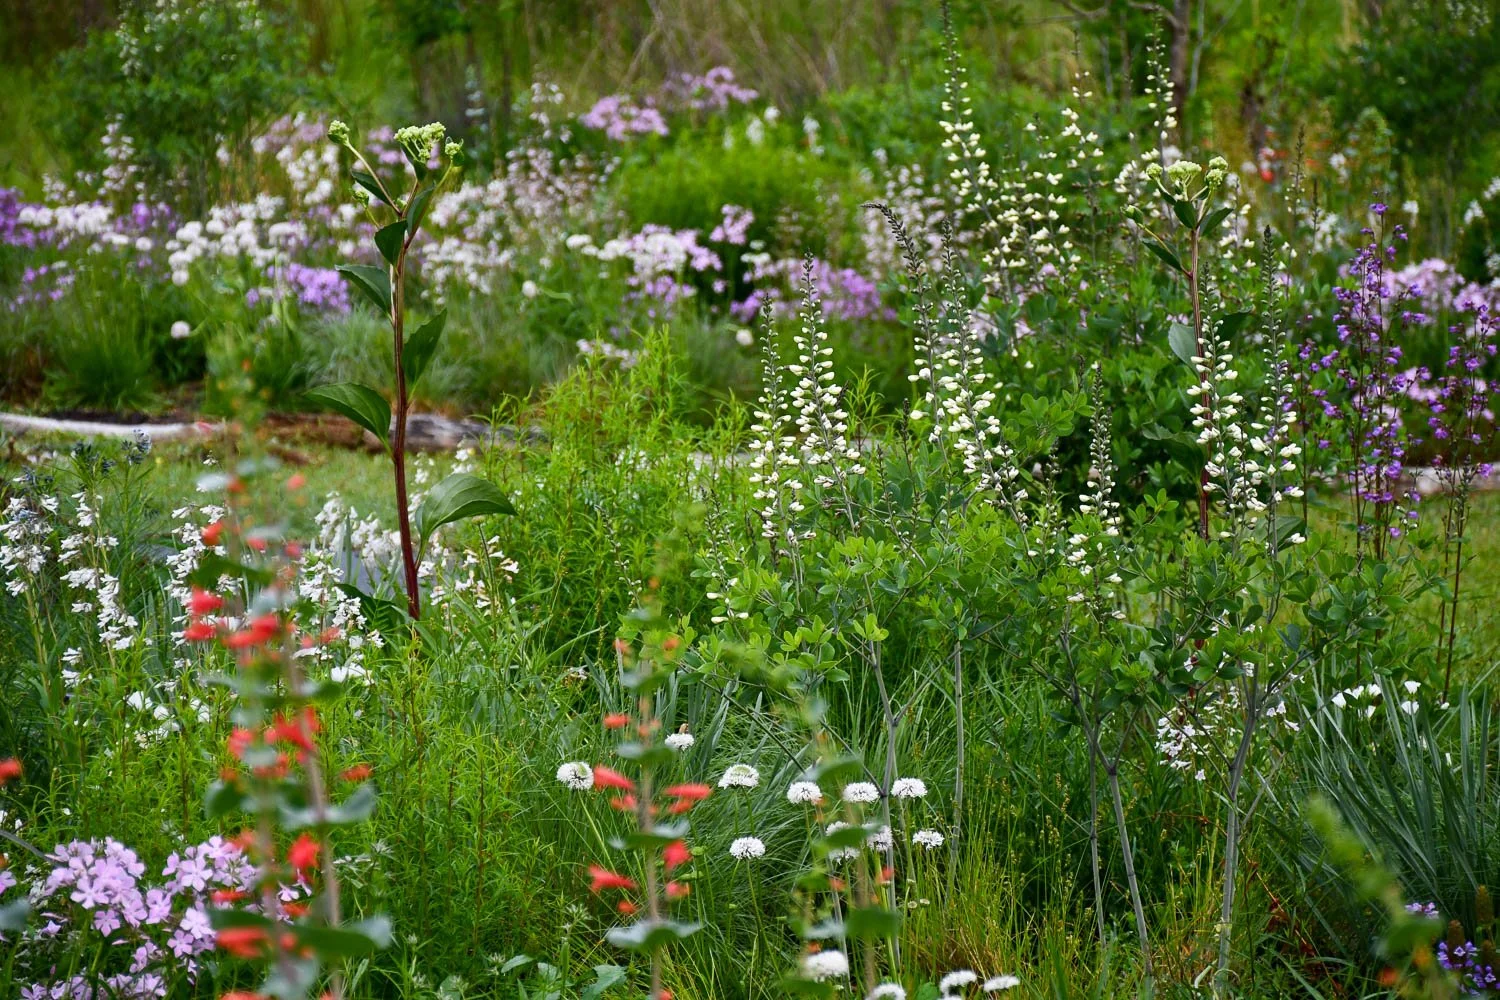
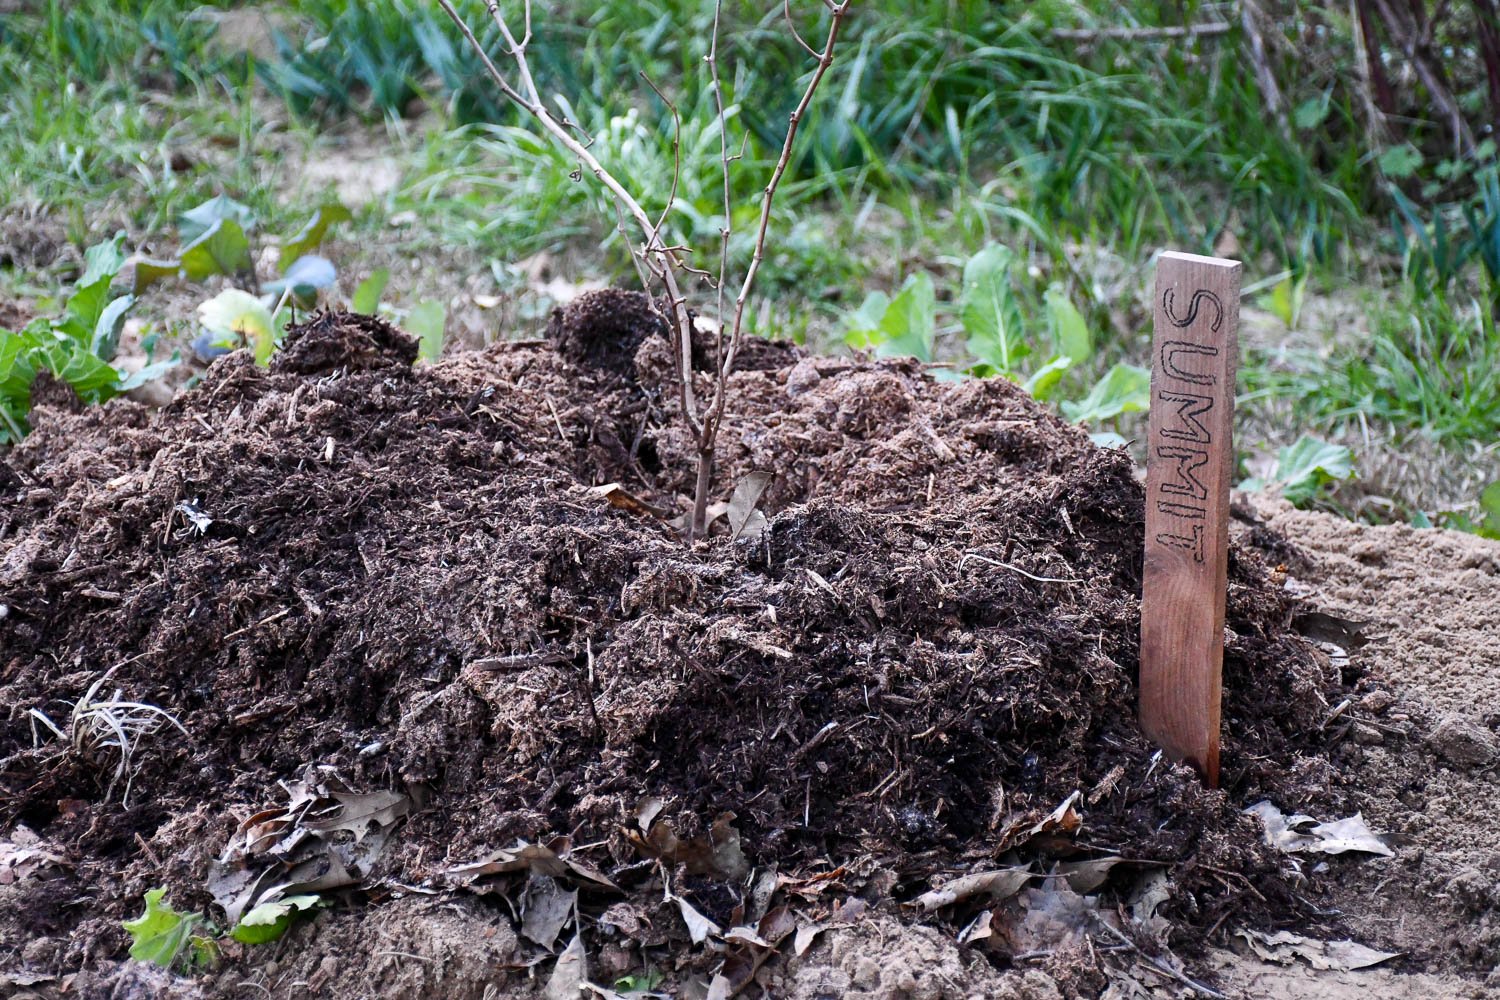
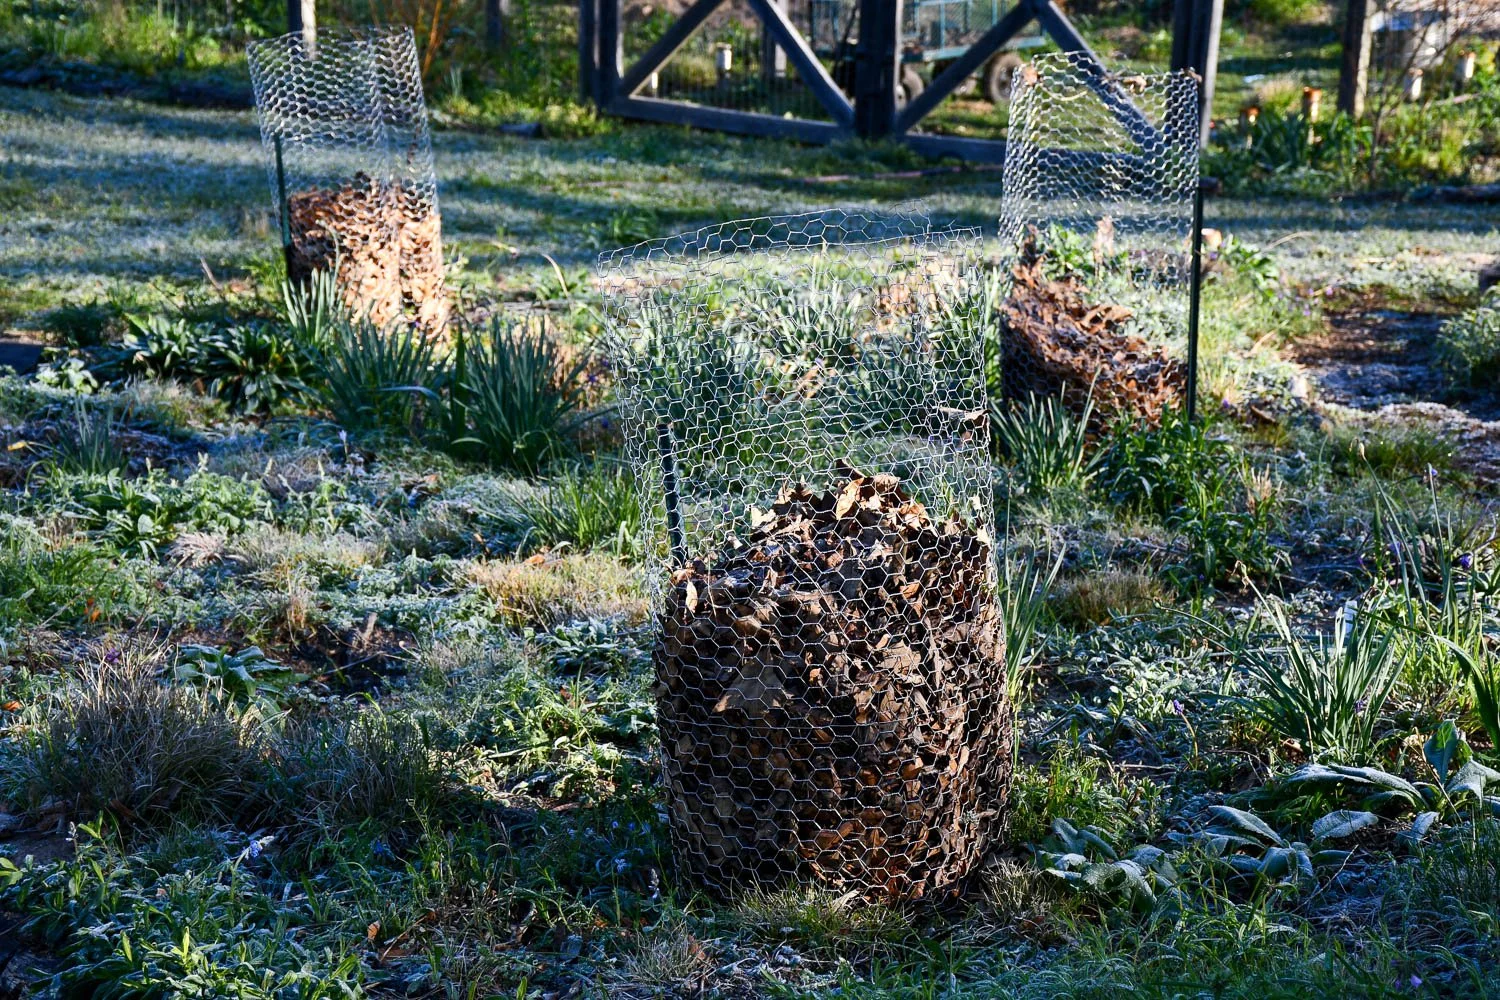
Protecting Baptisia with autumn leaves (no). Baptisia alba (white wild indigo) is a crucial primary plant in our spring garden. After the 2023 freeze, the blooms failed to form right, and it’s absence in the upper layer in our garden was quite apparent. So, I built chicken-wire cages about 19 inches wide (5 ft round) and filled them with leaves. I was inspired by colleagues further north that encage their bananas and other tropicals with autumn leaves, but I would not do the leaf cylinders again. They were too thin. I don't think there was enough insulation, and some of the Baptisia were already emerged 12-to-18 inches. I'll go back and inspect each Baptisia clump. I'll cut off anything I think was frost damaged, because I already know the inflorescences that had emerged are gone. That will help to encourage the plants to direct their energy into the buds that were more protected down near the base. In some cases, I may actually have to cut the entire plant back and hopefully force some lower dormant flowering buds out.
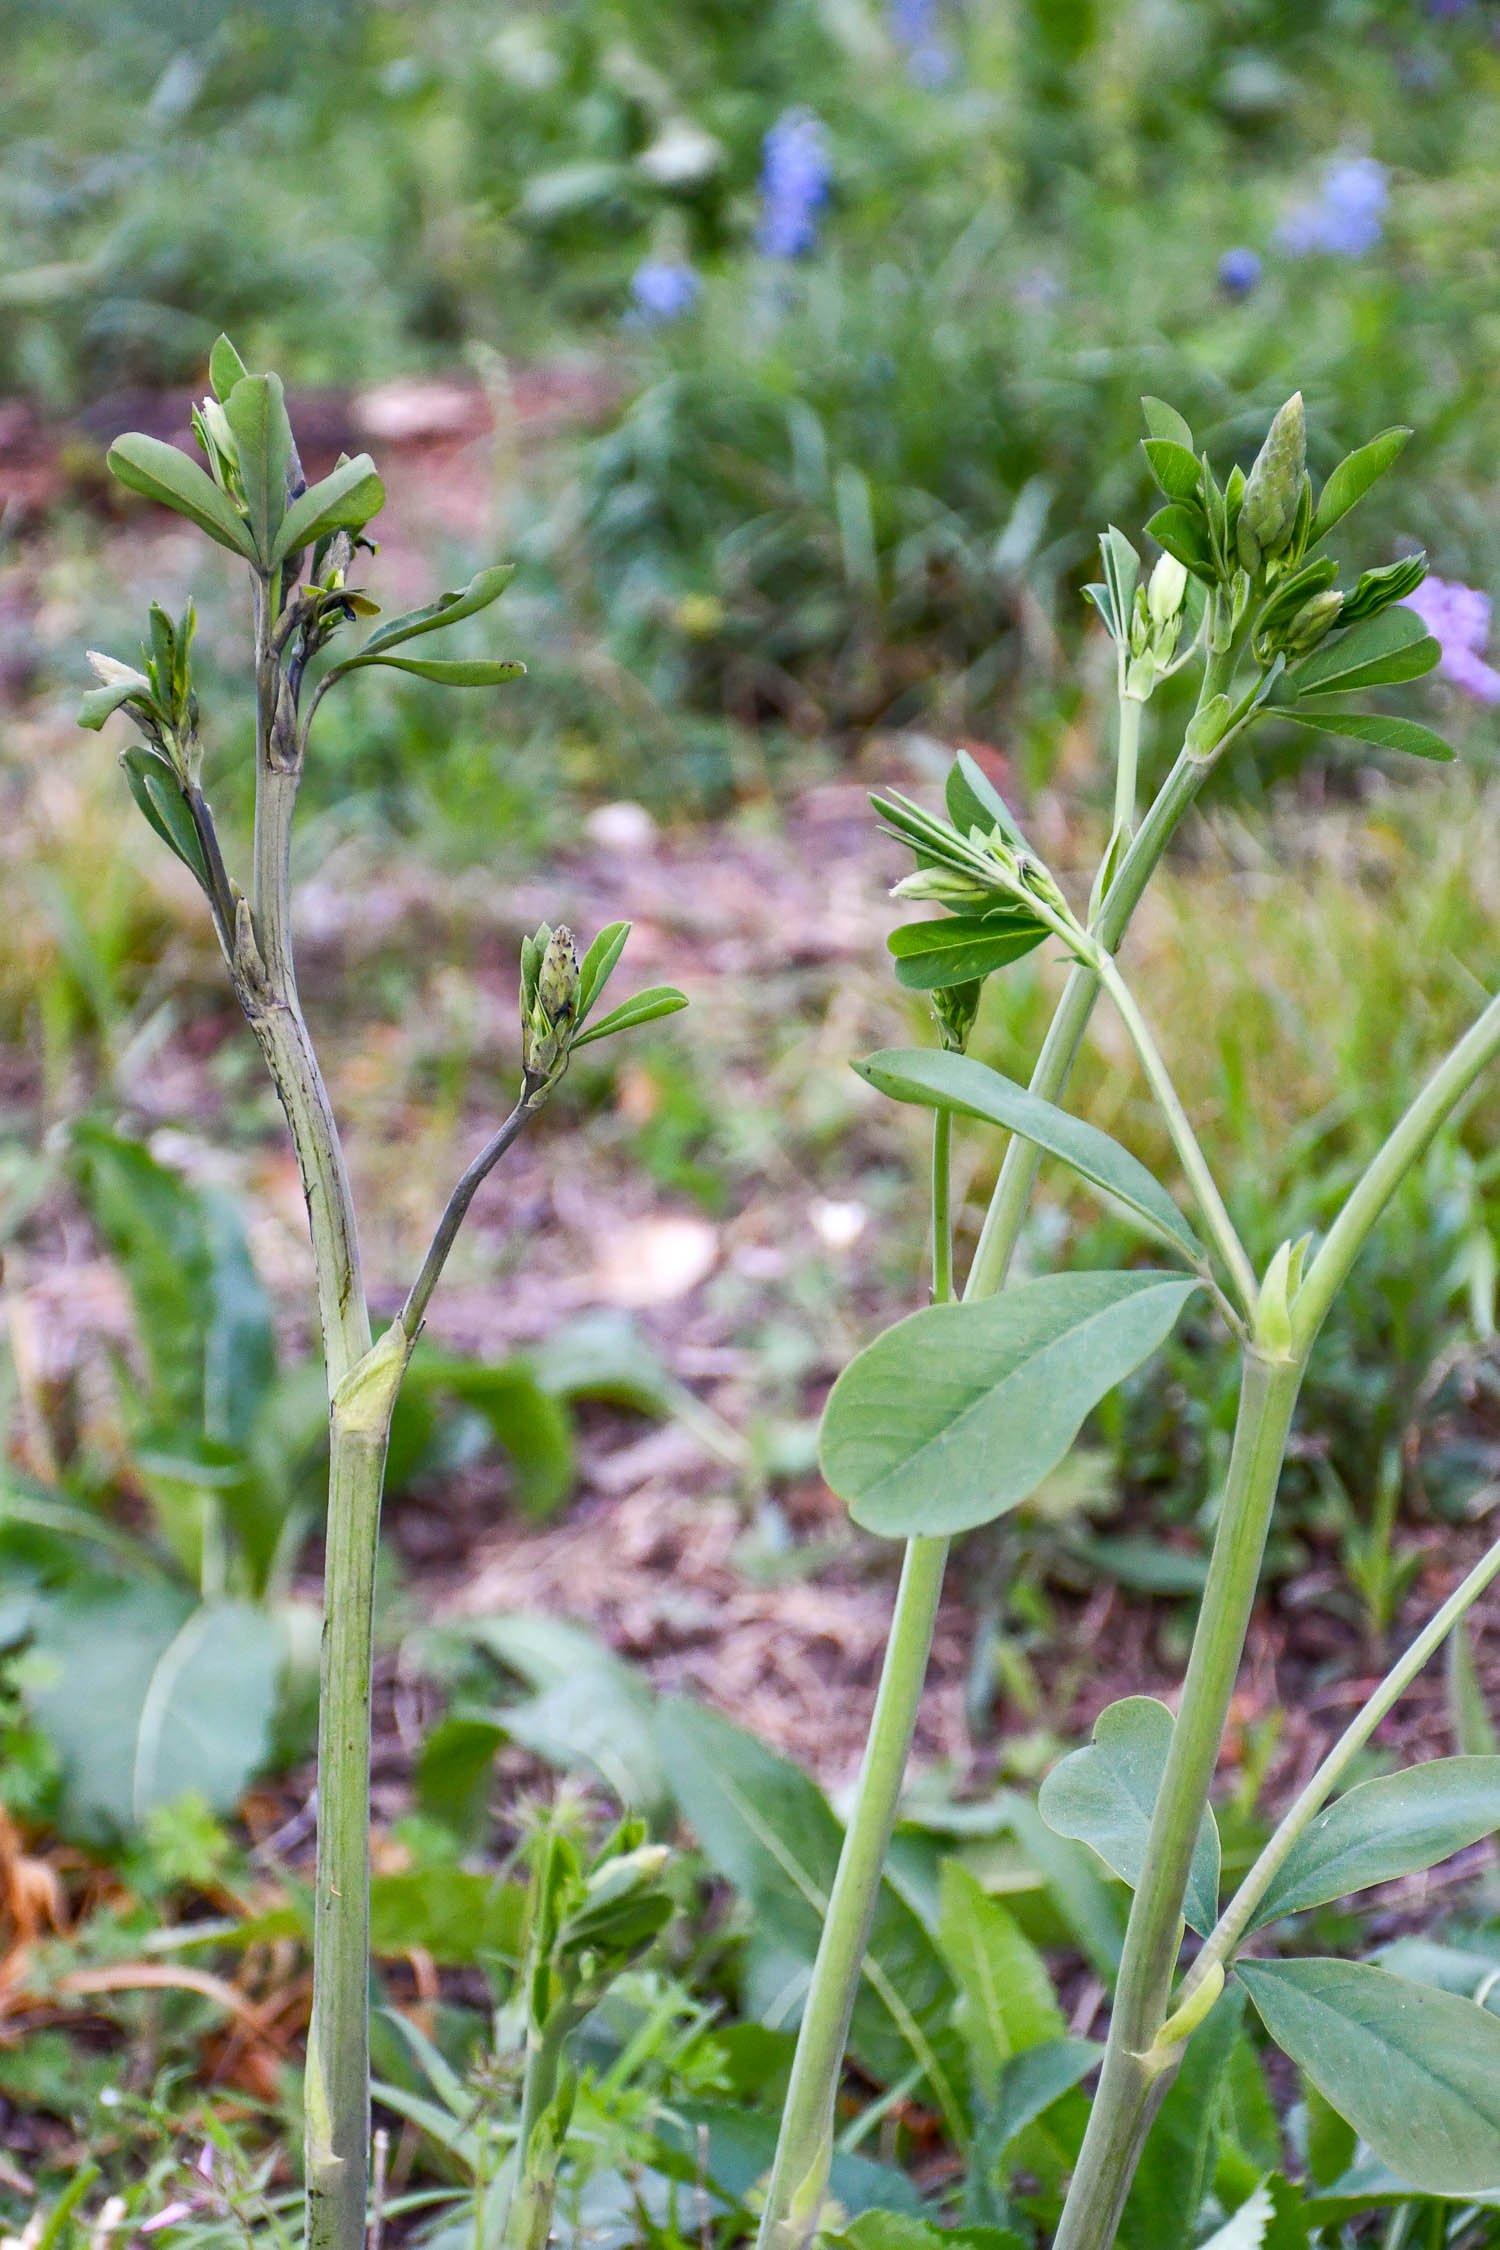
The Baptisia shoot on the left is damaged and blackened from the freeze while the right one looks ok.
Covering Baptisia with a tub and Christmas lights (absolutely yes!). There was one Baptisia plant that was too tall to cover with a cylinder at all. For that one, I got a leaf collection tub, put twinkle lights underneath it, and that plant made it through just fine. So in the future, instead of doing the leaf cylinders, I'm going to get 5 gallon buckets or some type of tarp teepees. I can put stakes in the ground around the Baptisia, drape the covering over them, put Christmas lights underneath, and run extension cords through the garden connecting everything. I know it sounds complex, but it makes buying those 20 strands of Christmas lights on clearance the day after Christmas worth it!
Covering the nursery plants with tarps (absolutely yes!). I do this already, but I wanted to mention it for those of you unaware. Even when we have steep dips in temperature during the winter, I’ll cover my seedlings with a tarp. They made it through just fine.
Bringing tender plants inside (absolutely yes!). I also brought tender plants like tomato and basil seedlings and my Sanseveria inside the garage overnight. No question I would do this again.
If we continue to have warming springs with sudden eruptions of cold further south, season extension will be crucial to protect plants. One night can ruin so much, but it still amazes me that plants can make it through with no damage.
Weeks like this one are a reminder that gardening is always a delicate dance with nature. You can cover, wrap, water, and light your way through a hard freeze, and sometimes it works beautifully. But the plants that worried me least were the ones I'd chosen well in the first place. Take these Lupinus subcarnosus (sandy-land bluebonnets) below. Sure, they looked rough Tuesday morning, but now they look fine.
That's the quiet power of plant selection.
If you want to go deeper on that idea, I'd love for you to join me Monday, March 23 2026 at 6:00 PM Central for my next Botanic Bootcamp session—The Power of Plant Selection. Click below to learn more and to access a discount code.
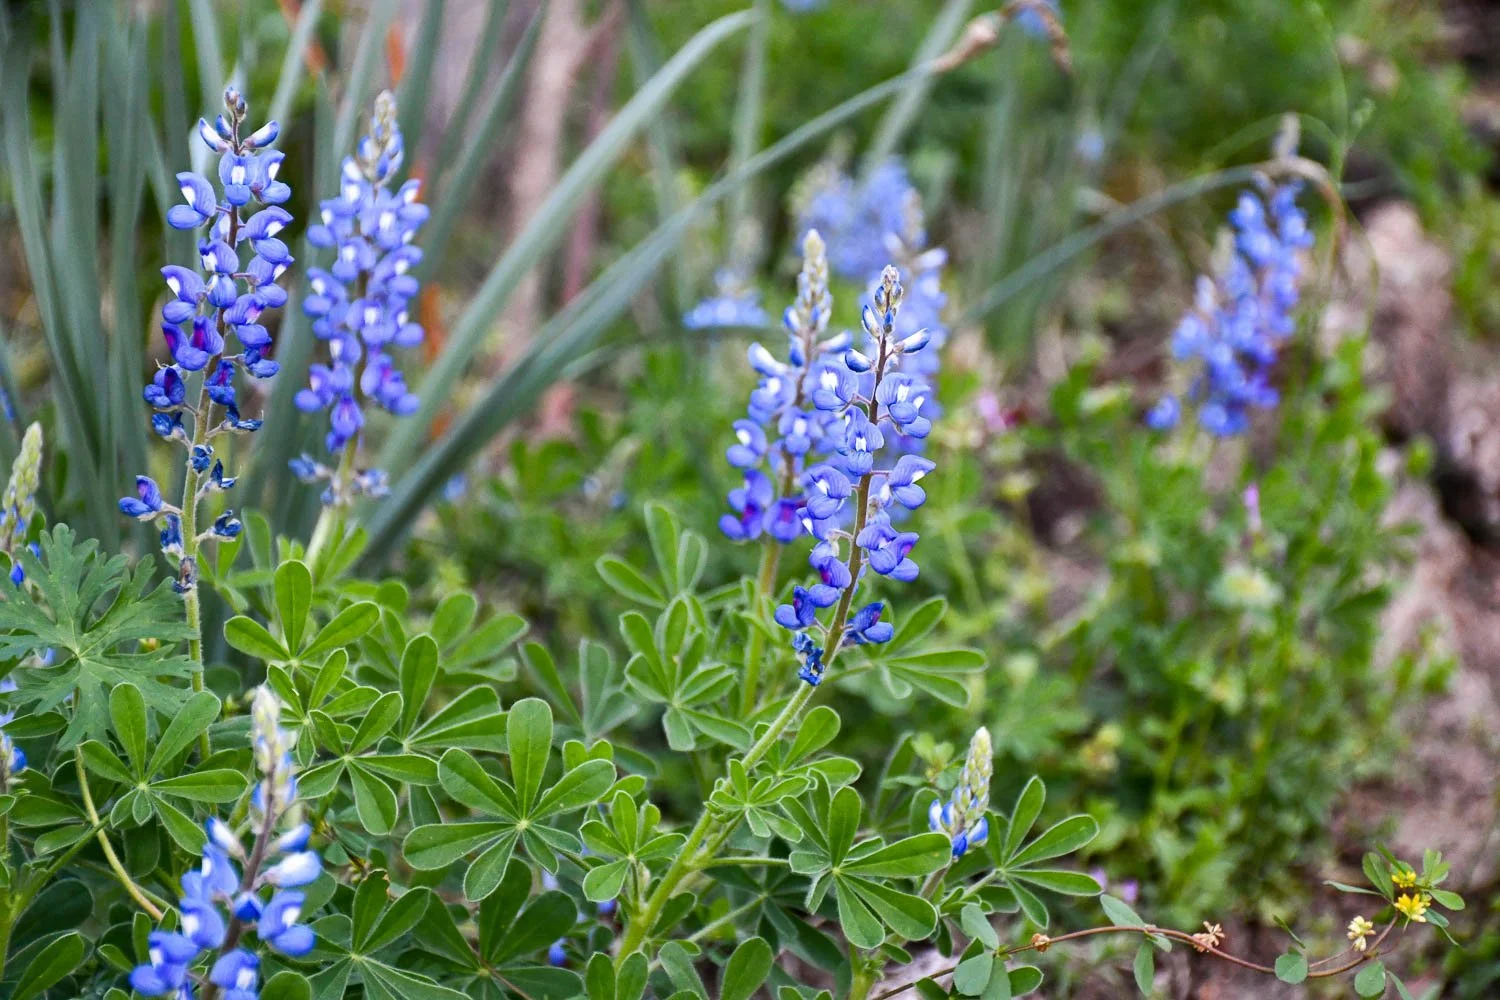
Lupinus subcarnosus (sandy-land bluebonnet) shrugged the freeze off.
Keep Growing