Prairie celestial. What a name. It sounds like the title of some futuristic pioneer-space saga.
I never even knew this plant existed until I caught a glimpse of blue in a ditch riding around looking for wildflowers several years ago. After a turn around and a pull off, I found myself staring at a large, faded-cobalt flower that was a little bigger than a half-dollar coin. The center was adorned with a spot of white and a small crown of yellow stamens. It seemed quite happy it this wet spot and I quite happy I had discovered a new-to-me species.
I had found Nemastylis geminiflora. I consider myself lucky to have caught it in bloom because this plant carries late store hours. It opens mid-morning around 10 or 11 am, and closes in the mid-to-late afternoon. A bit earlier in the day or even later, and I might have have missed it since its petals unfurl with the sun passing through its zenith in the sky.
An overview of Nemastylis geminiflora growing. You can barely make out the wrinkled in the Gladiolus-like spears of foliage.
In another year, I found a larger population of hundreds of individuals a few miles from my original location. These plants tend to prefer more calcareous soils and are plentiful further west. In fact BONAP shows that their range extends over into Alabama and up into Missouri and Nebraska, but I only know of these two populations nearby that are likely remnants of prairies lost long ago.

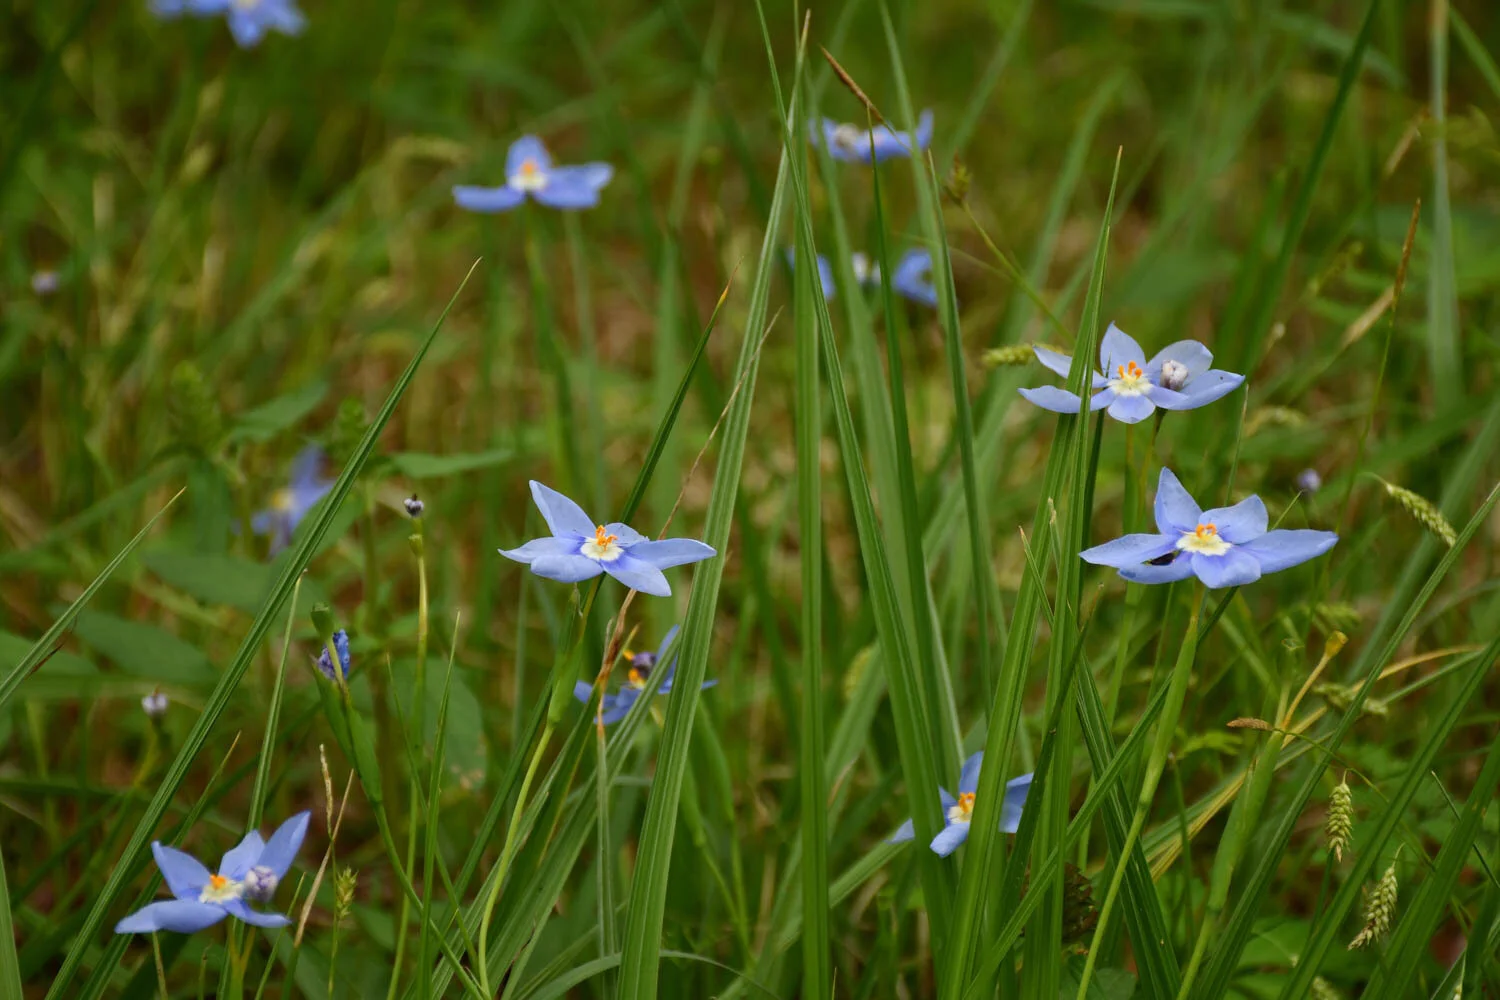
Hundreds of Nemastylis bloom on a roadside in east Texas with their petals oriented almost parallel to the earth.
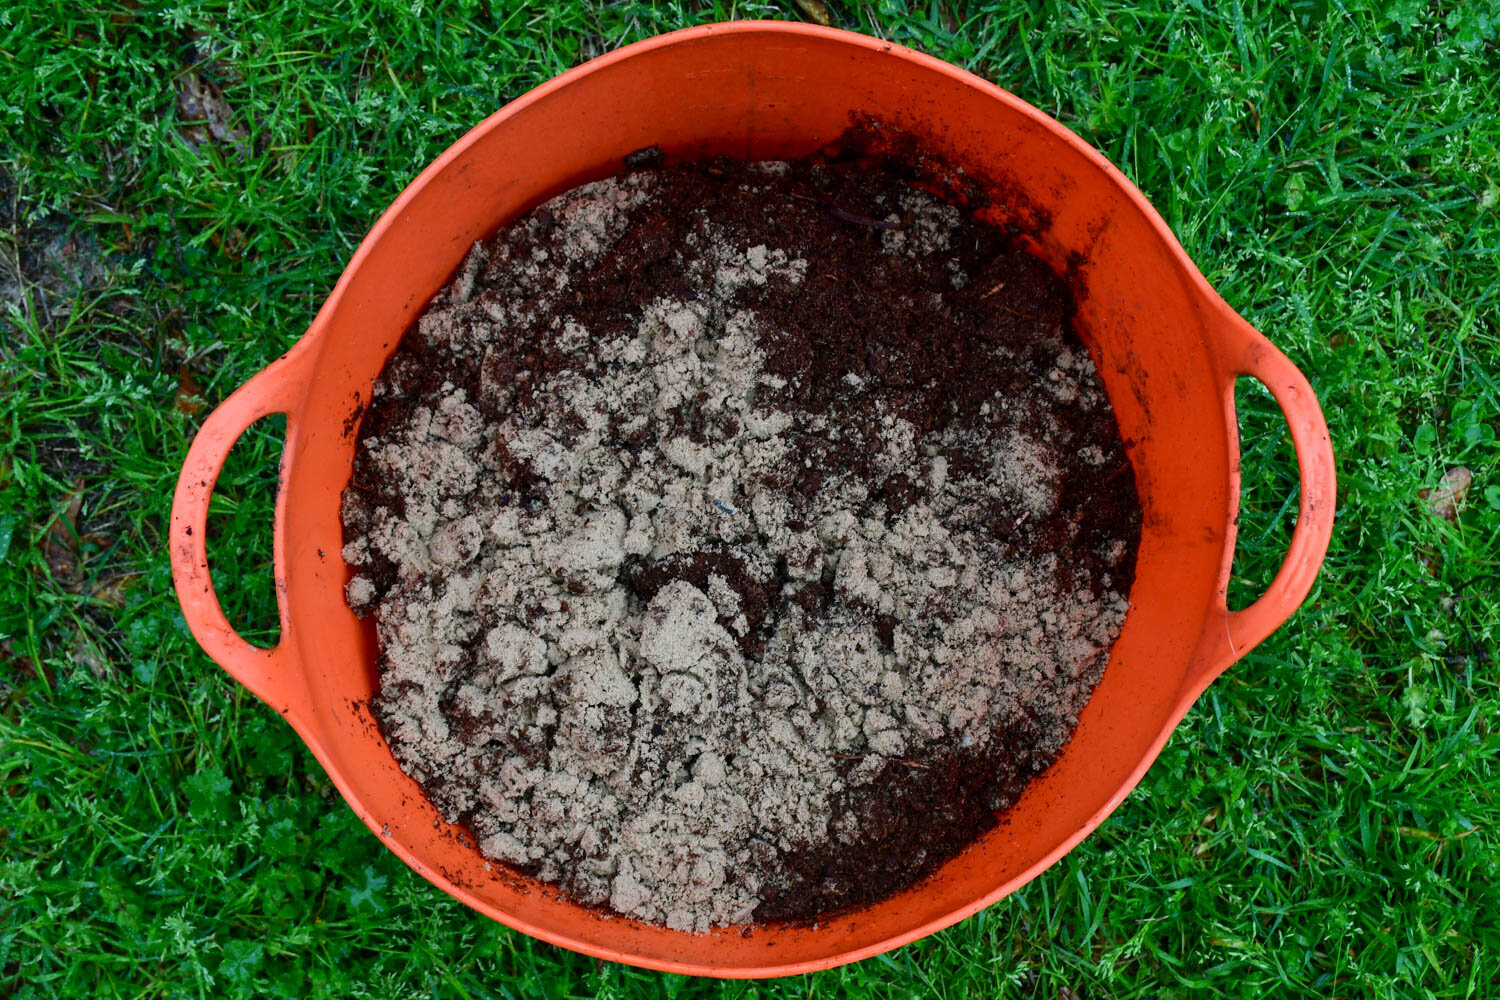
I acquired some seed, which emerge from the top of the splitting capsule. Once the inflorescence stem collapses and falls, the seed pour out on the ground out of this elongated green bowl a little distance from the plant. I sowed them and nothing. I put the pot back in my propagation corner and considered them a lost cause. Then, next spring here arose 20 monocot leaves.
Growing this plant in the garden and seeing it flower has taught me more about this species. I delight in seeing the strap-like leaves emerge in spring with the ripples in the leaf, which has earned them another common name, prairie pleatleaf. They resemble a short Gladiolus, but touching them reminds me of how wrinkled fabric gives when you rub it. I now also know that the flowers will open for more than one day; usually a bloom will flower twice. Most stems have two blooms on them, hence the epithet geminiflora since gemini- means twins. I was also curious about the origin of Nemastylis. It translates as thin (Nema-) styles (-stylis) referring to the hairline part of the six pistils on the flower. I also learned that it tolerates drier conditions than I first observed the plants. Mine are growing on a hill that dries in the summer, and yet the couple of clumps seem to get larger each passing year.

The thin pistil styles, which you can make out two each in the image above between the golden stamens, earned this species the name Nemastylis.
Soon, my plants will be going dormant, and I will yet again be collecting seed to make more of this species in my garden. It is certainly a welcome addition of yet another native wildflower in my garden.

Swelling capsules indicate seed! Those that fade yellow failed to be pollinated.