Dividing Leucojum before a Rain

I love dividing perennials before a good soaking spring rain.  I feel like I’m making a great investment.  Not only am I increasing the number of plants I have, but I’m also saving time by not having to immediately water them for the next few days.  

It has to be a sizable forecast, too.  A tenth of an inch won’t do.  When I saw an inch of rain was slated to come later in the evening, I knew that it would be a great day for transplanting.  

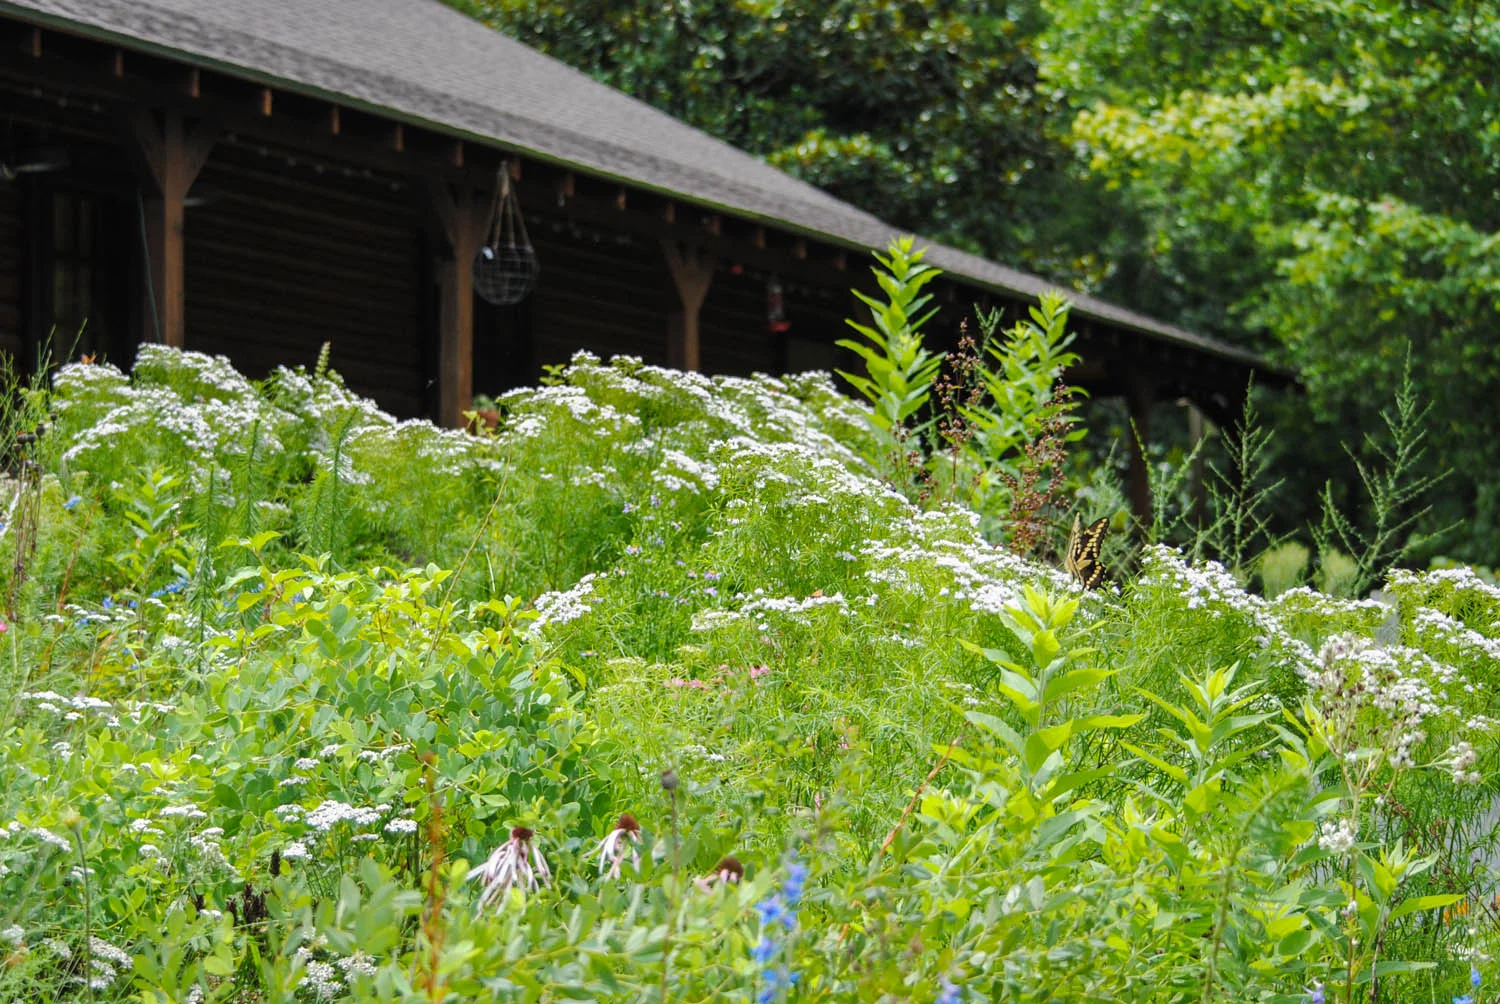
Leucojum aestivum ‘Gravetye Giant’ was on my list.  I planted a handful of bulbs two falls ago under a Taxodium at the edge of our small orchard, and I have enjoyed their perky white blooms from our kitchen window for the past few weeks.  I noticed them slowing down and thought now would be a good time to divide some.  
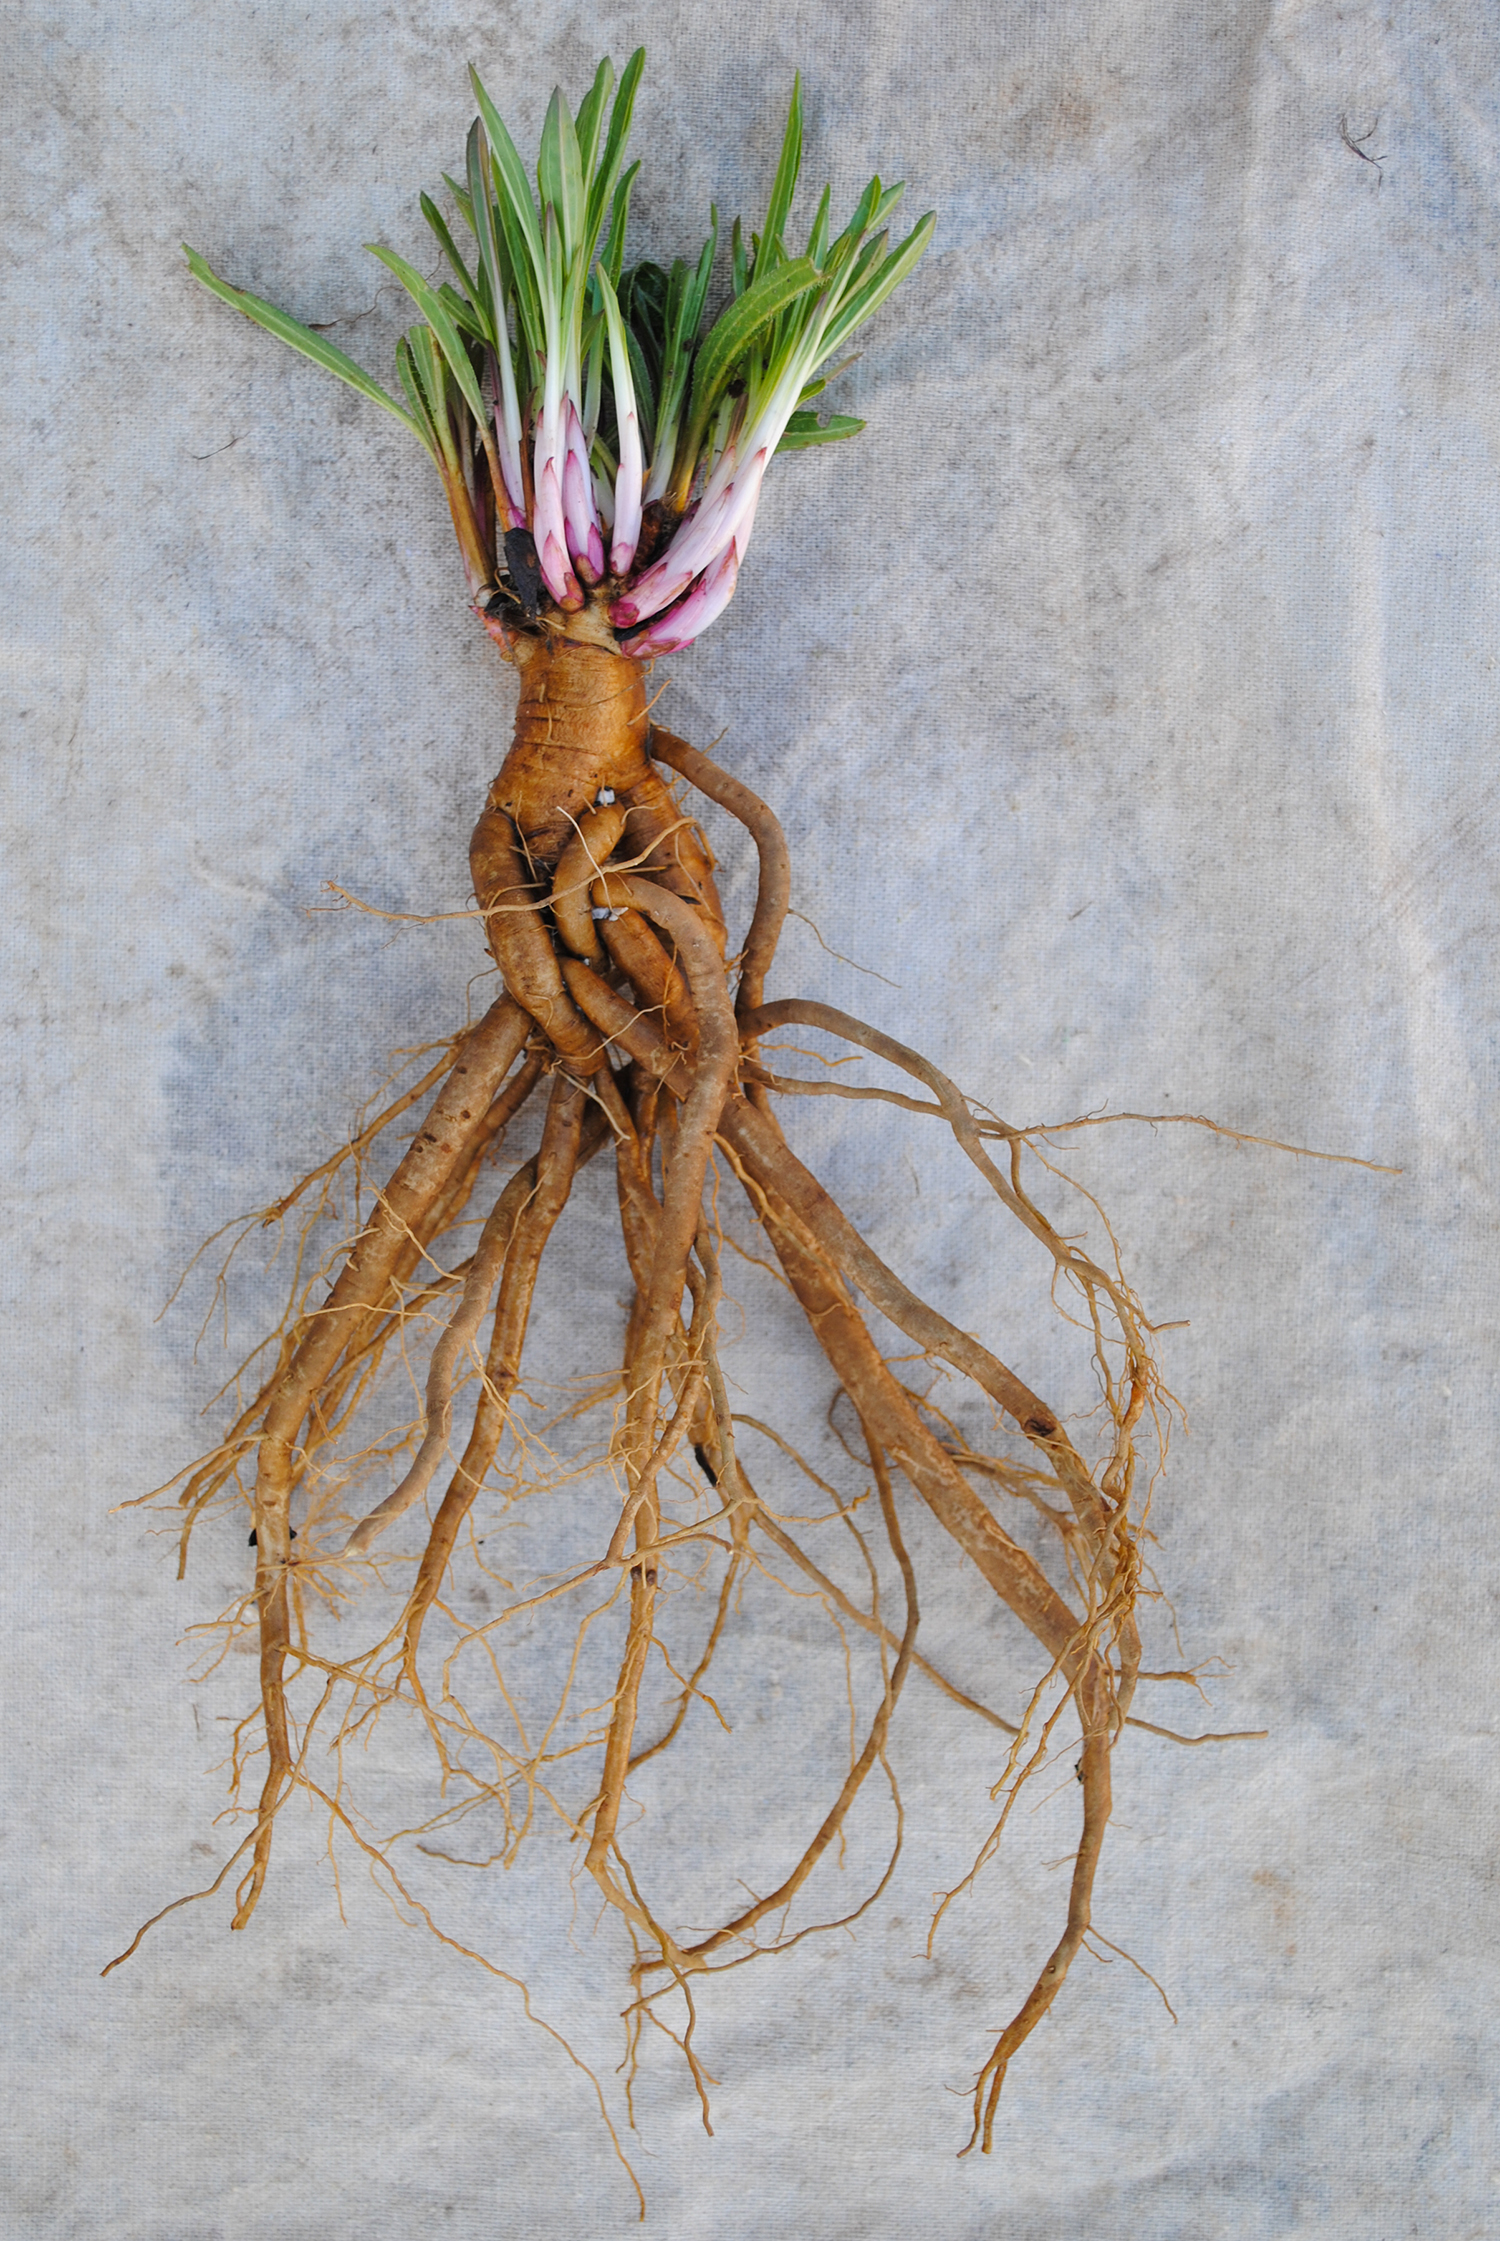
One plant…

One plant…

…becomes two.

…becomes two.

With shovel in hand, I loosened a clump from the soil and teased tunicate bulbs apart.  It’s easy to break these these geophytes apart at the basal plate. If they were still part of one bulb, I held off splitting. I plunged the shovel back into the soil, pried back and forth, and dropped the small bulbs in.  Larger bulbs take a few more stabs to open up a spot large enough.  

 
A Leucojum planted back into the soil after division.

A Leucojum planted back into the soil after division.


Once they are in the ground, I provide purchase with a firm foot step and close the soil’s wound.   A tenant of my life is water plants after planting.  But, I’ll break it this once.  It is late enough in the day, and I’m betting on mother nature’s liquid help.  

A firm press on the soil closes the gap.

A firm press on the soil closes the gap.

It’s like the Leucojum was always there. And, that’s not a weedy grass. That’s Carex glaucodea on it’s left. I’m bulking it up in this area as well.

It’s like the Leucojum was always there. And, that’s not a weedy grass. That’s Carex glaucodea on it’s left. I’m bulking it up in this area as well.

In case you’re wondering, my investment paid off.  It started raining around sundown, and we got an inch and a half overnight.  Now I await more blooms next year.  

The Clouds of Pycnanthemum

“Is this thyme?!?”, I remember my teenage mind questioning at the sight of foliage that resembled the herb.  It was March, and I was rummaging through the fencerows near our house looking for wildflowers on a cloudy day that couldn’t decide if it was winter or spring.  Per usual, nothing much was to be seen since I lived in the avoidance zone, but my blitheful, naive self still held out hope I might find something in the leaf litter.  

And, here it was.  I knew enough about herbs to cue in on the small, elongated leaves stooping down.  The foliage looked a bit more pointed than the mother of thyme clump I had back home, but I crushed some, and it released a spicy menthol smell supporting my teenage hypothesis.  “Wow, I’ve discovered thyme from some old homeplace,” I said to the forest around me.

Looking back on the whole experience now, I chuckle.  I didn’t know about Occam’s razor then.  Nor, did I pause to critique my thinking with questions like how has thyme survived in this underbrush, or how has it not spread out and taken over creation?

No, back then I knew thyme wasn’t native to the US; therefore, I assumed someone planted it here.  It still had its low winter foliage just like the herb in my garden. 

So, I transplanted it home and nurtured it.  And, then it started to grow. And grow and grow and grow until it was over two feet tall.  This plant was not thyme! I went through a wildflower book I had and found a match in the Lamiaceae section—Pycnanthemum tenuifolium

Pycnanthemum tenuifolium flowering en masse.

Pycnanthemum tenuifolium flowering en masse.

Narrow-leaf mountain mint is currently blooming in my garden, and seeing it flourish was a fun reminder that I make mistakes and learn from them.  Sometimes when we are wrong, it turns out better than we could have imagined! Some fifteen years ago in my teenage years I didn’t realize what I had discovered—one of the best native perennials for pollinators and other insects. 

I’ll go ahead and address the white elephant (or, should I say white-flowering herb!) in the room.  Yes, as a “mint” it can spread some, but I’ve never had the issues with it that I’ve had with other Pycnanthemum or Mentha species.  I see having more of it as a good thing.  Even with its vigor, I lost the clump I found along the roadside.  But, a few years ago, I began to hunt for plants for creating floras.  I knew where Pycnanthemum was; therefore, I decided to saunter back along the same fence row in search of it.  After a few hours, I found one inflorescence.  I collected a piece from that Tennessee plant and some seed, and this germplasm became the basis for our plants that we use on campus.   Years later, I would find local Texas ecotypes on the road.  Both are blooming now in my garden and offer so much.  

A haze of Pycnanthemum tenuifolium flowers over a perennial planting at my house.

A haze of Pycnanthemum tenuifolium flowers over a perennial planting at my house.

The fine-textured foliage emerges in tight columns rising upward.  In bud the plant makes me think of the constellation Crux, or the southern cross, for the haphazard dots that attempt to form perpendicular lines.  After flowering I enjoy seeing the seedheads that persist well into winter.  

X marks the spot on Pycnanthemum tenuifolium. Since the inflorescences are cymes, that character likely generates this interesting floral architecture.

X marks the spot on Pycnanthemum tenuifolium. Since the inflorescences are cymes, that character likely generates this interesting floral architecture.

But, the flowers are the pinnacle attribute of this plant.  The blooms remind me of stratus.  Instead of countless moisture particles composing a flat, gray-white cloud that blankets the earth, here hundreds of mithril-colored flowers form sheets that hover over the foliage.  These dense flowers are the origin of the name Pycnanthemum (pycn- means dense, and -anthemum refers to the flowers).

And, the insects that flock to this all-you-can-eat-buffet is astounding—bees, wasps, flies, butterflies, and more that I’m missing.  Research has shown Pycnanthemum tenuifolium to be a great niche for beneficial insects from providing resources for native bees to creating habitat for predators and parasitoids.   I’ve observed that the plant buzzes most with activity in the middle of the day.  I have plants near each other to accentuate their seasonality, and for the pollinators it makes cloud hopping even easier.  

A zebra swallowtail waddling through the flowers on Pycnanthemum tenuifolium. Yes, I know you can’t see motion in this still picture, but trust me. It waddled.

A zebra swallowtail waddling through the flowers on Pycnanthemum tenuifolium. Yes, I know you can’t see motion in this still picture, but trust me. It waddled.

A giant swallowtail probed Pycnanthemum tenuifolium flowers.

A giant swallowtail probed Pycnanthemum tenuifolium flowers.

The other day I took advantage of an overcast sky to take photos of my narrow-leaf mountain mint.   I smiled at the similarity of seeing the dark insects dart amongst the silvery-white flowers and how they resembled the shadows of birds circling above me in a broken, gray altostratus sky.  Both looking for food and both trying to live.  This national pollinator week, I recommend planting this perennial in abundance in the garden so that you, too, can have a richer life and enjoy the clouds of Pycnanthemum and all the life that comes with it.  

Mowing the Food Prairies

Today, we mowed the food prairies, our prototype herbaceous plantings at SFA.  I was hoping to wait till January 22nd to have a lab the first week of class and teach students about mowing naturalistic plantings.  However, with the warm weather the underplanted Narcissus × odorus had flower buds emerging from the soil.  This problem is one I outlined in detail in a previous post.  

I did get to show Anna Claire and Jevon, two of our Plantery student apprentices how mowing is accomplished.  For clearing the vegetation, I was inspired last year from a video Austin Eischeid posted to just raise a push mower on the highest setting and rev it into action.  

Jevon mows!

Jevon mows!

Anna Claire mows!

Anna Claire mows!

Some plants that lay over need to be pulled up to come in contact with the mower blades.

Some plants that lay over need to be pulled up to come in contact with the mower blades.

This year is our second mowing of the food prairies, and it went off without a hitch.  It took about 40 minutes to mow 650 square feet, but that includes some down time to refill the mower with gas.  

I prefer to mow when we can because the ground up residue provides a mulch that prevents weed growth for much of the rest of the growing season.  Even late into the fall of 2018 I was able to find ground up grass clippings from the January 2018 mowing.  

The finished product. Notice the nice layer of chopped plant residue. It is amazing to see 3 to 4 feet of biomass reduced to a few inches. The deep green clumps are Carex cherokeensis.

The finished product. Notice the nice layer of chopped plant residue. It is amazing to see 3 to 4 feet of biomass reduced to a few inches. The deep green clumps are Carex cherokeensis.

And, we were able to find Narcissus × odorus buds still intact after the cut. Mission accomplished.  

Oh, and here’s a video from last year if you want to see the process. Yes, our students do really mow that fast.

Echinacea Named Tennessee

Echinacea tennesseensis (Tennessee coneflower) is beginning to bloom in our SFA student garden here in east Texas.  Plants that we started over two years ago as class projects have returned yet again and are flowering their little heads off.

I must admit, when Echinacea tennesseensis first bloomed I was amazed at how floriferous it was!  

I must admit, when Echinacea tennesseensis first bloomed I was amazed at how floriferous it was!  

It's one of my favorite native wildflowers, but I'm a bit biased, being a native from the great volunteer state.  You can easily identify this member of the aster family apart from the other nine or so species of Echinacea that are native to the US. Their inflorescences face east once mature, and the ray florets ascend to the sun instead of drooping like the petals on most other coneflowers.  This plant embodies such a great metaphor for life.  Start every day gazing at dawn and reaching toward the sky; I can get behind that.  Or, in front of that I should say as this trait does force us to consider where to situate it in gardens.  It must be planted on the eastern flank.  Siting it to the west will cause you to only see the backstage of the inflorescences and leave you unable to enjoy the full performance.  

Can you spy the east-facing Echinacea tennesseensis 'Rocky Top' in this incredible planting at Chanticleer's elevated walkway?  Hint, it's on the right.  Compare these blooms where the ray florets curve upward with the typical Echinac…

Can you spy the east-facing Echinacea tennesseensis 'Rocky Top' in this incredible planting at Chanticleer's elevated walkway?  Hint, it's on the right.  Compare these blooms where the ray florets curve upward with the typical Echinacea at the back left of the image whose outer rays droop.  

Of course, it's a bit of a miracle that we still have this delightful perennial with us.  Tennessee coneflower is only found in a few counties in Tennessee, and if heroic stewards hadn't stepped in to save it, our world would be less colorful.  It was discovered in 1878 by Augustin Gattinger, and less than a century later in 1961 its absence in field surveys led some researchers to claim it extinct.  Later in the 60's it was rediscovered; however, survival wasn't guaranteed as the land some populations inhabited was cleared to make way for trailer parks and housing developments.  We have people like the late Dr. Elise Quarterman to thank for advocating for this species's livelihood.  Efforts from her and others helped the plant become listed on the endangered species list, one of the first flora ever.  This attention led to areas where Echinacea tennesseensis occurred being protected, and with enough populations safe, the species was delisted in 2011, certainly a success story for horticulture and humankind's intervention.

The endemism is a peculiar subject.  Why is such a floriferous species isolated to just a few counties in Tennessee?  Sure, humans destroyed a few sites, but it seems that it never had the wide distribution that some of the other Echinacea genera enjoy.  The current hypothesis is that the species arose during the hypsithermal interval, a period of climatic warming and drying that occurred around 5000—8000 years ago.  Drier conditions opened the woodlands of middle Tennessee and allowed the colonization of prairie species like our Echinacea.  When the climate cooled and became more moist, forests began to reclaim the land, and this stress-tolerant species began to decline in numbers.  Walck et al. (2002) state that its narrow endemism is due to several factors—seed-based reproduction; large seeds that aren't animal or wind dispersed; self sterility; intolerance of shading; a lack of seed persistence in the soil, and few individuals making it to adulthood in the wild.  All these characteristics would have limited its dispersal from middle Tennessee.  

The xeric-adapted nature of established plants is quite apparent in the root systems. Earlier this spring I had to move some Echinacea tennesseensis, and I was very surprised to discover massive, deep taproots on plants that were only one year old.  Unearthing knowledge about roots (in a literal and figurative sense!) is always exciting, like discovering buried treasure.  I expected to see more rhizomatous roots like those on Echinacea purpurea (purple coneflower) that I've transplanted much of my life .  The soil had mostly sloughed off one taproot, so I rinsed it to get a better look.  Near the crown it was as thick as a plump carrot!   From there, the chthonic organ divided with depth, but the roots were still stout.  (Yes, most of the transplants survived in case you are wondering.)

I learn so much each time I expose roots.  Here, plump taproots on Echinacea tennesseensis likely help the plant survive stressful times during the year and store resources for the coming bloom.  

I learn so much each time I expose roots.  Here, plump taproots on Echinacea tennesseensis likely help the plant survive stressful times during the year and store resources for the coming bloom.  

A close up of the crown of Echinacea tennesseensis.  The pink tinge in the lower wrapper leaves are hints of colors yet to come.  

A close up of the crown of Echinacea tennesseensis.  The pink tinge in the lower wrapper leaves are hints of colors yet to come.  

I'm already applying this new anatomical knowledge to our propagation culture.  This spring, we currently have over 10 deep-celled propagation trays of Echinacea tennesseensis that my student team has grown.  Seeing the deep taproot was insight to not keep the plants in the trays for too long.  

While it is beautiful to see in the gardens, I hope one day to see this Echinacea named Tennessee in its provincial habitat.  Perhaps at daybreak with their heads basking in the new glow of the day and me basking in the existence of such a great species for our plantings.

Planting the Food Prairies

This post is part 2 of 2 of a series where I reflect on our food prairie design and planting in the Sprout garden.  I hope it inspires you.

18 APRIL | TUESDAY PRE-CLASS 7:30–9:20 Am

The blank slate of the food prairies!  How exciting!  

The blank slate of the food prairies!  How exciting!  

I arrived the morning of planting at 7:30 am to set up for my Herbaceous Plants class that would help to install the food prairies as part of their class project.  Hunter, one of my incredible student apprentices, prepped the food prairie beds the week before.  He had cleared them of any debris and small weeds, broadforked them, and then leveled them.  They looked fresh and ripe for planting in the glow of sunrise.

The first task I tackled was to mark and string the boundaries for our planting grid in the prairies.  The inspiration for this tactic was a photo I saw online of one of Piet Oudolf's installations where a massive grid system was laid on the ground.  In Illustrator, I had overlaid the students' design with a grid that partitioned each food prairie into eight 4' × 4.25' quadrants and then printed each species layer.  This paper grid would correspond with the one I was hammering into the ground to simplify plant placement for the students.  I printed several of these so that the students could use them as guides.  I installed stakes to mark the intersecting lines and used twine to demarcate the boundaries of our quads.  John and Rock, two other amazing student apprentices, arrived just in time to help with the stakes and string.  We outlined two of the four prairies for a demo before it was time for class to start.  I had students in class help on the other two.  

 
The food prairie design for the structural layer (plants listed above the design) and seasonal filler layer (plants listed below the design) is a kaleidoscope of color.  Here the four quadrants separated by thick black lines are shown together …

The food prairie design for the structural layer (plants listed above the design) and seasonal filler layer (plants listed below the design) is a kaleidoscope of color.  Here the four quadrants separated by thick black lines are shown together instead of as their separate beds for ease.  Circles approximate—and let me stress approximate as some species will spread—the final plant size.   


The other thing I did before students arrived was place stakes with species names on them in the garden.  That way, when students brought the trays up to the garden, they could put each species in its corresponding place.  The labels helped us be very organized as I knew trouble finding small plants or accidentally grabbing the wrong plant could cause chaos.


18 APRIL | TUESDAY CLASS 9:30–10:20 am

I knew it would rain.  I had been planning the food prairie install for a year and a half, and the reoccurring fear I had was that some stalled front would dump 10 inches on us all week. 

I walked into the classroom to get the students, and the minute we walked outside, the wet stuff began to fall.  It wasn't a monsoon.  More like a light shower, barely above a mist.  However, the students didn't complain besides the occasional, "I'm cold."  

I sent a few students to get the plant trays, and I stayed on Sprout hill to help others begin laying out the stakes and string.  Most everything we planted was either a 3.5 inch pot or smaller save for a few species that we dug and divided. 

Once the grids were finished, I began to show students how to read the plans from our design.  I indicated that a plant needs to go roughly where it was on the design in its appropriate grid, but to the exact inch was too tedious.  Piet Oudolf and Noel Kingsbury say in Gardens in Time and Space location matters less than the plant pallete as these designs can and will change over time. 

The food prairie grid and food prairie design for Symphyotrichum oblongifolium 'Raydon's Favorite' (aromatic aster).  The red, purple, green, blue, and orange circled plants on the left correspond with the circled plants in the design on the ri…

The food prairie grid and food prairie design for Symphyotrichum oblongifolium 'Raydon's Favorite' (aromatic aster).  The red, purple, green, blue, and orange circled plants on the left correspond with the circled plants in the design on the right.  As you can see from the plant placement on the left, students were very adept at finding each propagule's final spot.    

Plants goin' in the ground!  

Plants goin' in the ground!  

I also told the students to not walk on the beds.  I knew with around 20 species to install and 12–14 students helping there would be lots of soil compaction.  Therefore, I encouraged them to use stepping stones as landing pads.  I must compliment them.  They were very diligent about caring for the soil, even when I wasn't looking.  :-)  

These plastic stepping stones helped us prevent excess soil compaction.  

These plastic stepping stones helped us prevent excess soil compaction.  

Since the class was only an hour, we did a trial run installing two species.  The rest would wait for lab.  I was immediately impressed with the students' collective ability to read and interpret the plan.  They worked in pairs and helped each other find where plants went. 


18 APRIL | TUESDAY LAB 1:00–2:50 pm

For lab, we were able to hit the ground running since the grids were in place and most of the plants were on site.  I made comments about it not raining, to which some of the students griped that I was jinxing us all!  Fortunately, it didn't rain another drop for the whole project.

We started by digging a few structural-layer plants like Asparagus officinalis (asparagus) and Rudbeckia maxima (great coneflower) we propagated in the ground for the install.  At first, I checked the students work against our design, and once I saw they were able to follow the design, I let them work on their own.  Overall, we were able to install 13 species today, and we got the majority of the structural and seasonal filler layers installed. 

The chaos of creation

The chaos of creation

Teamwork makes the dream work.  

Teamwork makes the dream work.  

 
Photo from the end of day 1.  From this overhead shot of two food prairies in the midst of our cut flower and vegetable beds you can appreciate how the grid system helps students visualize where plants go.  

Photo from the end of day 1.  From this overhead shot of two food prairies in the midst of our cut flower and vegetable beds you can appreciate how the grid system helps students visualize where plants go.  


20 APRIL | THURSDAY CLASS 9:30–10:20 am

This morning, we continued to plant other components of the seasonal layer.  We also started planted dynamic fillers like Gaura (Oenothera) lindheimeri 'Sparkle White' (Lindheimer's beeblossom), Oenothera biennis (evening primrose), and Gaillardia aestivalis var. winkleri (Winkler's firewheel), and I had a few students start plugging in Carex cherokeensis (Cherokee sedge) that would comprise the groundcover layer.  

After I got them started, I climbed on top of the building and sneaked a few aerial shots.  

 
Hehe, they didn't even know I was on the rooftop for a while.  

Hehe, they didn't even know I was on the rooftop for a while.  


From the rooftop, I saw Donna McCollum of KTRE filming students planting, and I came down to greet her.  I was excited that she came out to feature these perennial projects our students were installing at SFA.  Plus, the students were planting these garden beds the week before Earth Day, and they were able to discuss the sustainability of the plantings for the clip.  She asked me some questions, and then she interviewed several of the students.   Here's her segment if you'd like to watch

A rare photograph of me teaching as Donna McCollum films a piece on the food prairie plantings.  Photo by Hunter Walker.

A rare photograph of me teaching as Donna McCollum films a piece on the food prairie plantings.  Photo by Hunter Walker.

Donna McCollum of KTRE interviews SFA Horticulture student and Team Sprout member Hunter about the food prairies. 

Donna McCollum of KTRE interviews SFA Horticulture student and Team Sprout member Hunter about the food prairies. 


04/25 | TUESDAY CLASS 9:30–10:20 am

The food prairies were really becoming full of flora.  Today, our main objective was the matrix layer—Carex cherokeensis, Bouteloua curtipendula (sideoats grama), and Sisyrinchium angustifolium (blue-eyed grass).  At this point it was mainly filling in open spaces that we hadn't filled yet with other flora, and we mostly completed two of the four food prairies this morning.  Also, towards the end of the hour, I had a student begin plopping Narcissus × odorus (campernelle) bulbs into the food prairies according to our design.  

Bouteloua curtipendula plugs lay scattered in vacant areas in the food prairies.  

Bouteloua curtipendula plugs lay scattered in vacant areas in the food prairies.  

 
Even a broken leg doesn't stop students like Cierra from helping plant!

Even a broken leg doesn't stop students like Cierra from helping plant!

 
Reagan smooths soil around Sisyrinchium angustifolium.  The sun came out long enough for the plants to open their beautiful blue flowers.  

Reagan smooths soil around Sisyrinchium angustifolium.  The sun came out long enough for the plants to open their beautiful blue flowers.  


04/25 | TUESDAY LAB 1:00–2:50 PM

We picked up where we left off this morning on the groundcover layer.  And, just like that it was finished!   

Wa-hoo!  The food prairies are planted!  

Wa-hoo!  The food prairies are planted!  

Or, should I say it's just begun since they will change and evolve over time? 

Later in the week, a few of my student apprentices applied a thin layer of mulch to reduce weed germination.  Of course, we want the plants to grow thickly enough to shade the soil so weeds won't have much of a chance, but this initial covering will help the installed plugs gain a solid footing.  

Watering in the students work.  We removed the grid overlay after the install was finished.  

Watering in the students work.  We removed the grid overlay after the install was finished.  

In the end I believe that this type of planting is great for students because of the randomness to it.  They were very capable of following the design, and if they didn't put the plant in the exact spot, it's ok. In total with everyone's help, I roughly calculated that we invested approximately total 80-90 hours in the project for planting and installation.  

SFA students happy to be finished and happy to have a positive impact on the world.  The food prairies will add beauty to the garden and provide habitat for a number of beneficial insects.  

SFA students happy to be finished and happy to have a positive impact on the world.  The food prairies will add beauty to the garden and provide habitat for a number of beneficial insects.  

Now, we wait and watch as the food prairies burgeon with growth.