Sowing Perennial Seeds

With the arrival of February and warmer temperatures, I've been sowing seeds in earnest this week, perennials in particular.  Seeds purchased or collected last year have the chance to sprout.  My goal is to get them started for easy propagation in years to come for planting prairies here at the house.  

Two species that I've had stratifying—a cool moist period to enhance germination in some species—in the refrigerator are Asclepias tuberosa 'Wild Orange' and Echinacea sanguinea.  I've checked on them weekly in the little baggies by opening the moist paper towels and inspecting them.  It's a nice way to also introduce some fresh air in the sealed vessels since seeds need oxygen for germination.  For the Asclepias, I noticed swelling in the seeds and some rupturing of the seed coat, a clear indication they were ready for planting.  The Echinacea seed held onto their dingy off-white color while the other detritus from the seed head turned black.  

Plump Asclepias tuberosa seeds. Seed the tinge of light yellow? The seed coat has ruptured on one near the center.

Plump Asclepias tuberosa seeds. Seed the tinge of light yellow? The seed coat has ruptured on one near the center.

Echinacea sanguinea seed were mixed in with parts of the flower head. I decided to stratify them together and pull the seeds out when sowing.

Echinacea sanguinea seed were mixed in with parts of the flower head. I decided to stratify them together and pull the seeds out when sowing.

These made their way into seed trays earlier this week.  With the Asclepias I was sure to sow the seeds in a tray deep enough (approximately 5–6 inches) to allow their roots to grow down.  Allen Bush shared with me that shallow trays can cause their demise because the root doesn't have enough room to grow down.  

Along with the seeds that have been chilling in the fridge, I also scarified some seed this week and allowed them to soak for a couple of nights to prep for planting.  Scarification damages the seed coat and allows water to enter.

Last August, I collected some Baptisia sphaerocarpa seed from a location I saw it blooming several years prior.  Fingernail clippers make quick work breaking the seed coat on a few seeds.  

A few roots began to appear on Baptisia sphaerocarpa.

A few roots began to appear on Baptisia sphaerocarpa.

Another species that I scarified was Amsonia tabernaemontana.  The seed came from my dad.  Years ago, I found an Amsonia blooming on the roadside near home.  The fear that it would succumb to the mower or herbicide like I had witnessed happen to many other plants inspired me to relocate the clump to our yard.  It settled in nicely and started producing seed.  A year or two ago, I asked my dad to collect any fruit he saw, and that Christmas I returned home to find the baggie on the windowsill.  Now that I have a house of my own, I felt it time to try growing the northern provenance here.  The germination requirements were unknown to me; however, from a quick google search, I discovered researchers at UGA demonstrated that clipping the end of the seed would allow moisture in to kickstart the germination process.  

Amsonia tabernaemontana seedlings emerged from an intriguing cigar-shaped seed. With the embryos popping out, they look like sea tube worms.

Amsonia tabernaemontana seedlings emerged from an intriguing cigar-shaped seed. With the embryos popping out, they look like sea tube worms.

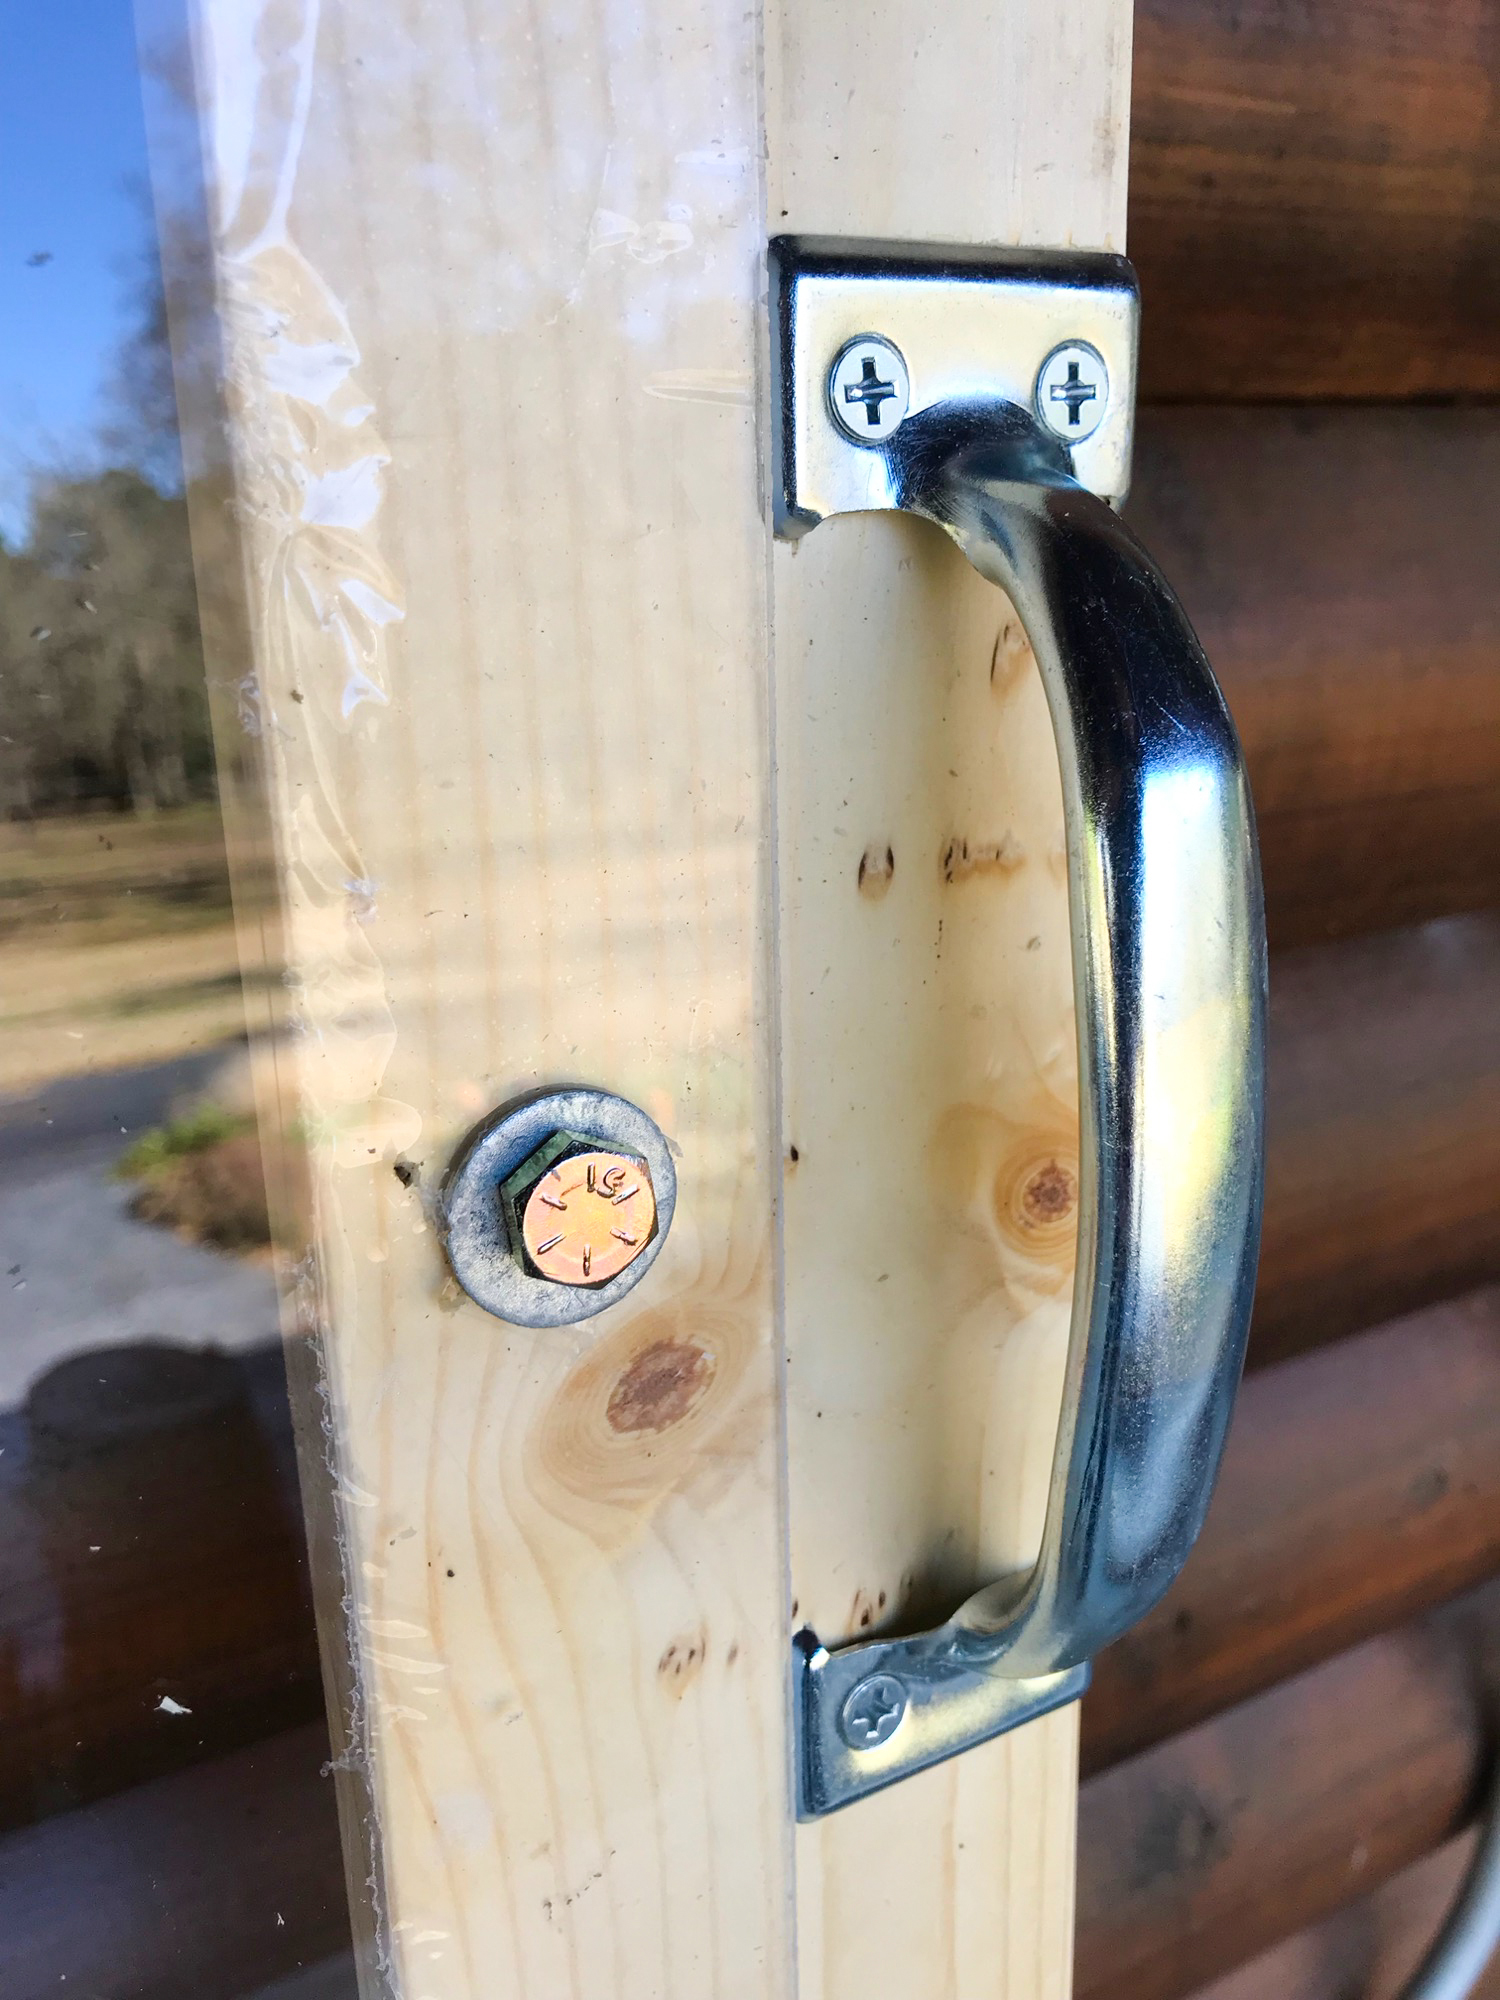
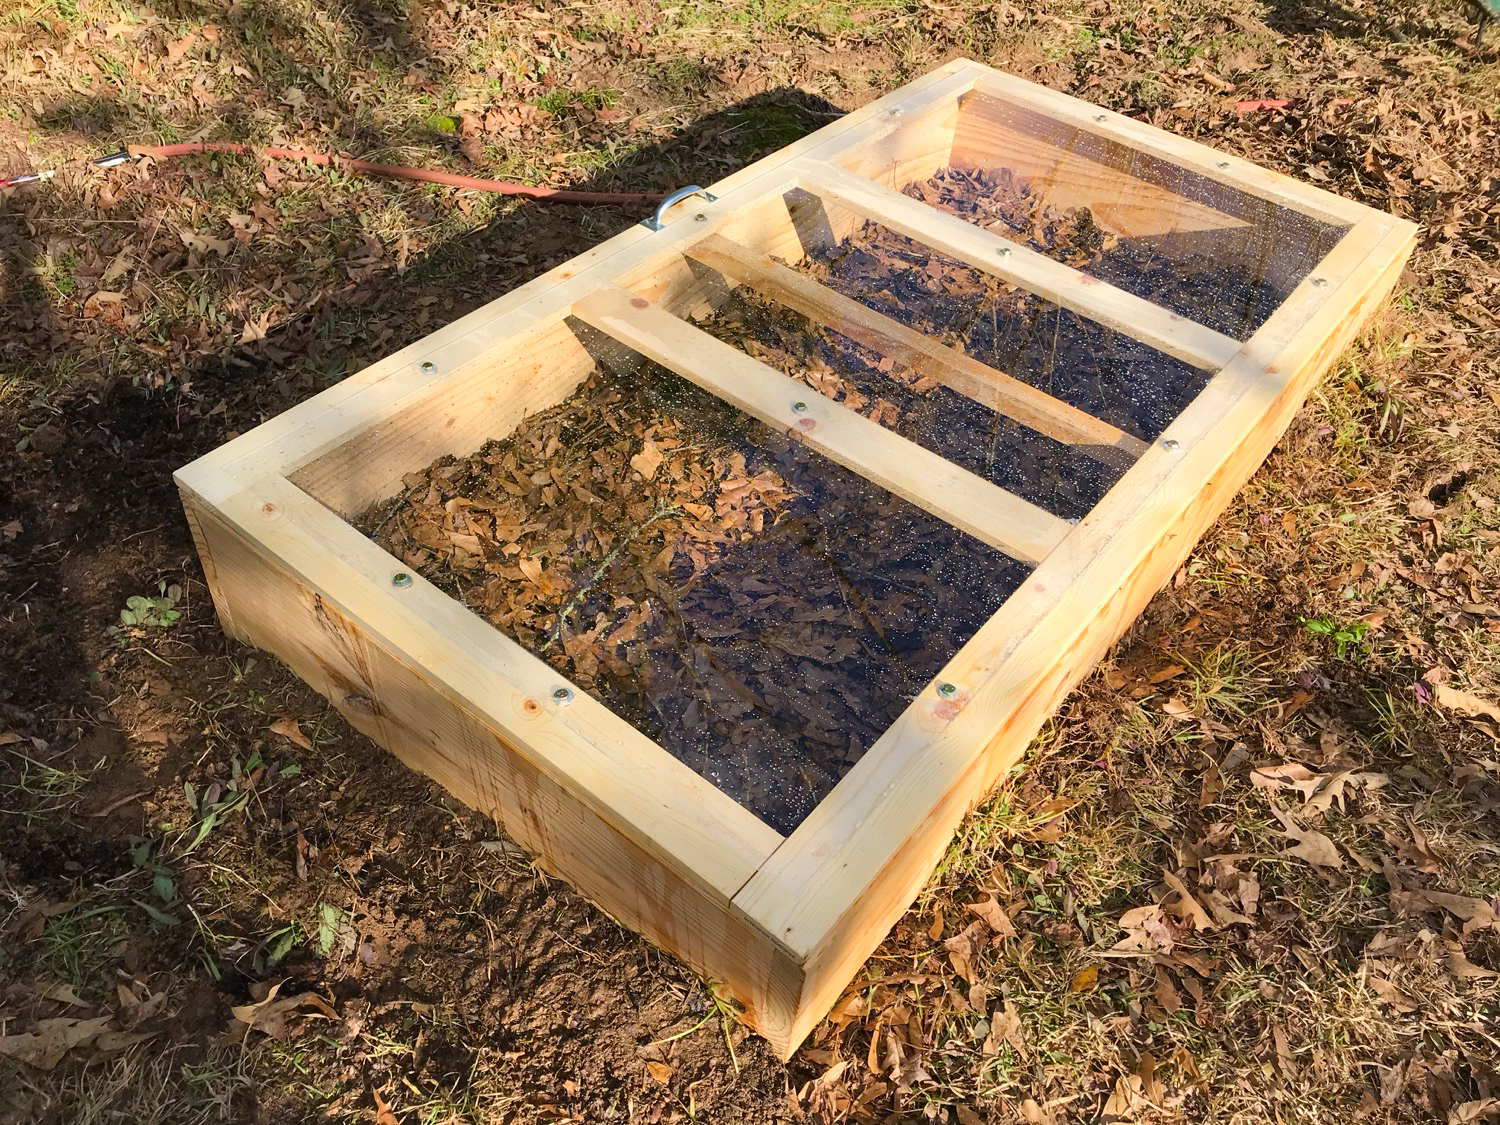
Today the seeds are in the garage instead of their cold frame.  The forecast showed below freezing last night, and I didn't want to take any chances since I've worked hard to get them all started.  Here’s to hoping they all germinate!


An Auger, The Best Purchase of 2018

One of the best purchases I made last year was an auger that I could attach to a cordless drill, a thought that hit me as I was dividing abandoned ‘Grand Primo’ Narcissus I discovered on an abandoned backroad.  Two clumps became 107 bulbs in a matter of minutes, and I wanted to get them in the ground as soon as possible. The auger and drill came out, and the task was completed in under an hour.

Narcissus tazetta ‘Grand Primo’ is one of the few Narcissus that is very persistent in the deep south. Scapes are adorned with over half a dozen petticoat-shaped flowers. Note other attributes like bright orange pollen and the corona that fades from…

Narcissus tazetta ‘Grand Primo’ is one of the few Narcissus that is very persistent in the deep south. Scapes are adorned with over half a dozen petticoat-shaped flowers. Note other attributes like bright orange pollen and the corona that fades from butter yellow to off-white over time.

The ingenious idea was from Thomas Rainer.  We both were presenting at the Speaking of Gardening event in Asheville two years ago, and he mentioned getting one for planting the deep-rooted landscape plugs.

Several months later, I remembered browsing Amazon one night to purchase the thing.  When it came, I tried it out, and I was immediately impressed.  As someone who suffers from carpal tunnel in my wrists, using a trowel over and over again leaves my hand in pain after planting.  Now, I hook the auger up to a cordless drill, zip zip zip, and I’m ready to plant 50 plugs! I find that even the three-inch pot size will easily fit into a shallow excavated hole.

We bought one for school, and the students immediately fell in love with it, too.  I also convinced my parents to get one for planting bulbs.  

The biggest problem I encounter using the auger is roots.  In plain soil, it will go down without a problem, but roots often cause it to jerk around or just stop.  Also, safety note:  I find it best to hold it with both hands.  If you’re concerned about it whipping on you, get one of the two-handled drills.  I would especially recommend that option if you use a corded drill.

I know many advise dividing Narcissus once dormant, but I’ve had success moving them in the green. In this image you can see the circular holes made by the auger and my attempts to get the bulbs to the same depth. After sticking them in the hole, I …

I know many advise dividing Narcissus once dormant, but I’ve had success moving them in the green. In this image you can see the circular holes made by the auger and my attempts to get the bulbs to the same depth. After sticking them in the hole, I use a hoe to replace the soil back.


Flaming Broomsedge Seed

A big reason I built a cold frame was to protect sown seeds from heavy rains and the critters that dig around in the seed flats.  So, now it’s time to get sowing!

One of my foci for 2019 are grasses.  Getting these started from seed and dividing already existing plump clumps will allow me to start planting groundcover species that will shade the soil much of the growing season.  I also like how at the beginning of the growing season when grasses are mown, they generate a nice mulch layer to keep weeds down.  

Last fall, I collected grass seed from up and down the roadside as well as in the garden here, and now I’m sowing Andropogon, Muhlenbergia, and Eragrostis.  

For Andropogon virginicus (broomsedge), seed actually benefit from a stratification treatment (exposing seed to cold and moist conditions); therefore, sowing them sooner rather than later will take advantage of the cold weather coming.  I collected some culms filled with seed and allowed them to dry in a brown paper bag on our back porch.

Then, I took a five gallon bucket and shook the seed loose in it.  Andropogon seed have hairs on the pedicel and rachis internode that allow them to catch a breeze and spread; such airborne packages are called diaspores (a seed and everything that aids dispersal).  These can be problematic when sowing a tray.  

I had heard Roy Diblik say that the plumes of Asclepias (milkweeds) could be removed with a flash fire.  With the seed in the bucket, I grabbed a lighter and lit the plumes on fire.  It quickly burned and left me with a pile of seed ready for planting.  Andropogon is fire adapted, and the flash burn probably didn’t damage any seed.  (NOTE:  As with anytime you are using fire, make sure you practice safety!)

I’ll update you in a few weeks to see how germination is progressing.  

Constructing a Cold Frame

This weekend, I built a cold frame.  The project has been on my wish list for a while.  I’ve had issues with getting seeds started with our couple-times-a-year gully washers.  This simple structure will provide me with protection from rain to start perennial and cool-season annuals with the added bonus of a couple degrees of extra warmth at night.

I had in mind what I was trying to construct since I built them as a teenager back in Tennessee based on Eliot Coleman’s designs.  A walk around the hardware store, and I was able to piece together my project.  I decided on a smaller size (3 × 6 ft) than my usual 4 × 8 ft because that 18 sq ft was the largest pane of plexiglass I could find.  I also chose pine as my wood. There’s a cedar lumberyard about an hour away, and for future frames I’ll use that wood. But, I was in a hurry to get it built before the semester started, and it will work well for a few years.

 
First step before building the box was to build the wooden frame to the piece of plexiglass to create a light, the name of the pane of glass on a cold frame. You want to make sure that the light fits the box snug.

First step before building the box was to build the wooden frame to the piece of plexiglass to create a light, the name of the pane of glass on a cold frame. You want to make sure that the light fits the box snug.

 
Here’s the light constructed with the plexiglass attached to the wooden frame. I used braces on the joints to make sure it stays sturdy. I used a PVC-rated drill bit and drilled slowly into the plexiglass. The guy at the hardware store told me to le…

Here’s the light constructed with the plexiglass attached to the wooden frame. I used braces on the joints to make sure it stays sturdy. I used a PVC-rated drill bit and drilled slowly into the plexiglass. The guy at the hardware store told me to leave the protective coating of plastic on the glass to help drill through it. If the protective layers are absent, he said a piece of tape would help to protect the glass from shattering when drilled.

 
A bolt and washer hold the plexiglass on the wooden frame, and to the right is a handle for the light.

A bolt and washer hold the plexiglass on the wooden frame, and to the right is a handle for the light.

 
I constructed the box out of two ten-foot long 2 × 12’s cut into two pieces—6 ft long for the front and back and 3 ft long for the sides. To create a slope on the top of the box to maximize sun exposure, I cut 4 in off one of the 6 ft boards to make…

I constructed the box out of two ten-foot long 2 × 12’s cut into two pieces—6 ft long for the front and back and 3 ft long for the sides. To create a slope on the top of the box to maximize sun exposure, I cut 4 in off one of the 6 ft boards to make it 8 in tall, and for the side boards, I cut a slant (1.3 in drop per 1 ft board length). Once constructed on the ground, the cold frame is turned over so that the front and back boards have a slight slant in one direction and so that the top is flush with the light. Notches made in the middle front and back allow the installation of a support beam.

With the ground cleared, a nice mulch of leaves will help to keep weeds down and support the trays to keep them from sitting on the ground.

With the ground cleared, a nice mulch of leaves will help to keep weeds down and support the trays to keep them from sitting on the ground.

Finished product!

Finished product!

It was a quick project and only took me 3 hours to make. The total cost of supplies was around $160 to cover 18 square feet (~8.90 per square foot), which is cheaper from most of the models on the market. If I could do it over again, I would try to figure out a way to reduce the size of the cross beams across the light that block some of the solar radiation. Soon, I’ll also add strips along the bottom of the frame to help protect the wood from rotting, which is another suggestion from Eliot Coleman’s design. I also want to attach the light to the box and cut a notched piece of wood to open the frame to the desired height during the day.

But, overall I’m pleased with how it turned out, and I look forward to having better success growing plants.

Natural Grafts

One of the questions I get about grafting is how in the world did people discover that you could take two different plants and combine their disparate tissues together?  

I think people of old knew grafting was possible because they had seen plant tissues recombine in nature.  Naturalists were outside surveying their environment, and from what they learned from nature, they applied that knowledge to grow plants better.  


We have a massive chinquapin oak (Quercus muehlenbergii) in our front yard in Tennessee.  A few years ago, I noticed for the first time in our thirty years of living there that it has a natural graft on the back side.  It is more unusual than most that I’ve seen because three branches come together.  

The winter frame of chinquapin oak

The winter frame of chinquapin oak

 
Thread this needle. On the back side of the tree is this natural graft where three branches have become one.

Thread this needle. On the back side of the tree is this natural graft where three branches have become one.

 
Here’s a side shot. You can see a branch behind curve up and down to merge with the other two branches.

Here’s a side shot. You can see a branch behind curve up and down to merge with the other two branches.

These natural grafts have been known to occur for a long time.  This bulletin from Kew printed in 1917 (over 100 years ago!) describes the process well.  Branches rub off the outer bark in the wind, callus (wound) tissue forms, and eventually the tissues on the two limbs grow and conjoin together.  It is so fascinating to think about the process of how the vascular tissues of large branches can realign and to witness the products of a years-long process.  

Magnolia Seed, Spooky Stuff

“Have these things always looked like this?,” Karen asked with a hint of surprise in her voice.

Even though my back was turned as I stood at the kitchen sink, I knew exactly what had caught her eye.

A few days earlier I had plucked some ripe fruit from a Magnolia grandiflora in our yard that had colored up very nicely. They were easy to find on the ground and in the tree with their blushed, knobby appearance. I brought them indoors and was inspired to put them in a bowl on our table from seeing them top containers a few autumns ago at the Scott Arboretum. Such a clever use!

When I brought them inside, the fruiting bodies were sealed shut, but a few days in the house and the follicles on the aggregate structure started to split open and reveal their vermillion-colored seeds inside.

“They look like painted witch fingernails growing out of these things,” Karen continued. Both she and her sister who was visiting from out of town indicated they looked a bit freaky. It was nearing Halloween, and we had just watched Hocus Pocus a few nights earlier. I could see how seeds that magically appear overnight growing out of a structure could be a bit spooky and repulsive.

I, however, was delighted to see the seeds. We want more Magnolia trees on our property. Most years I’m too late getting to a tree to collect the little rubies because the birds and mammals get to the goods first. But, the propagules were right on my table for the picking.

In prepping for sowing in the past, I’ve removed the outer aril scrapping them with my own fingernails. However, one of the tricks I learned from reading Andrew Bunting’s book The Plant Lover’s Guide to Magnolias and a blog post he wrote during his tenure at the Scott Arboretum is soaking the seeds for three days in water will aid in removing the red arils that cover the surface along with any associated eeriness one might perceive.

Tonight, I plucked the last of the seeds from the follicles and plopped them into water-filled mason jars on our kitchen windowsill. After they’re cleaned, I’ll sow them in some damp growing media in a ziplock bag, stick it in the fridge for a couple of months to help overcome dormancy, and sow them in late winter.

I just hope no one confuses this batch in our fridge for chocolate cake mix.

Cone-like fruit of Magnolia top dress a container at the Scott Arboretum. You have to admit that the seeds emerging in the bottom left look a bit demonish.

Cone-like fruit of Magnolia top dress a container at the Scott Arboretum. You have to admit that the seeds emerging in the bottom left look a bit demonish.