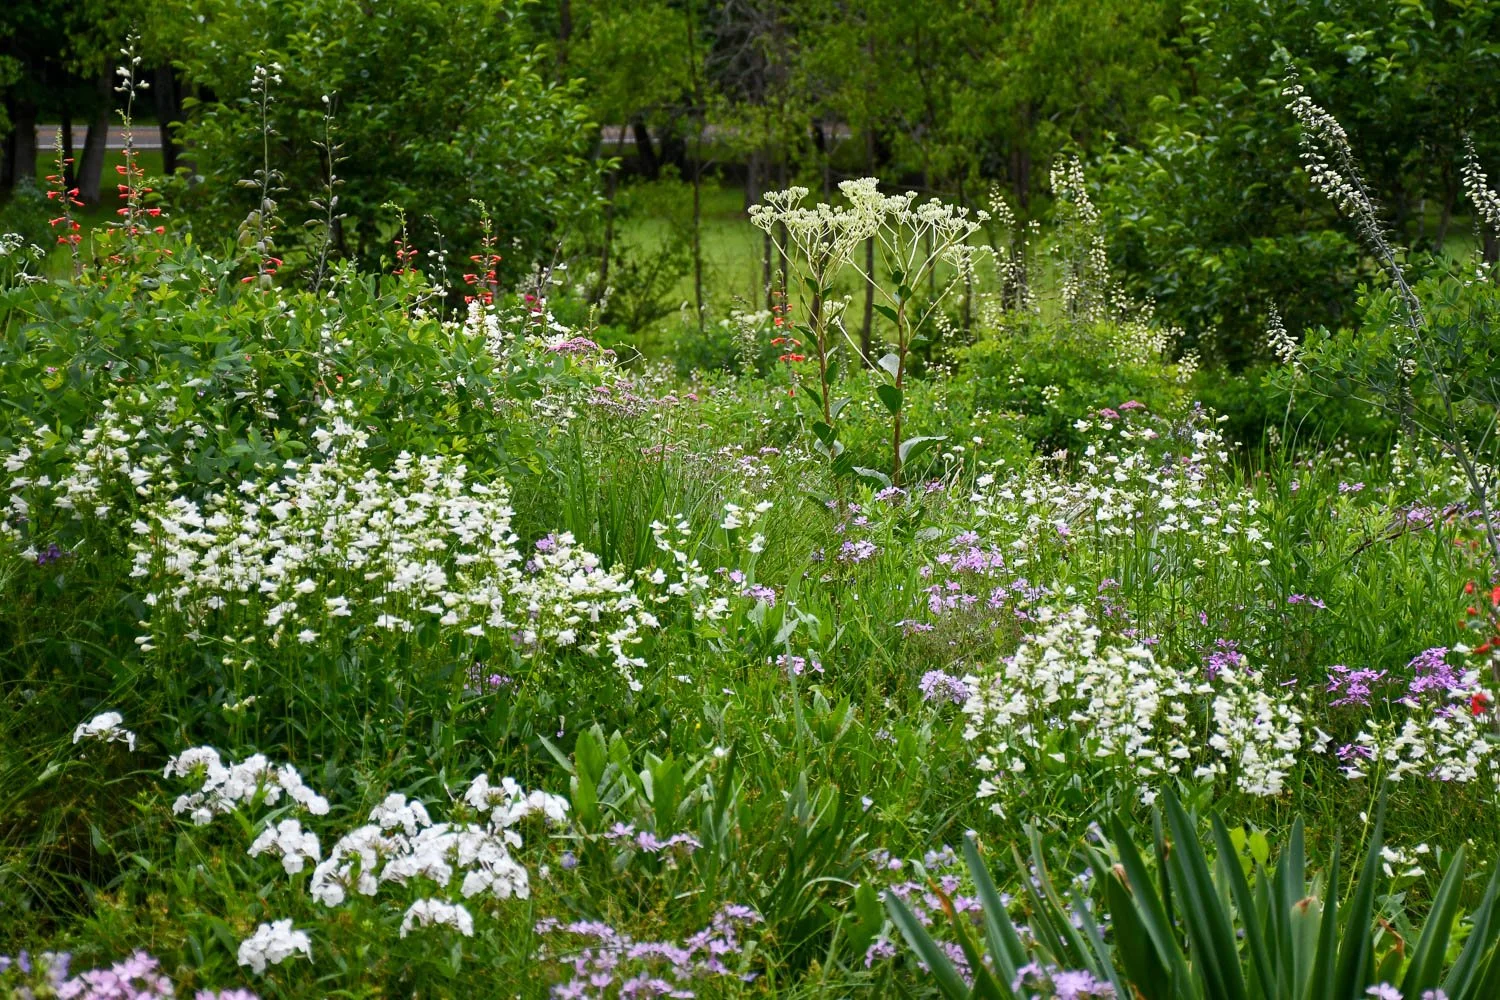
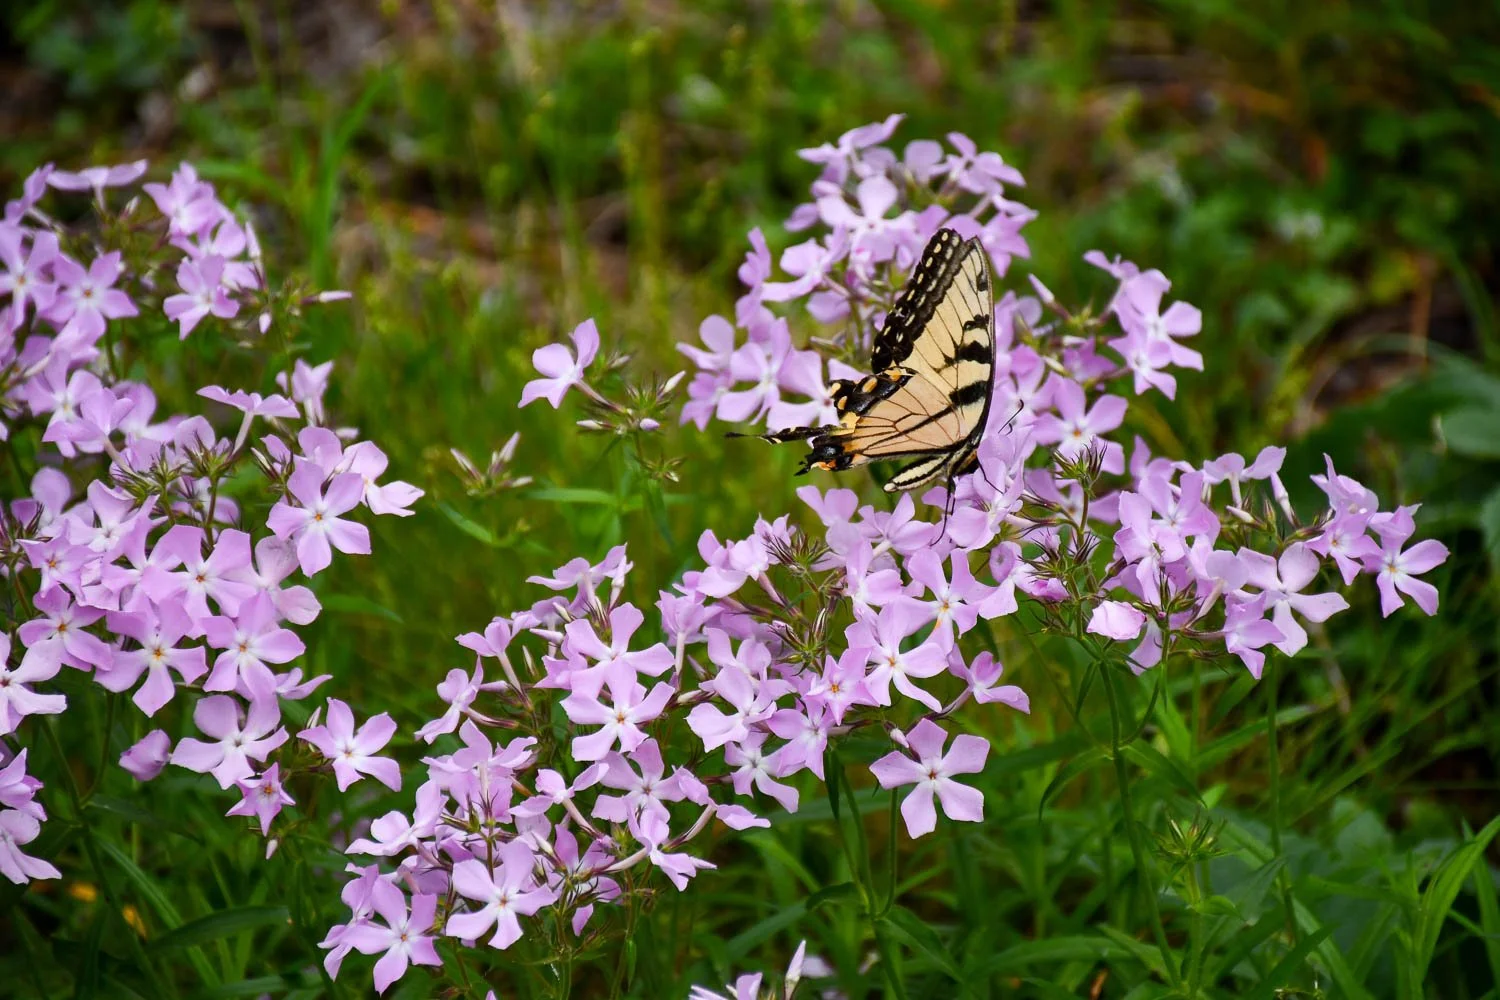
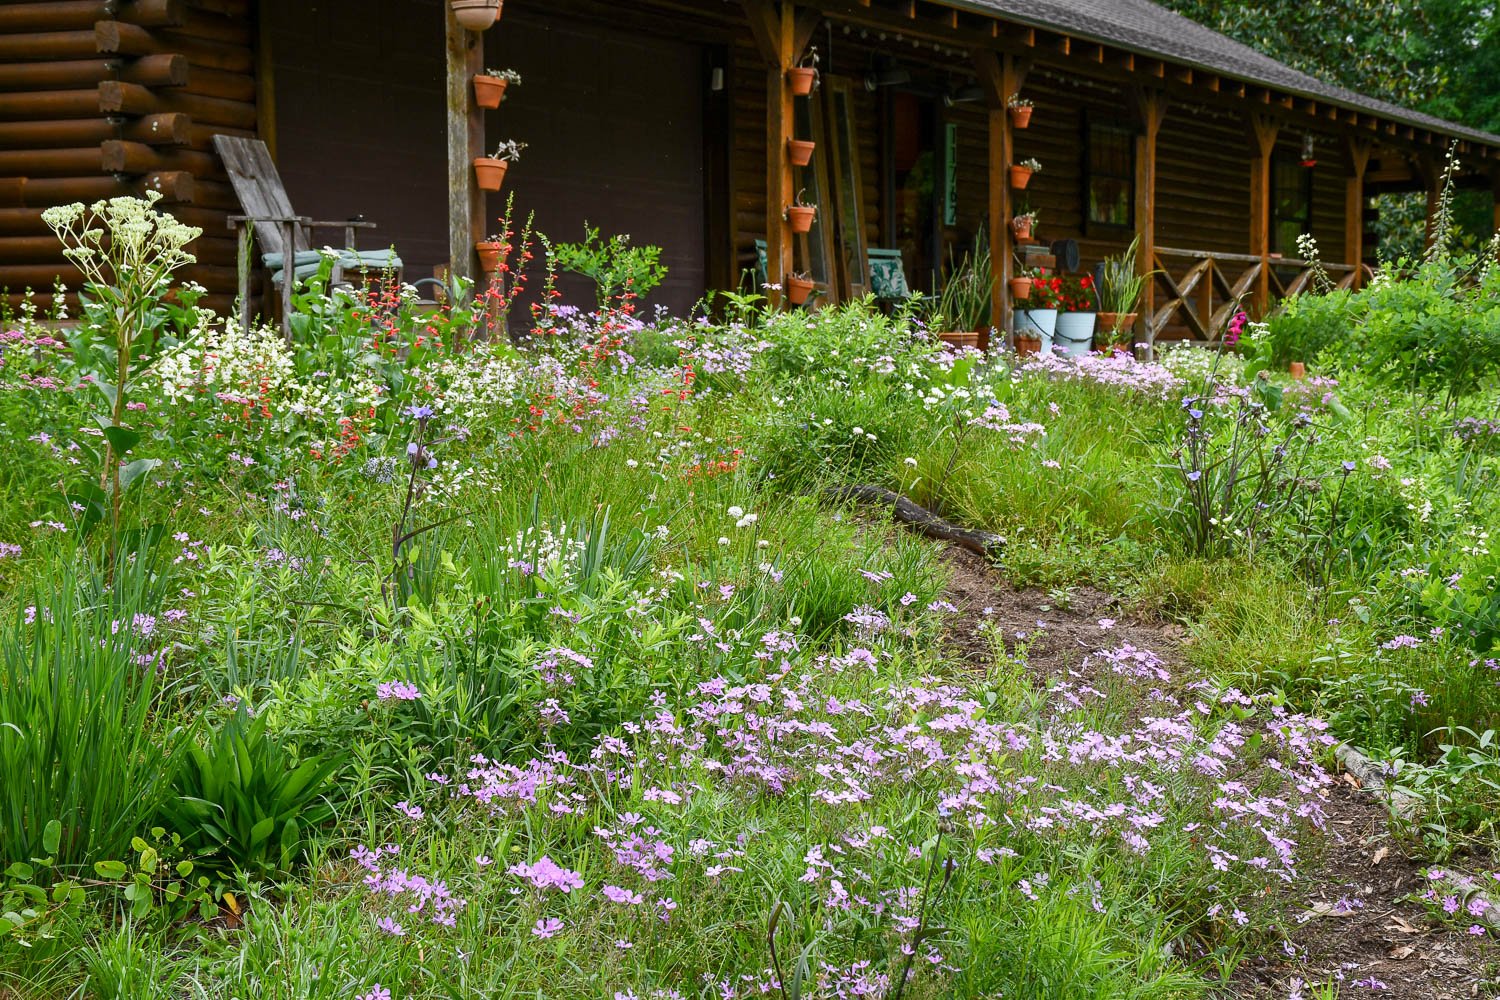
We have been blessed with rain of late, three inches the past few weeks. You never know with the first full week of summer. Some years it starts dry and parched, but this year the garden looks full and lush with the rain. We celebrate every little bit, as we know from years past that soon the spigot in the sky will slow.
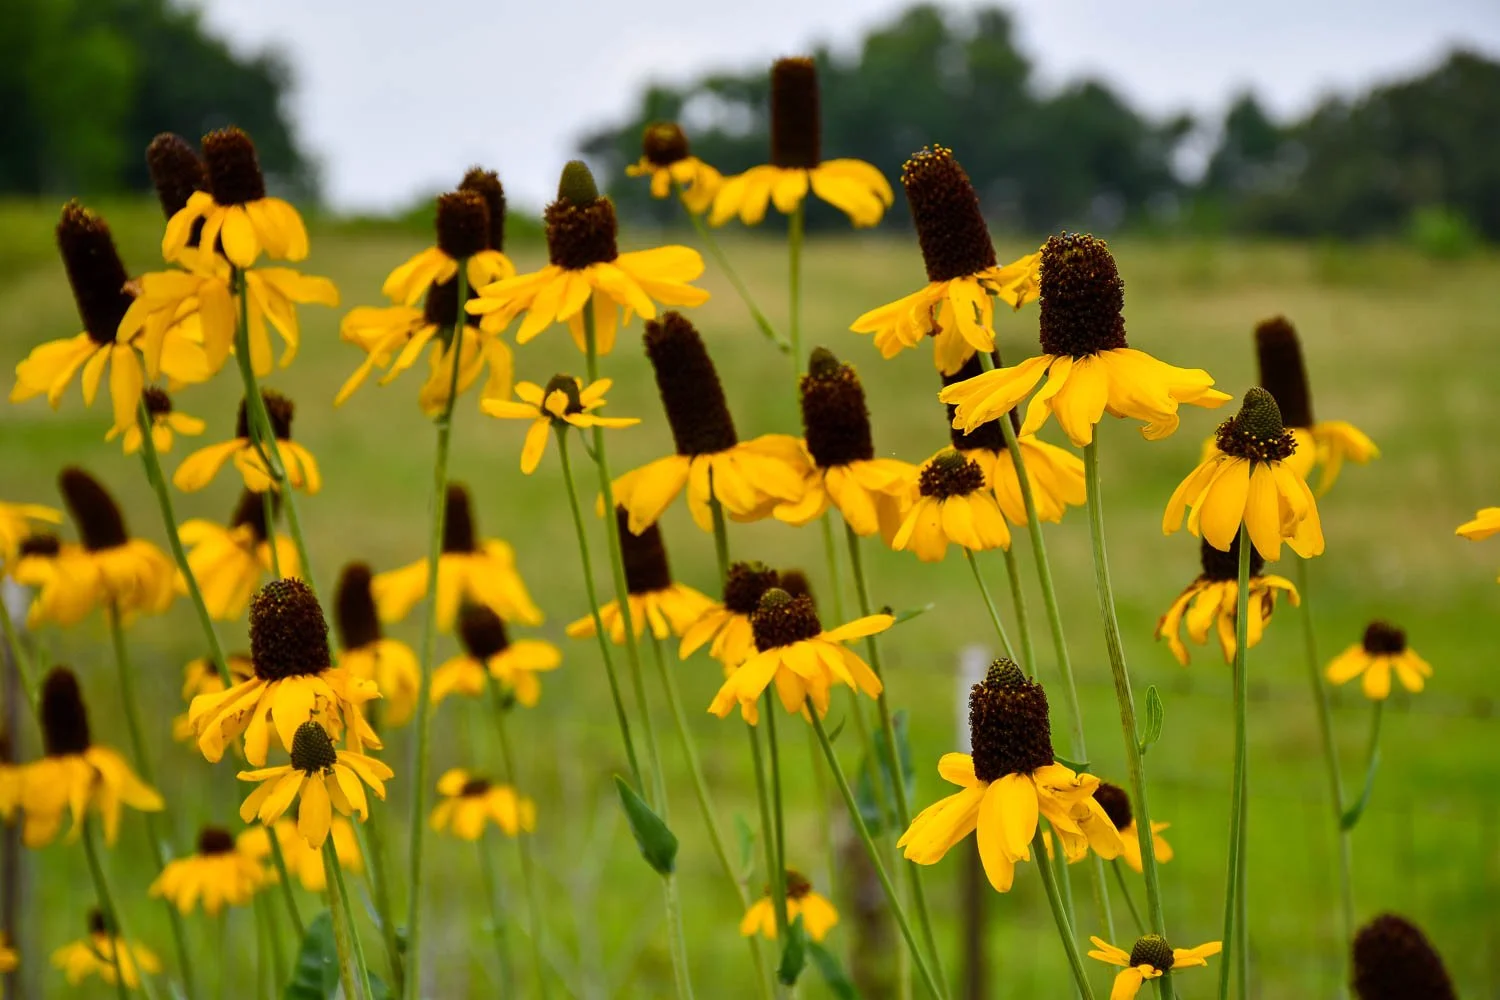
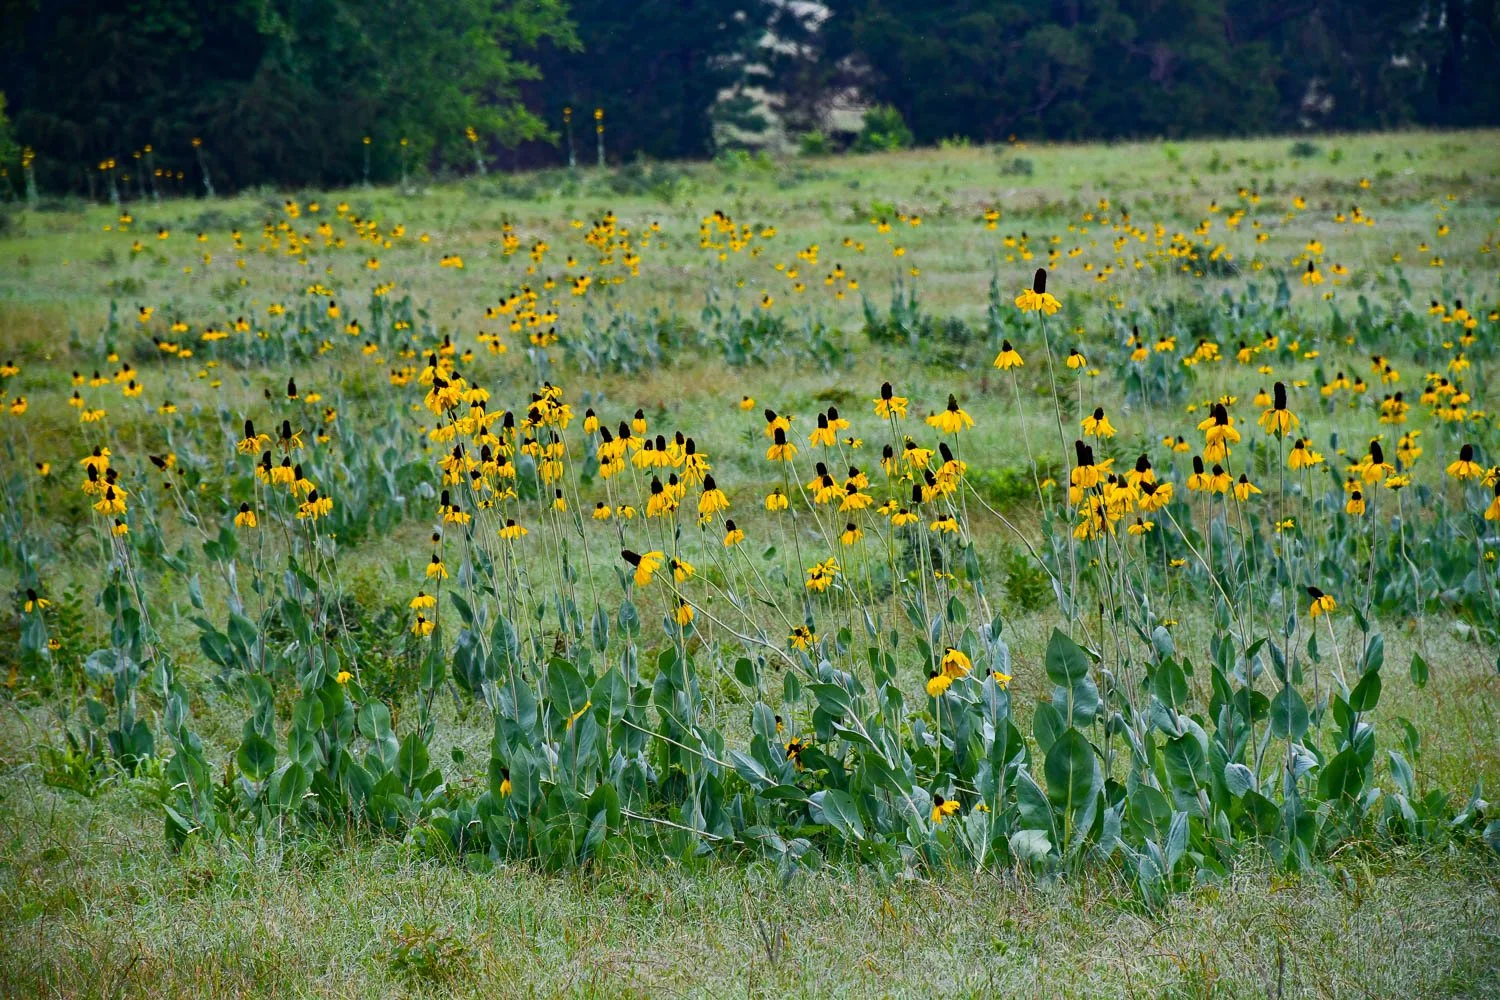
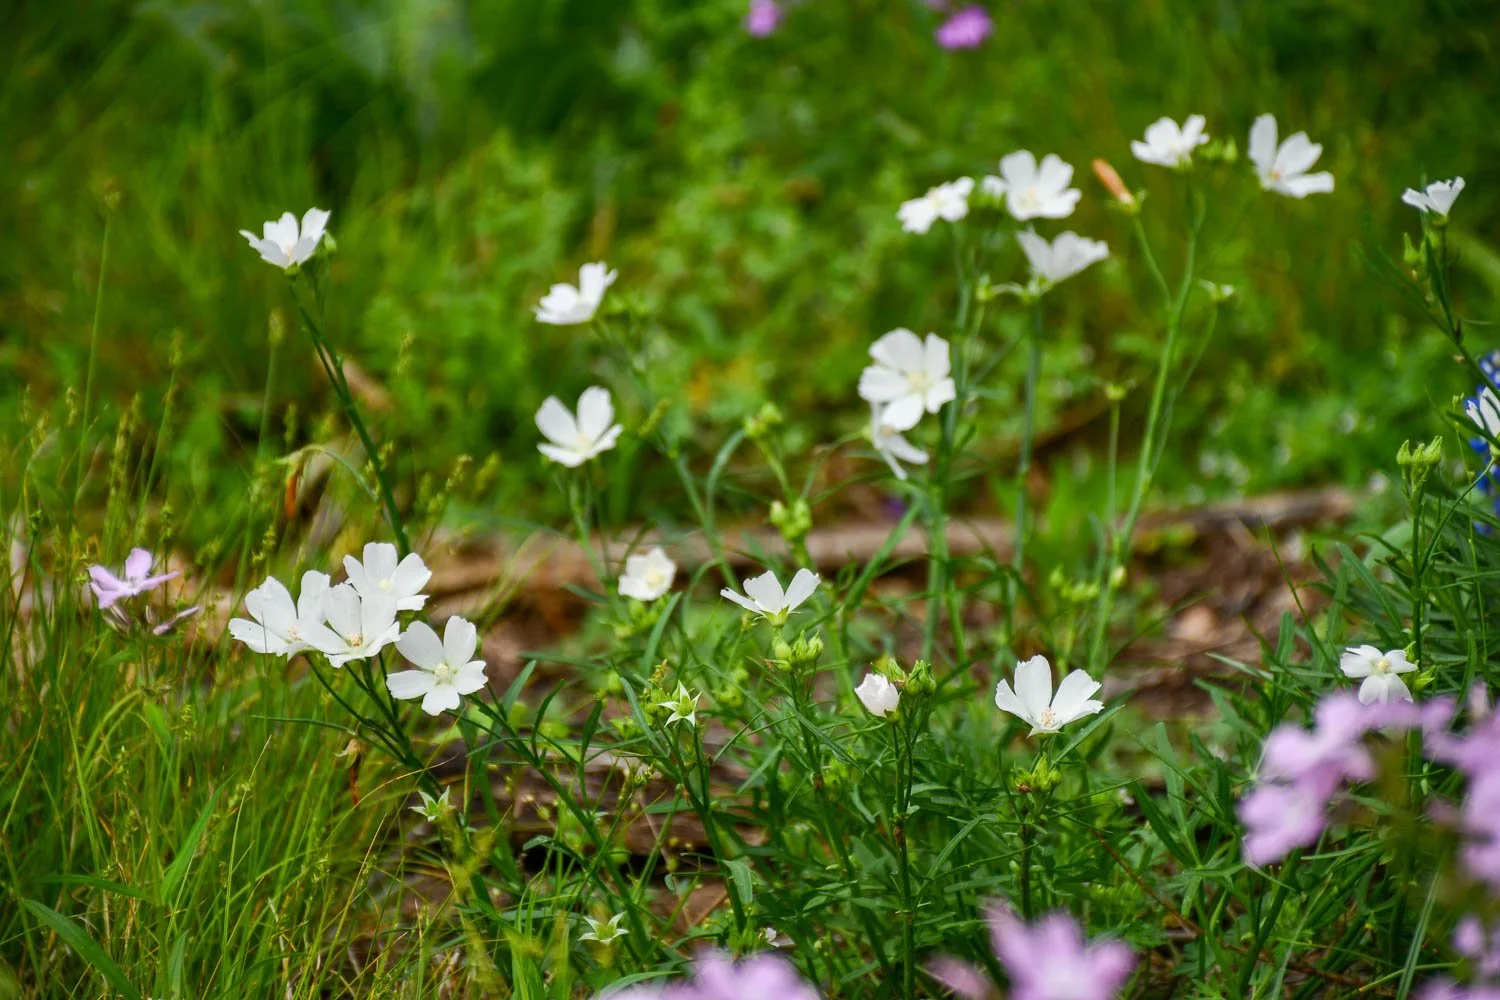
The plants in our garden relish the rain, too. The annuals and ruderals respond even more vigorously with the ample moisture. Take Oenothera heterophylla (sandhill evening primrose) for example. They normally are shorter, but with the precipitation and fertility they are fuller in our garden than what I see in the wild.
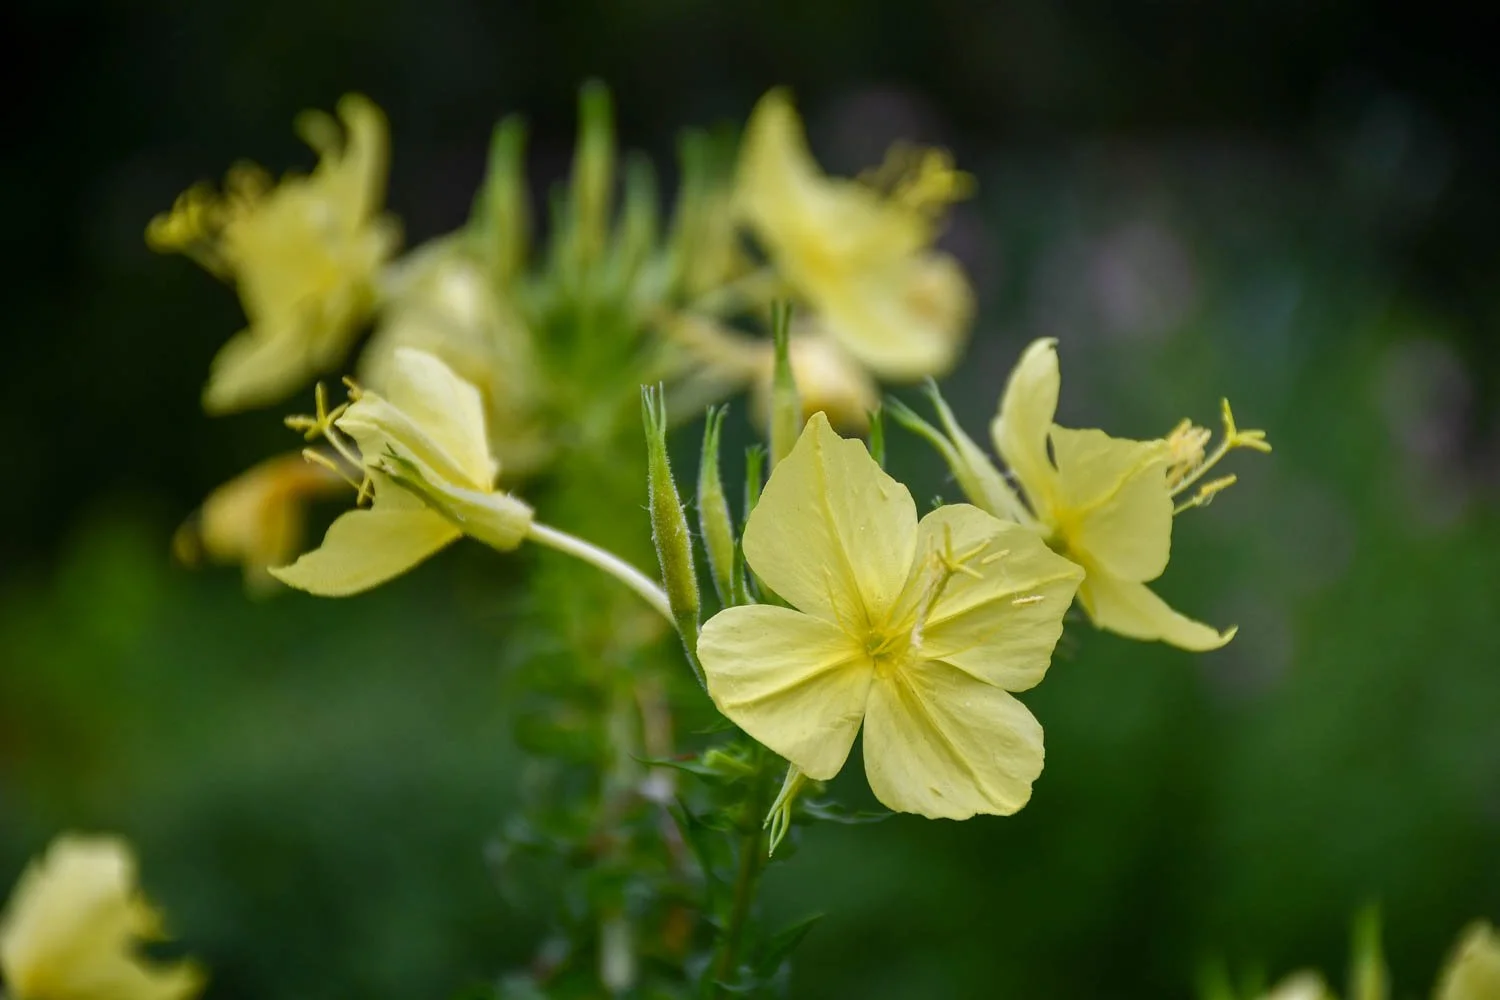
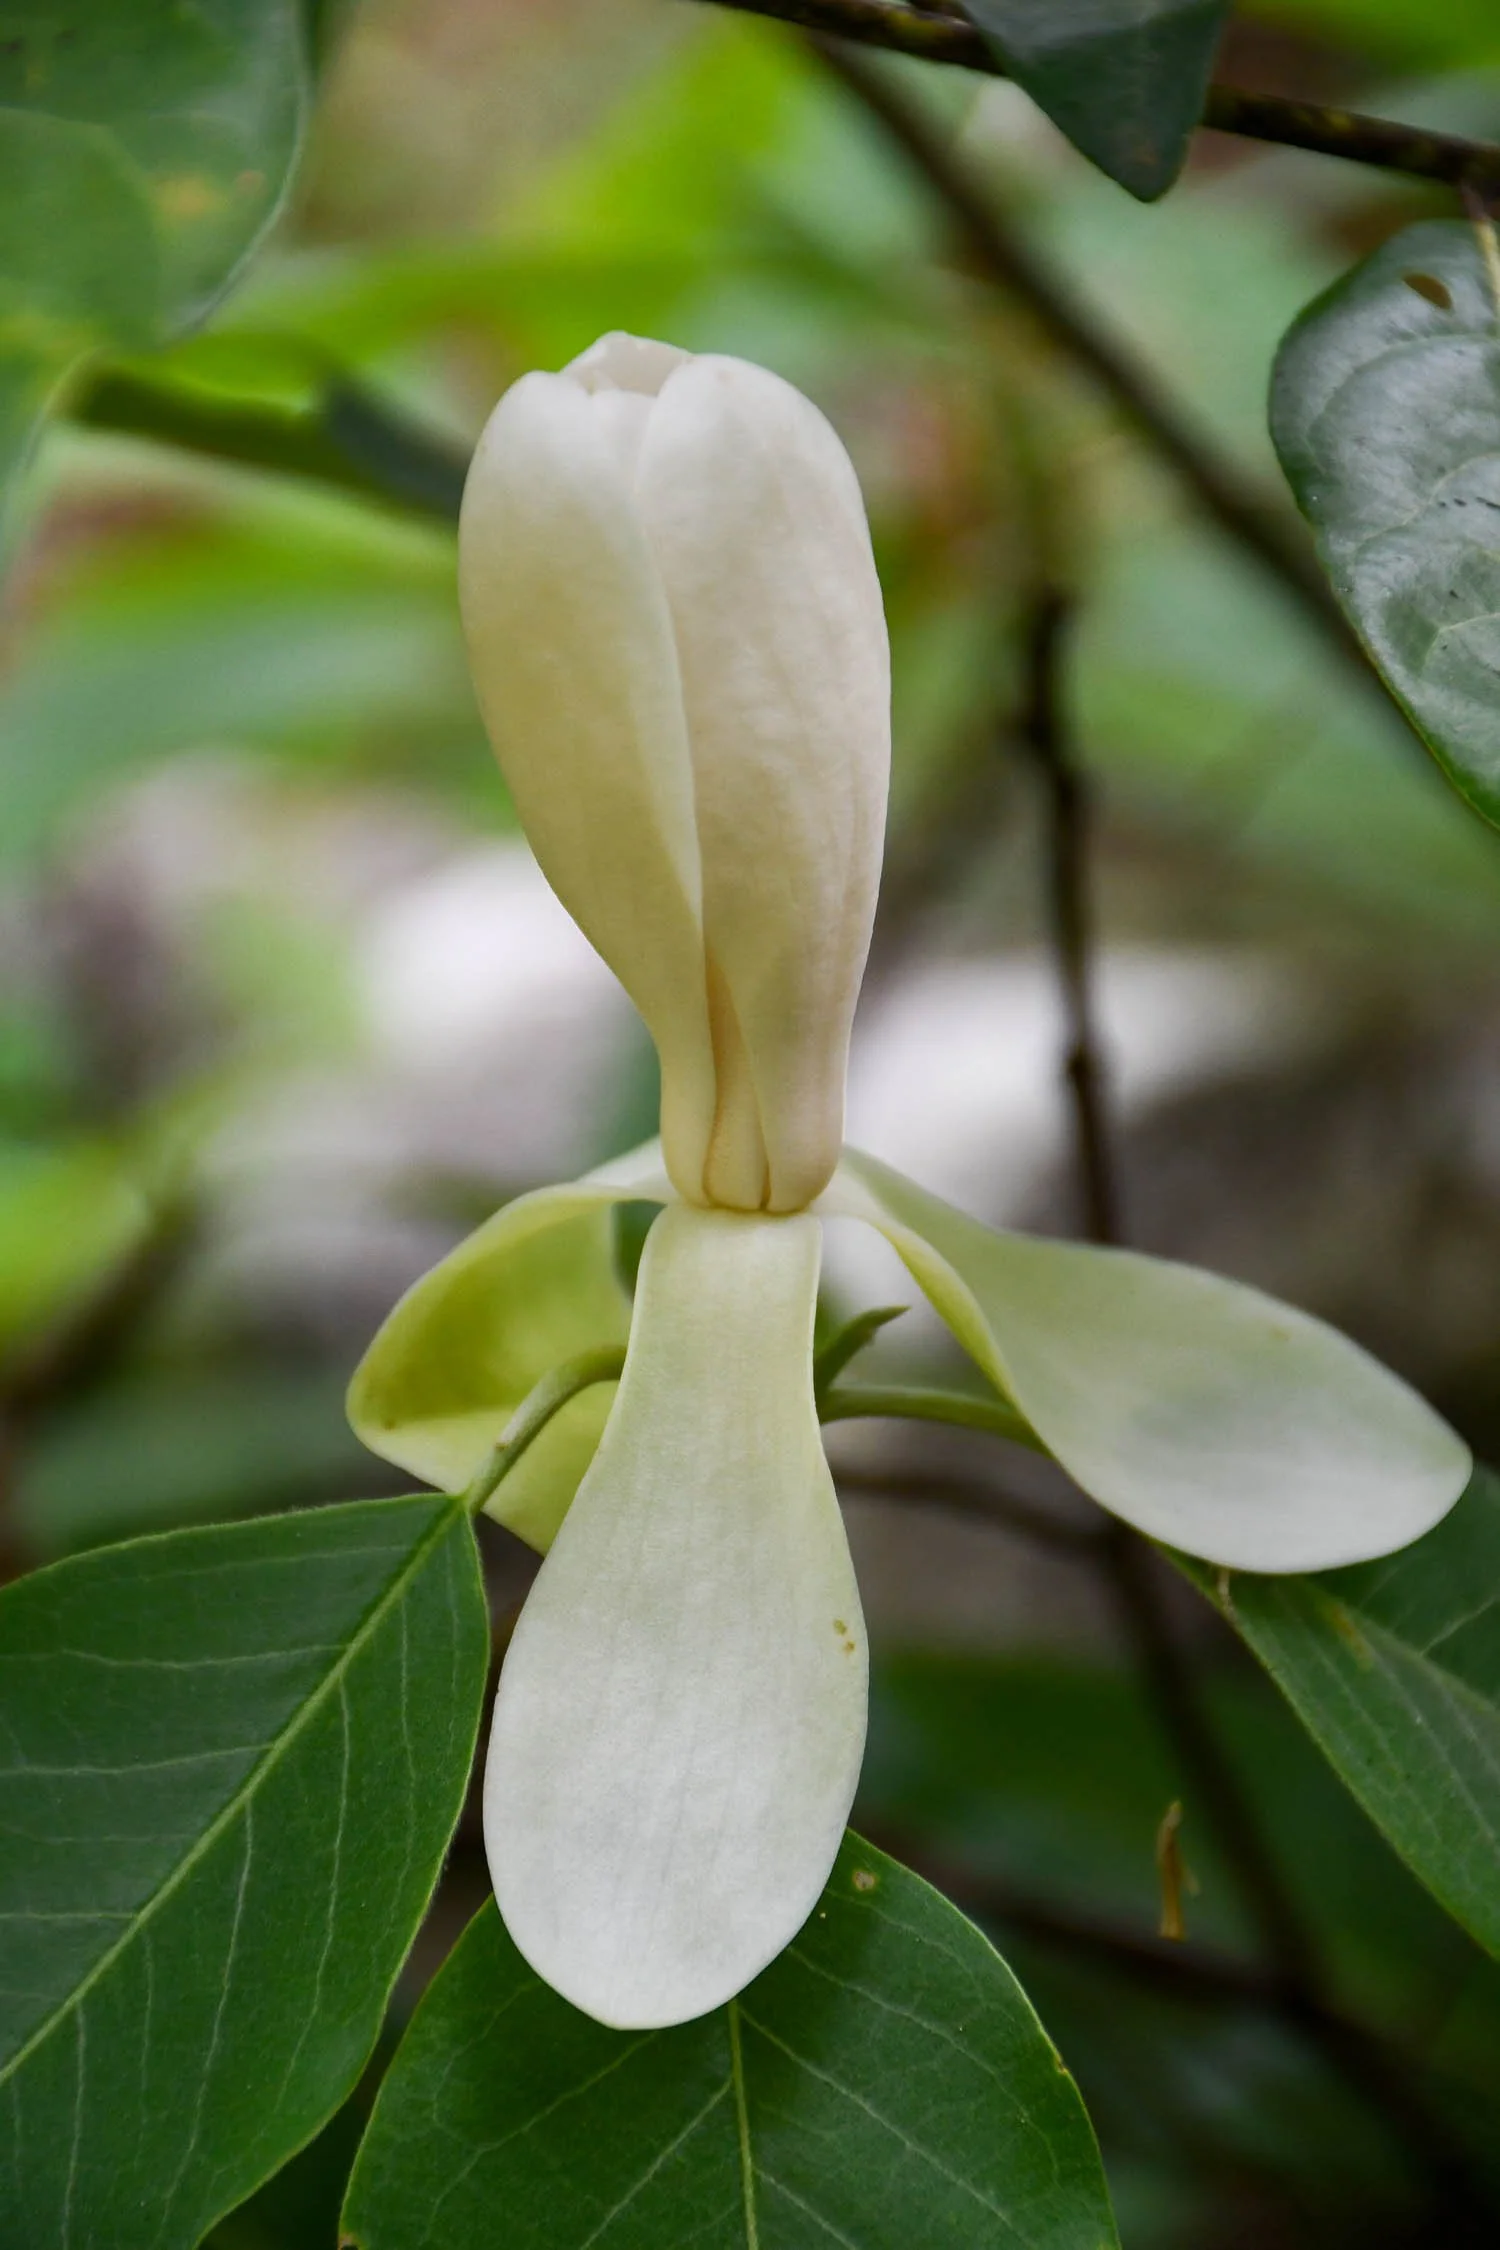
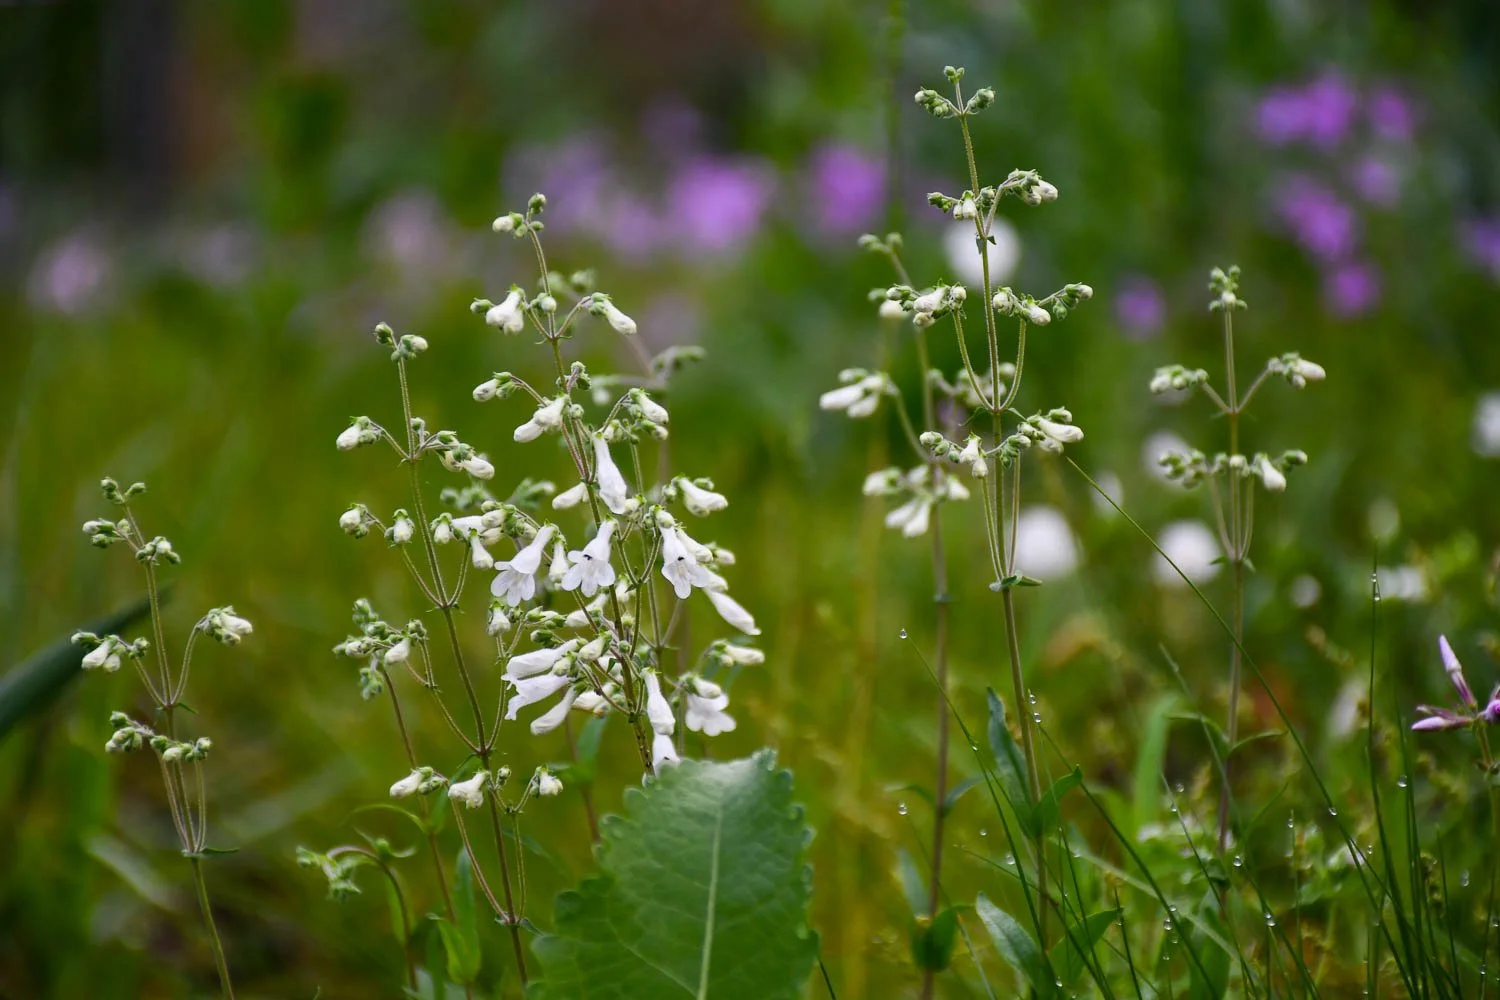
The sweet flowers of Oenothera heterophylla (sandhill evening primrose)
This species is a new one for me to grow over the past couple of years. I have long loved evening primroses for their crepuscular habits and wanted to find one that would work for me here in east Texas. Growing up in Tennessee, I grew Oenothera biennis (common evening primrose) and would marvel at the flowers opening in the gloaming; however, this species hasn’t done as well here for me in Texas.
But, driving in the mornings, my watchful eye saw some type of evening primrose dotting the back roads and fence rows with their bright flowers, and I figured they would be a good option for trying in my garden. Finally, I found a spot where the mowers missed the plants, and I revisited it come autumn for seed. They germinated well, and I planted them in multiple spots like I often do new-to-me species to see where they would like best.
It seems they in the classic ruderal sense prefer open exposed soil because that’s where they have returned this year. I also discovered that while I thought I had found Oenothera rhombipetala (four-point evening primrose), it was a different species. Now that I’ve had the chance to grow them on, I’ve realized they key out to Oenothera heterophylla.
During the heat of the day, they don’t look like much in the garden. And, let’s be honest, I don’t either. But in the evenings and mornings is when they shine. I can see them just start to open from the kitchen window in the coming twilight as I’m finishing the dishes, and after the final walk of the night it really is something to see them with the light of the waxing moon. The next morning, I enjoy the same flowers as their pale yellow petals reflect the radiance of the sun just clearing the horizon.
I’ve timed that their flowers start opening around 8:40 PM. The little satellite dishes unfurl and start scanning for whatever terrestrial life might find the flowers during the night. Evening primroses tend to be pollinated by moths, and it seems like if that’s not effective enough then the bees can pick up the shift once the sun rises. But they have to be quick since the flowers are normally closed and wilted by noon.
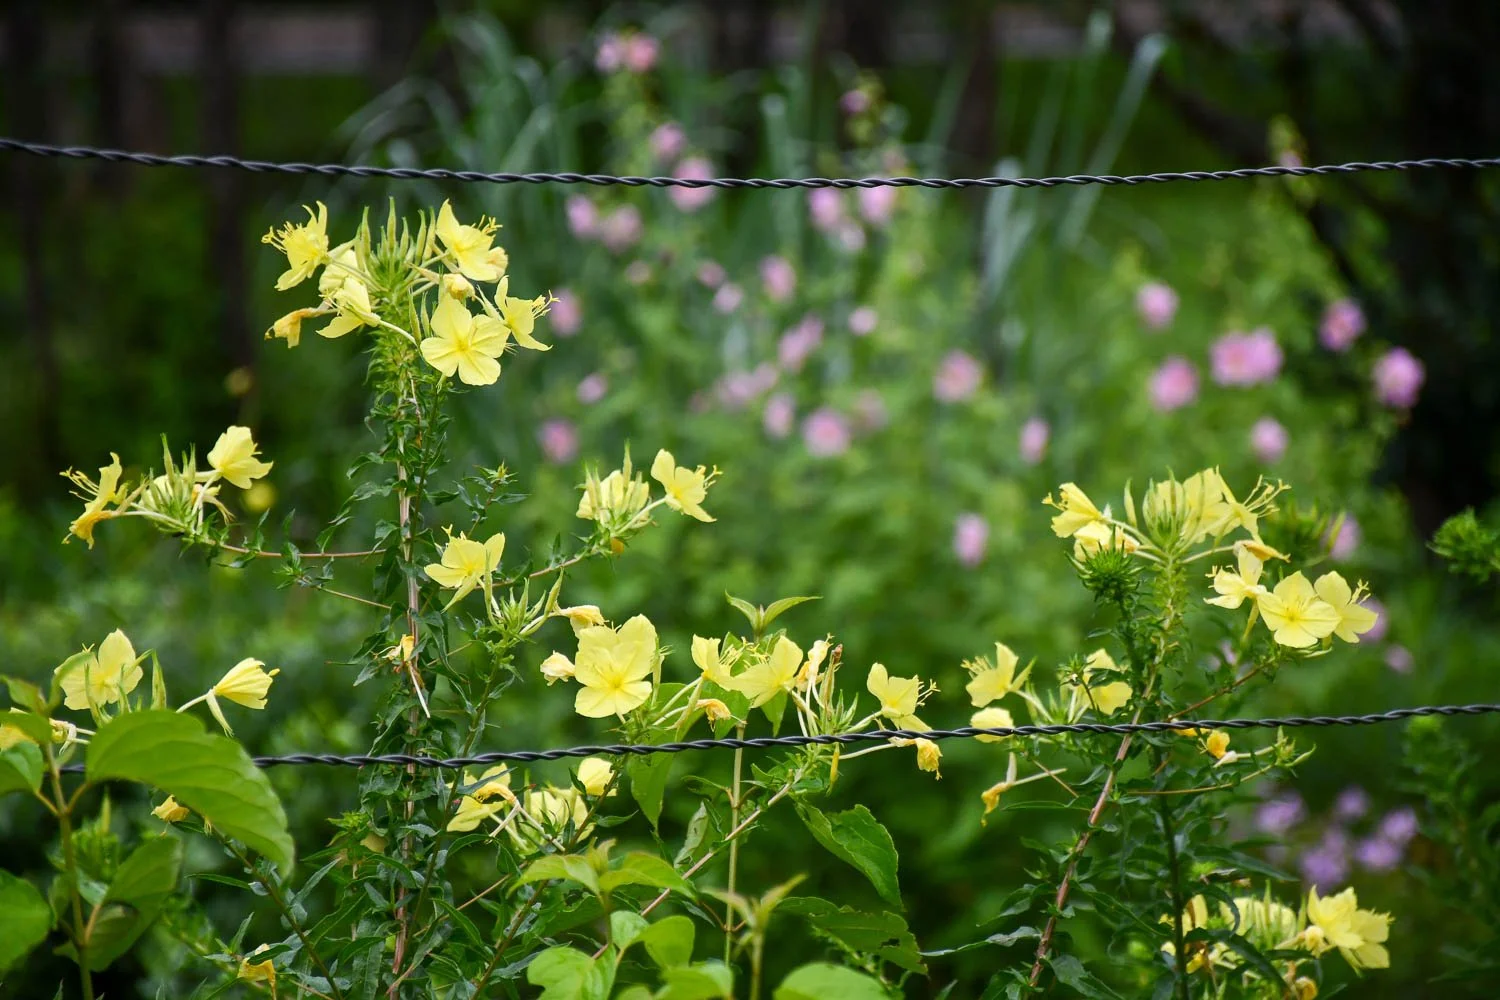
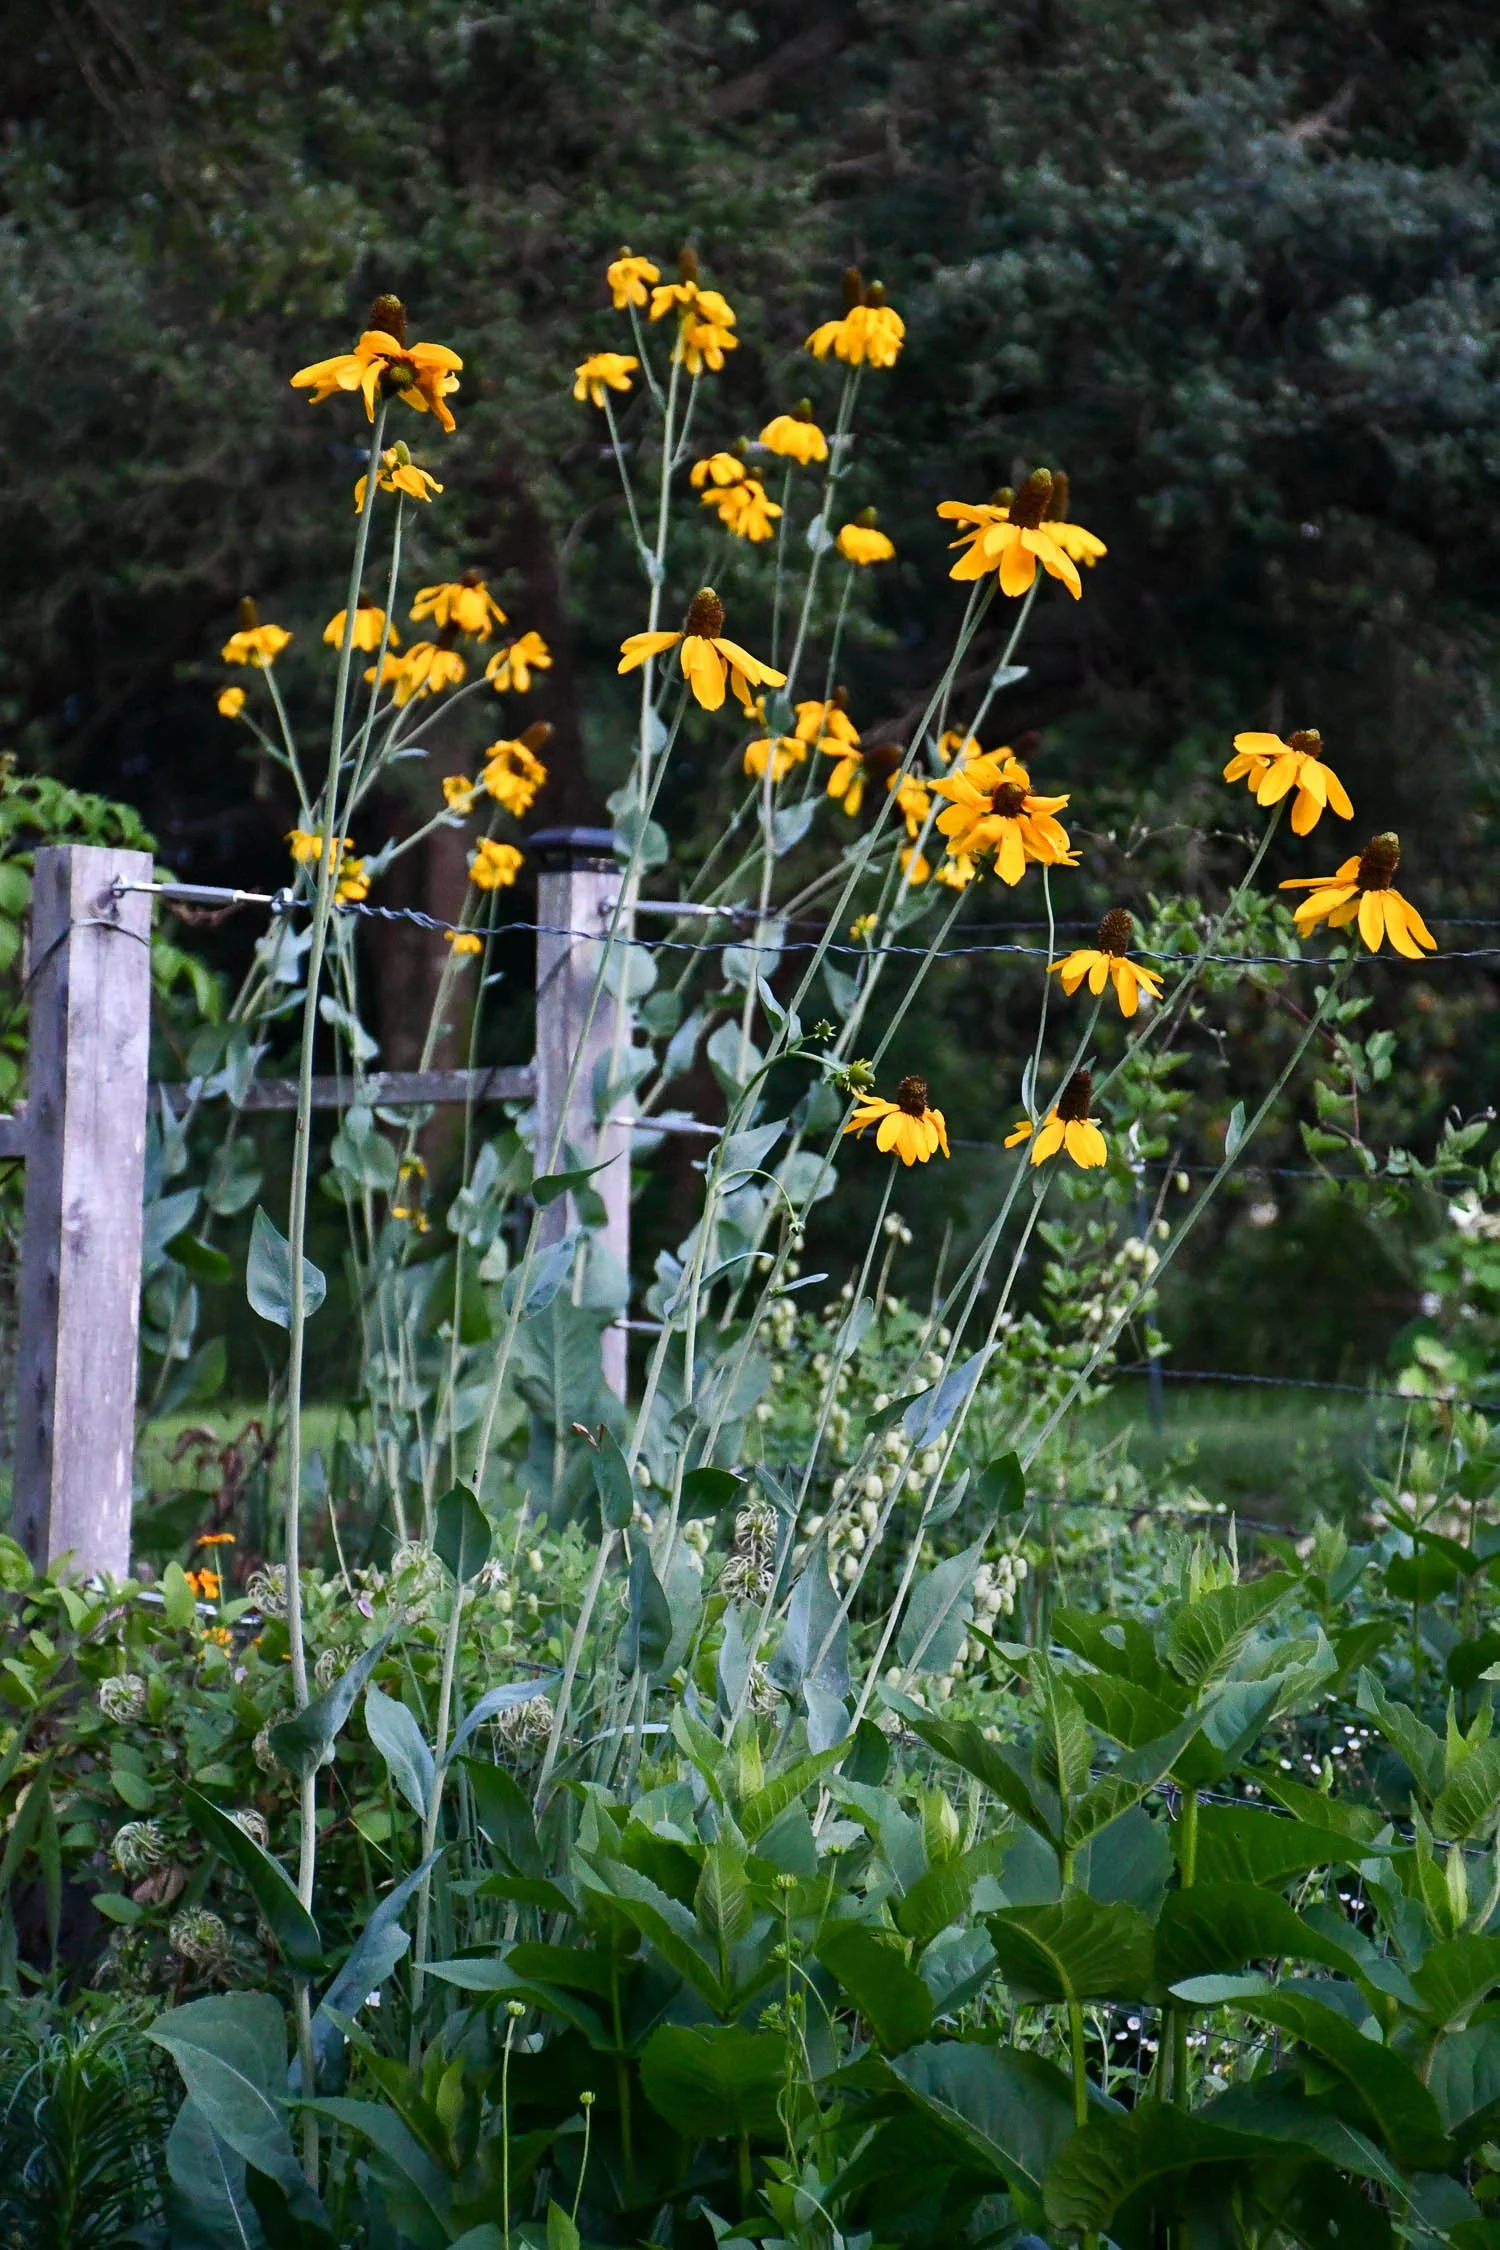
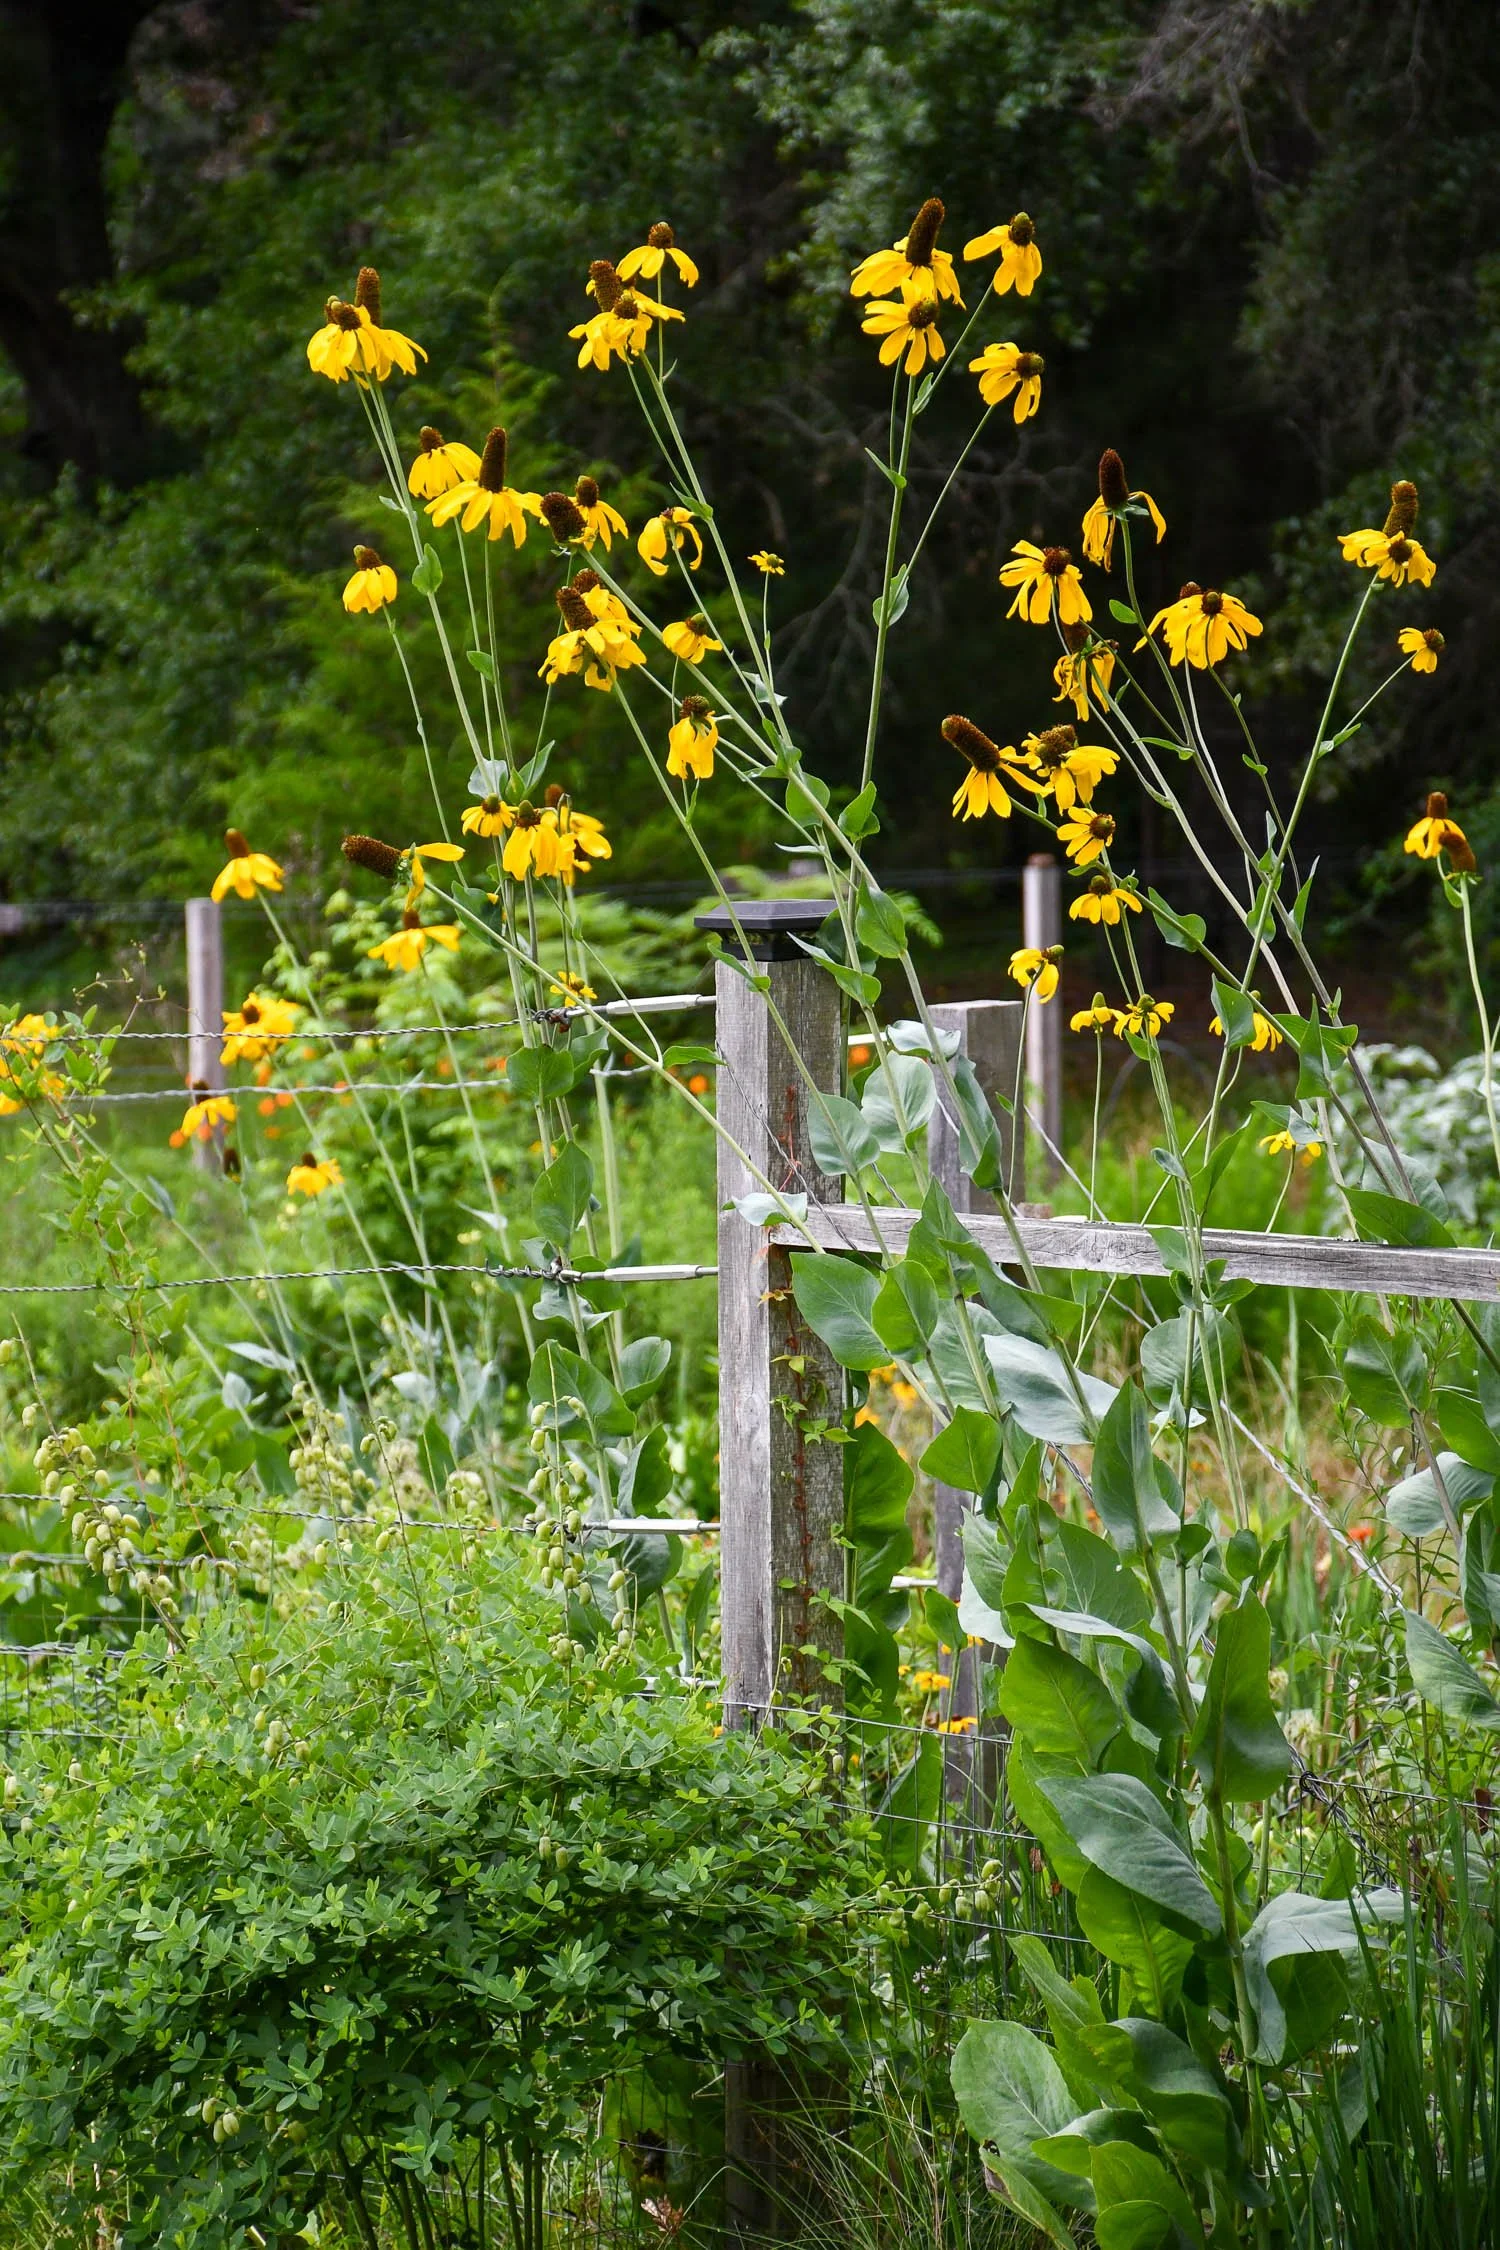
I enjoy seeing Oenothera heterophylla in the morning as the open flowers stretch over our vegetable patch fence.
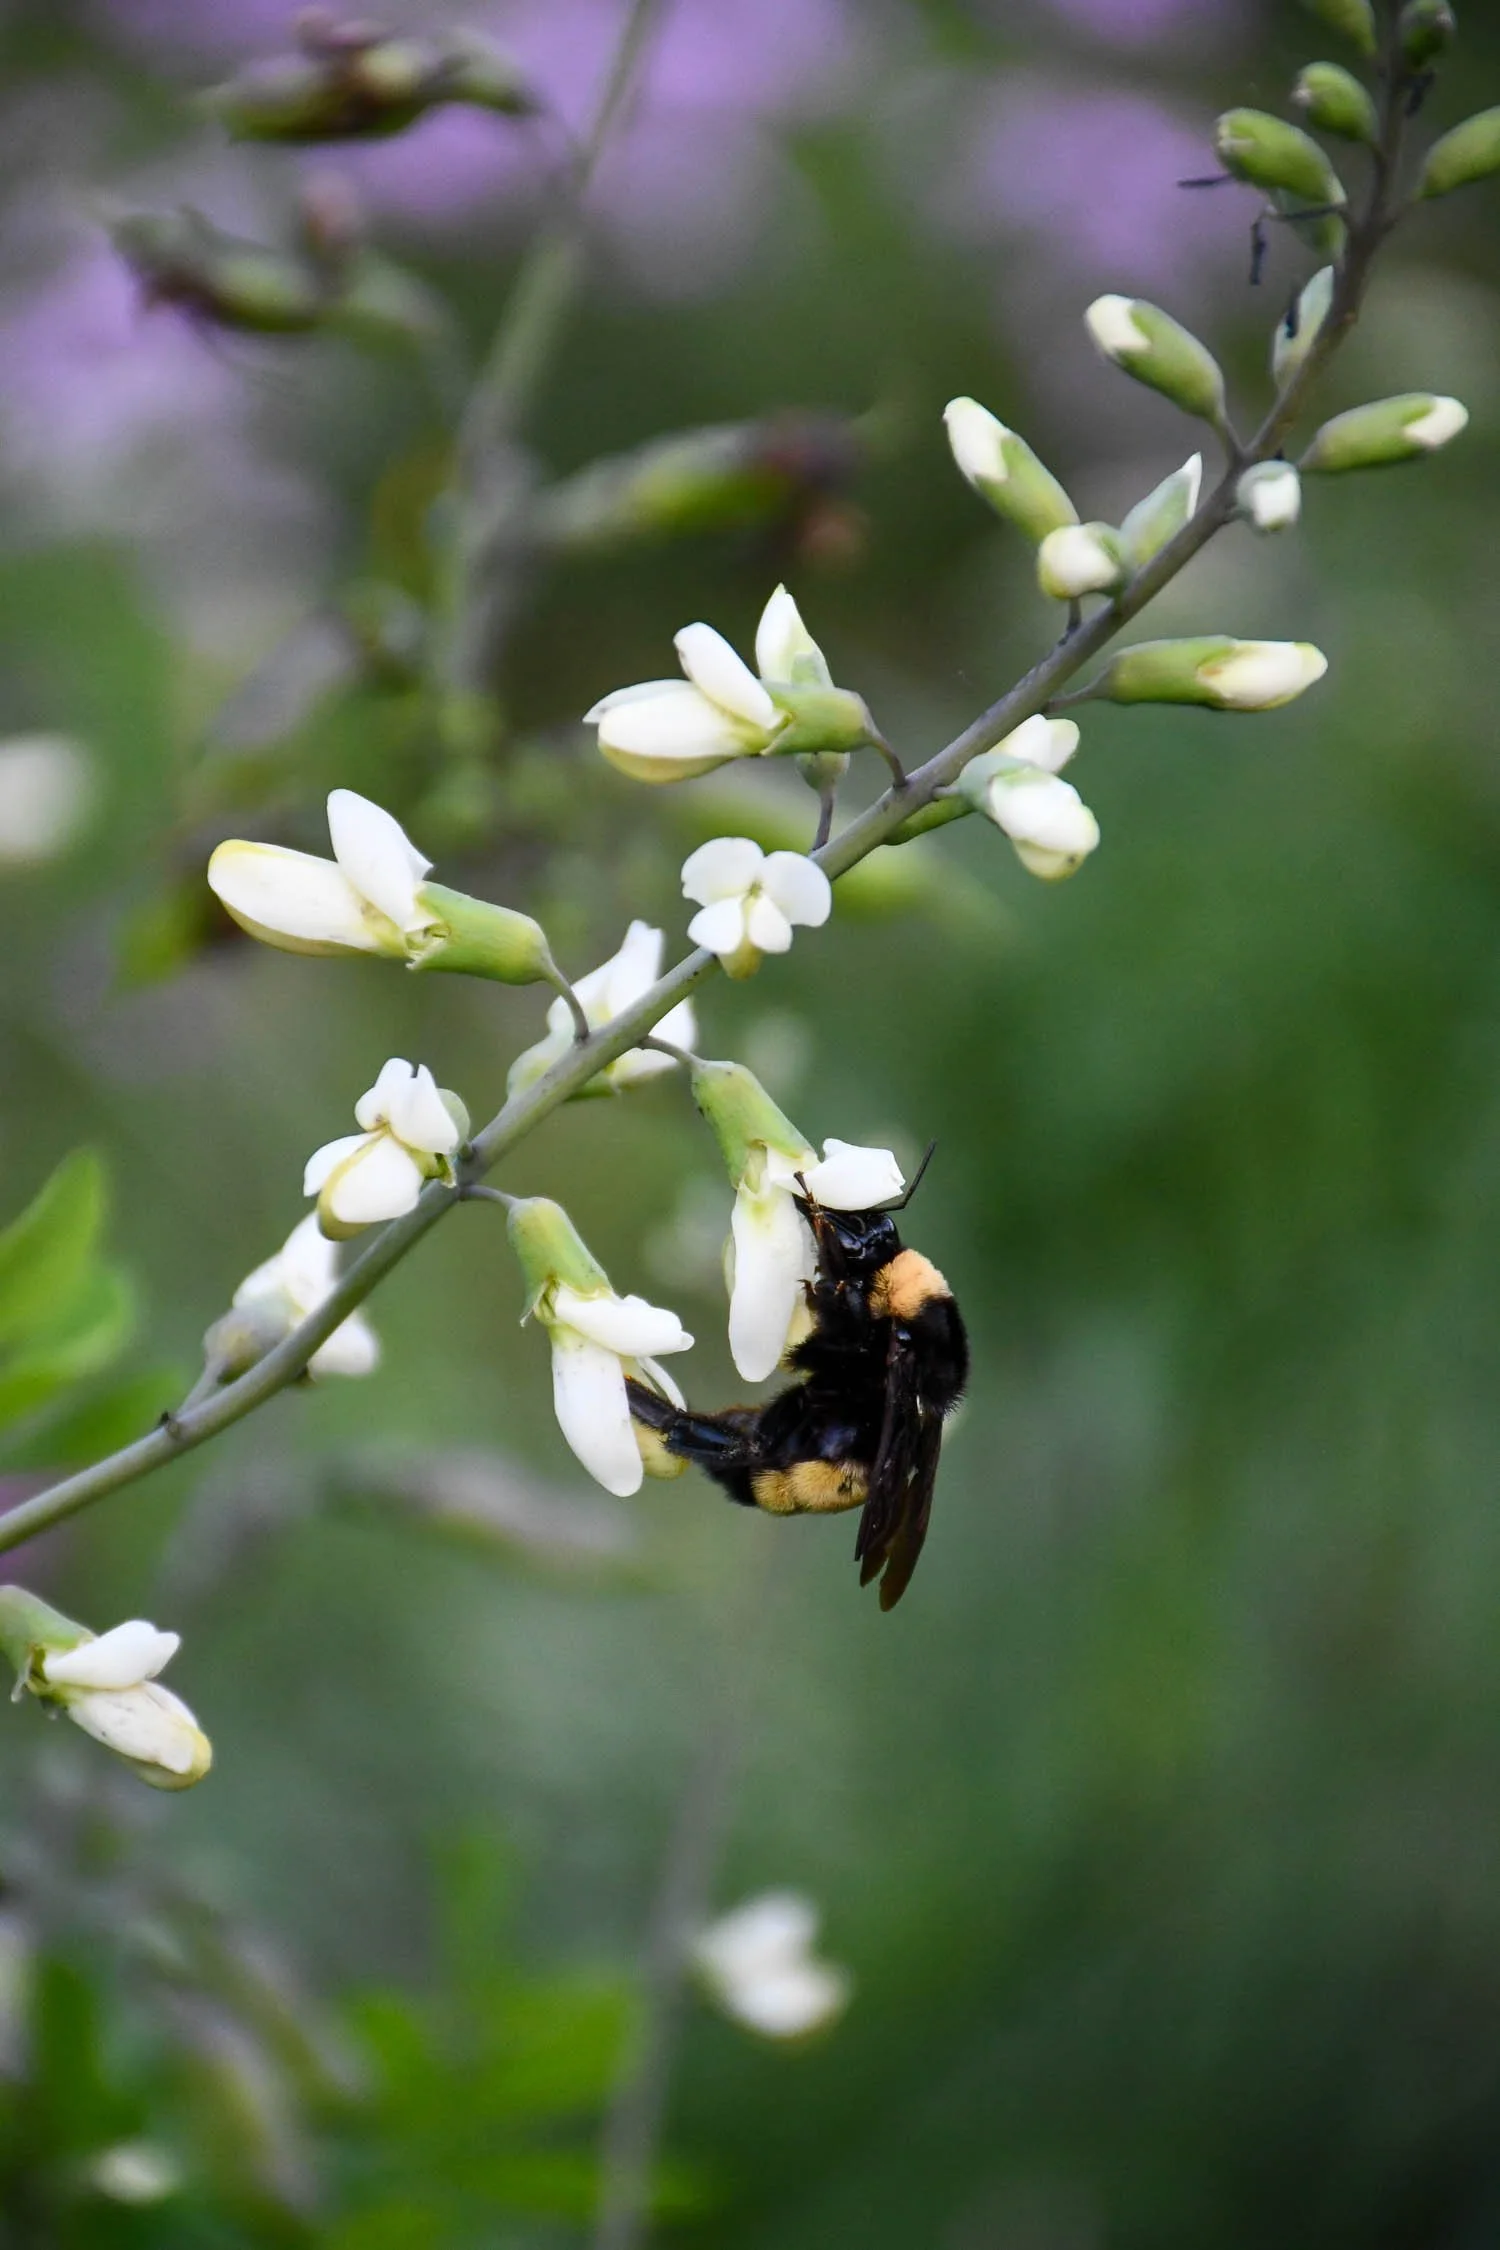
Many Oenothera species have viscin threads, an interesting pollination syndrome where pollen is housed on thin threads that can adhere to pollinators. They are also host plants to moth species. This spring, I found a chunky white-lined sphinx moth that wriggled as I weeded the vegetation underneath, and I put it back to let it continue developing.
The sandhill evening primroses will bloom for the next several weeks now as we head into the dog days of summer. And after, I’ll leave the seedheads to persist into the winter. Their dark capsules contrast with our lighter tan colors. The great thing is you never know where they might end up.
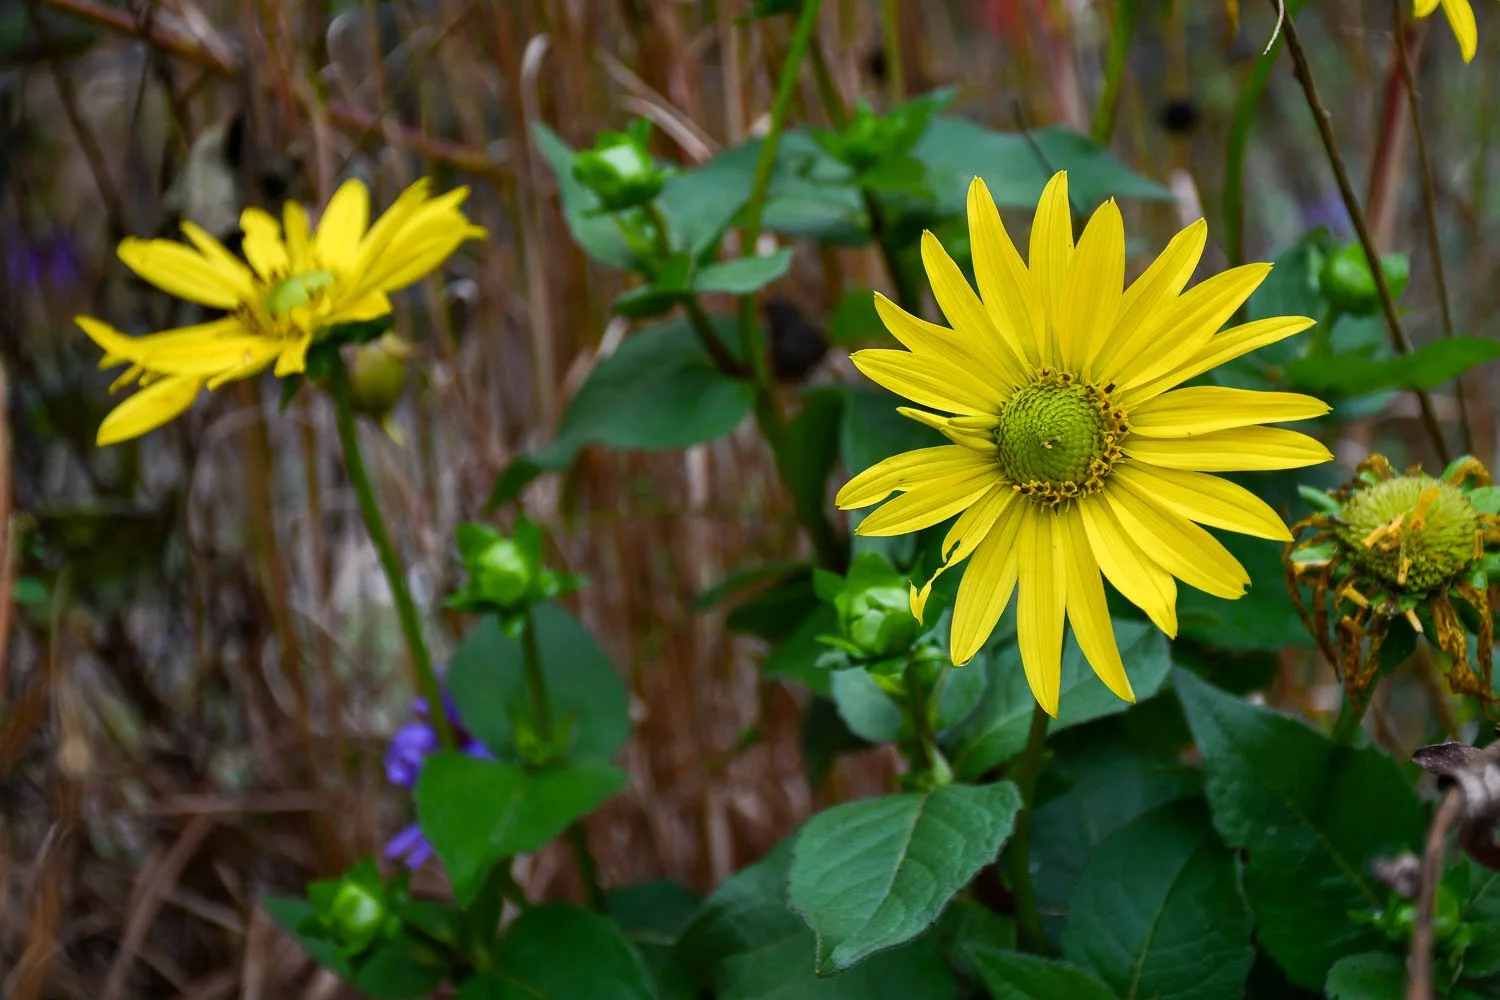
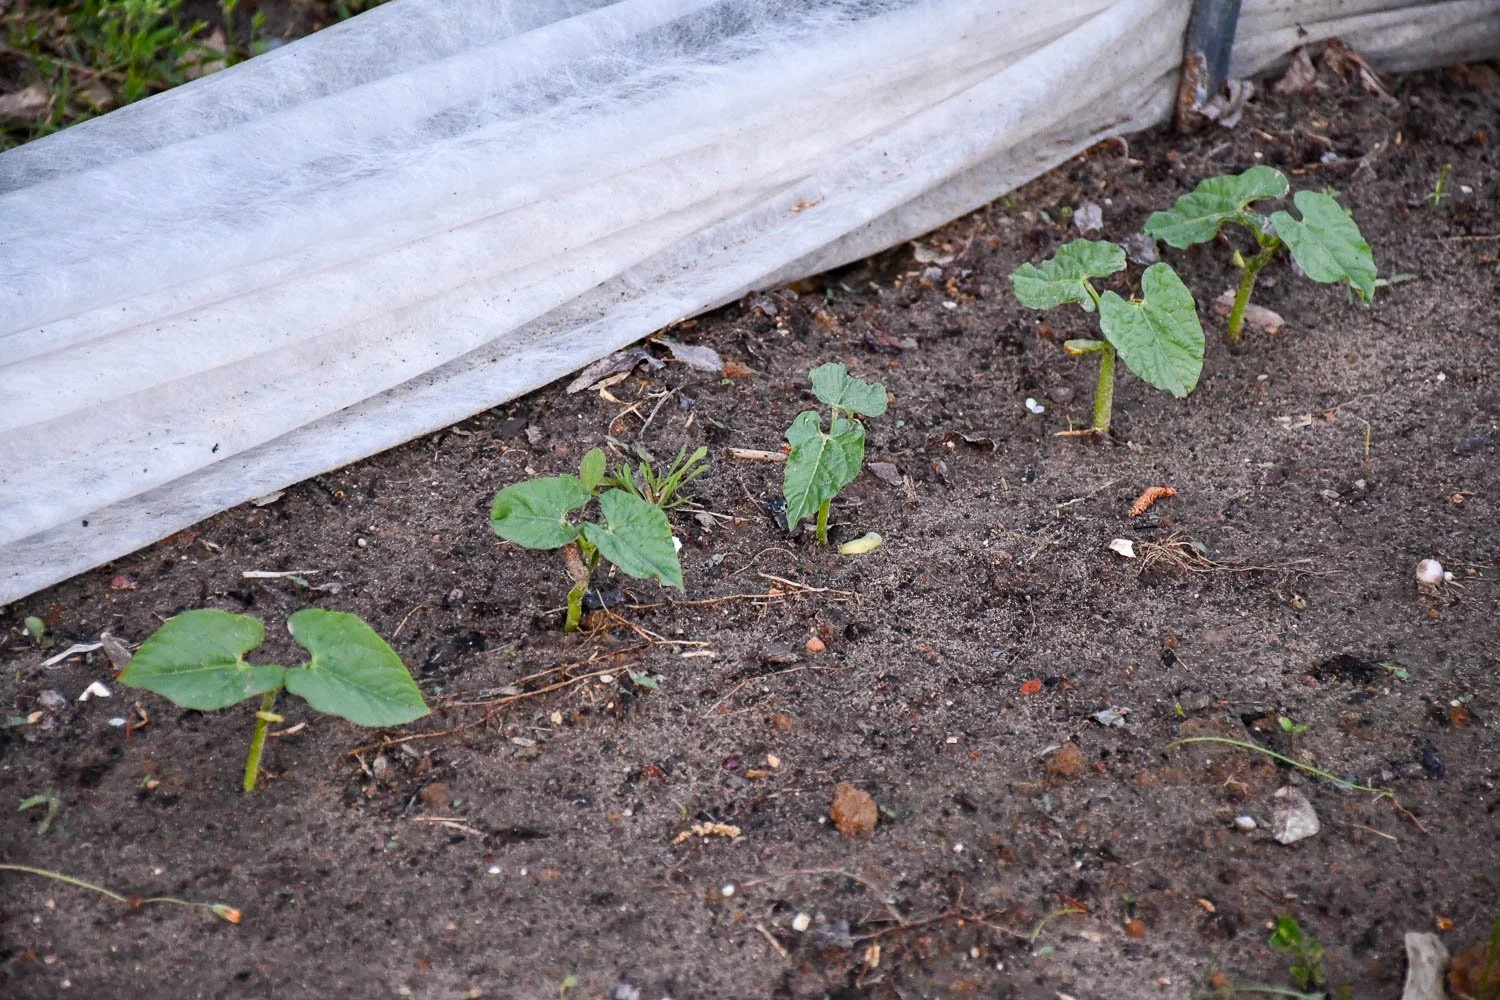
I also had one pop up near our vegetable garden beds, and of course I couldn’t bring myself to pull it. It’s now blooming right next to sunflowers and pumpkins.

You’ll see the viscin threads if you look closely at the stamens emerging from the petals of Oenothera heterophylla. They look like little cobwebs dotted with yellow pearls.
I paused to appreciate the flowers early the other morning of this vagabond, and as I was taking a photograph, a brown-winged striped sweat bee hovered over a flower and landed to enjoy the pollen.
And, I think that’s the joy of having these self-sowing natives in our gardens. If we plant them, the insects will come. Often to our delight and joy, unexpectedly bringing a smile to our face.

Brown-winged striped sweat bee climbs to enjoy the pollen on Oenothera heterophylla.